DIY Wooden Yard Ghosts| Easy Halloween Decorations
I had been wanting oversized wooden ghosts for our front yard, but the little push I needed actually came from my 5-year-old next-door neighbor. She called me out for not having my Halloween decorations up yet, and honestly, she was right! Decorations always made me happy when I was a kid so I needed to get my butt in gear and start decorating.
I had seen the cutest wooden ghosts online, but once I started looking at how much it would cost to buy enough of them to fill our front garden, I decided we could make our own instead. I recruited my dad to help bring my idea to life!
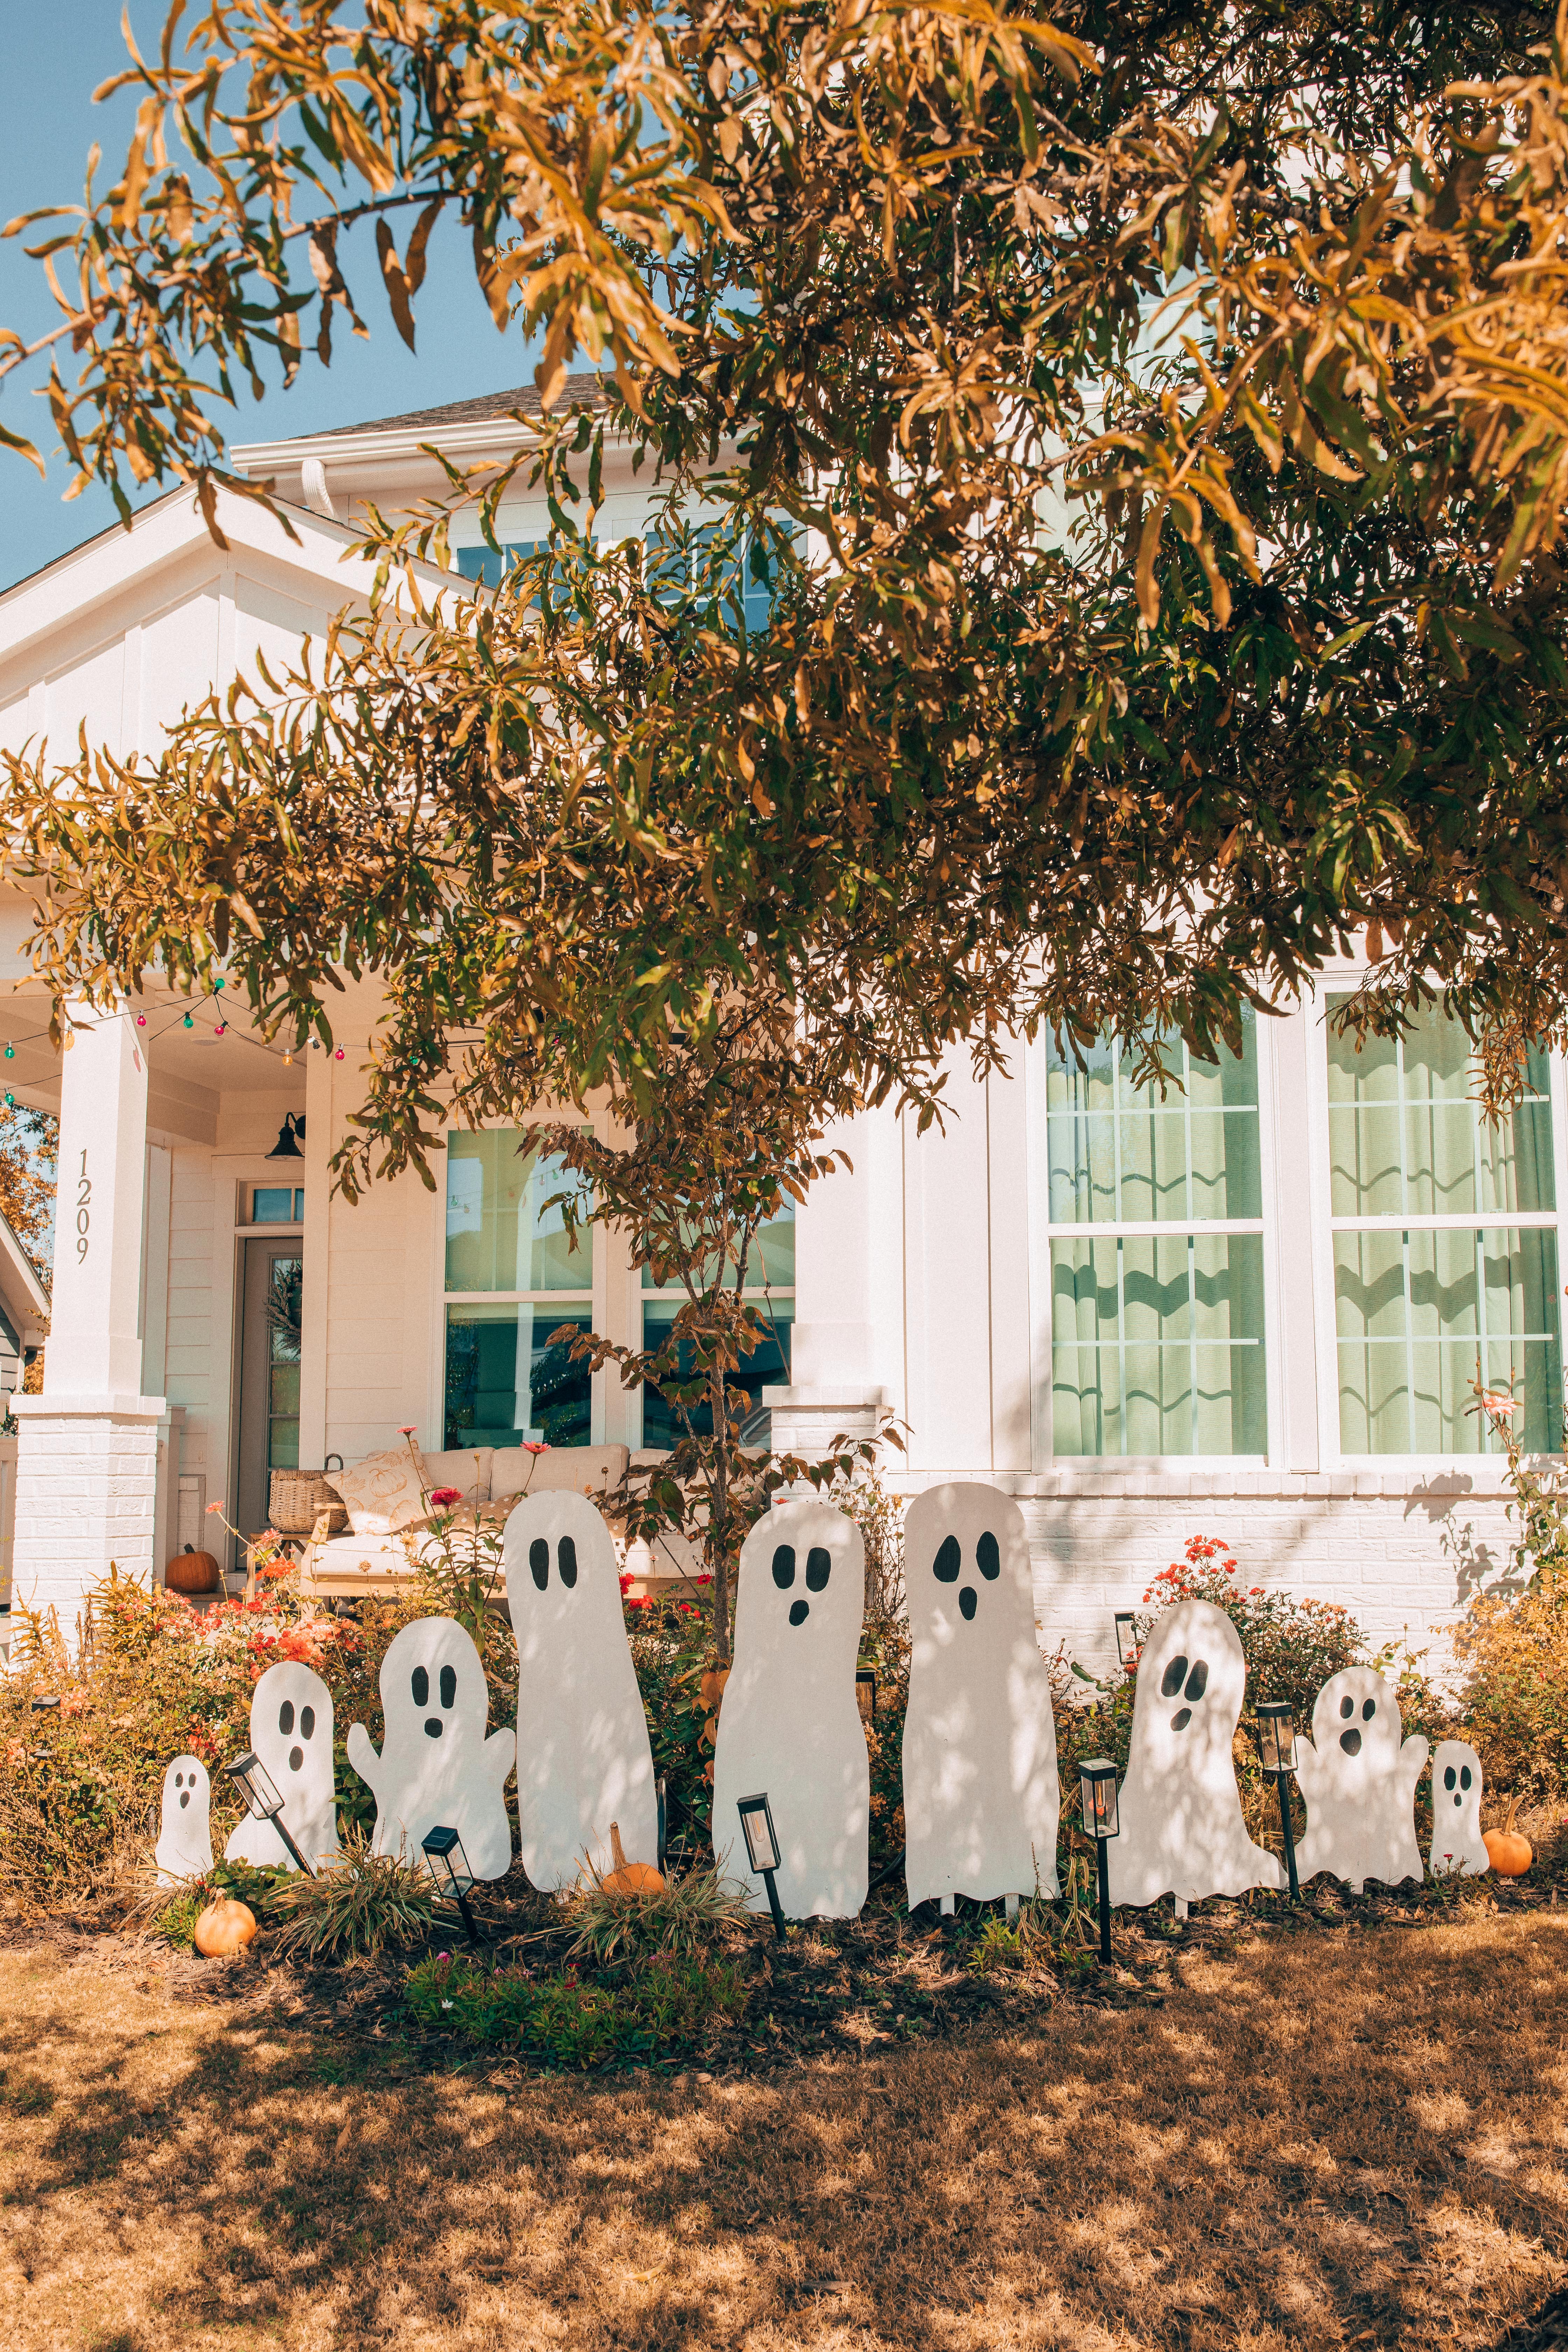
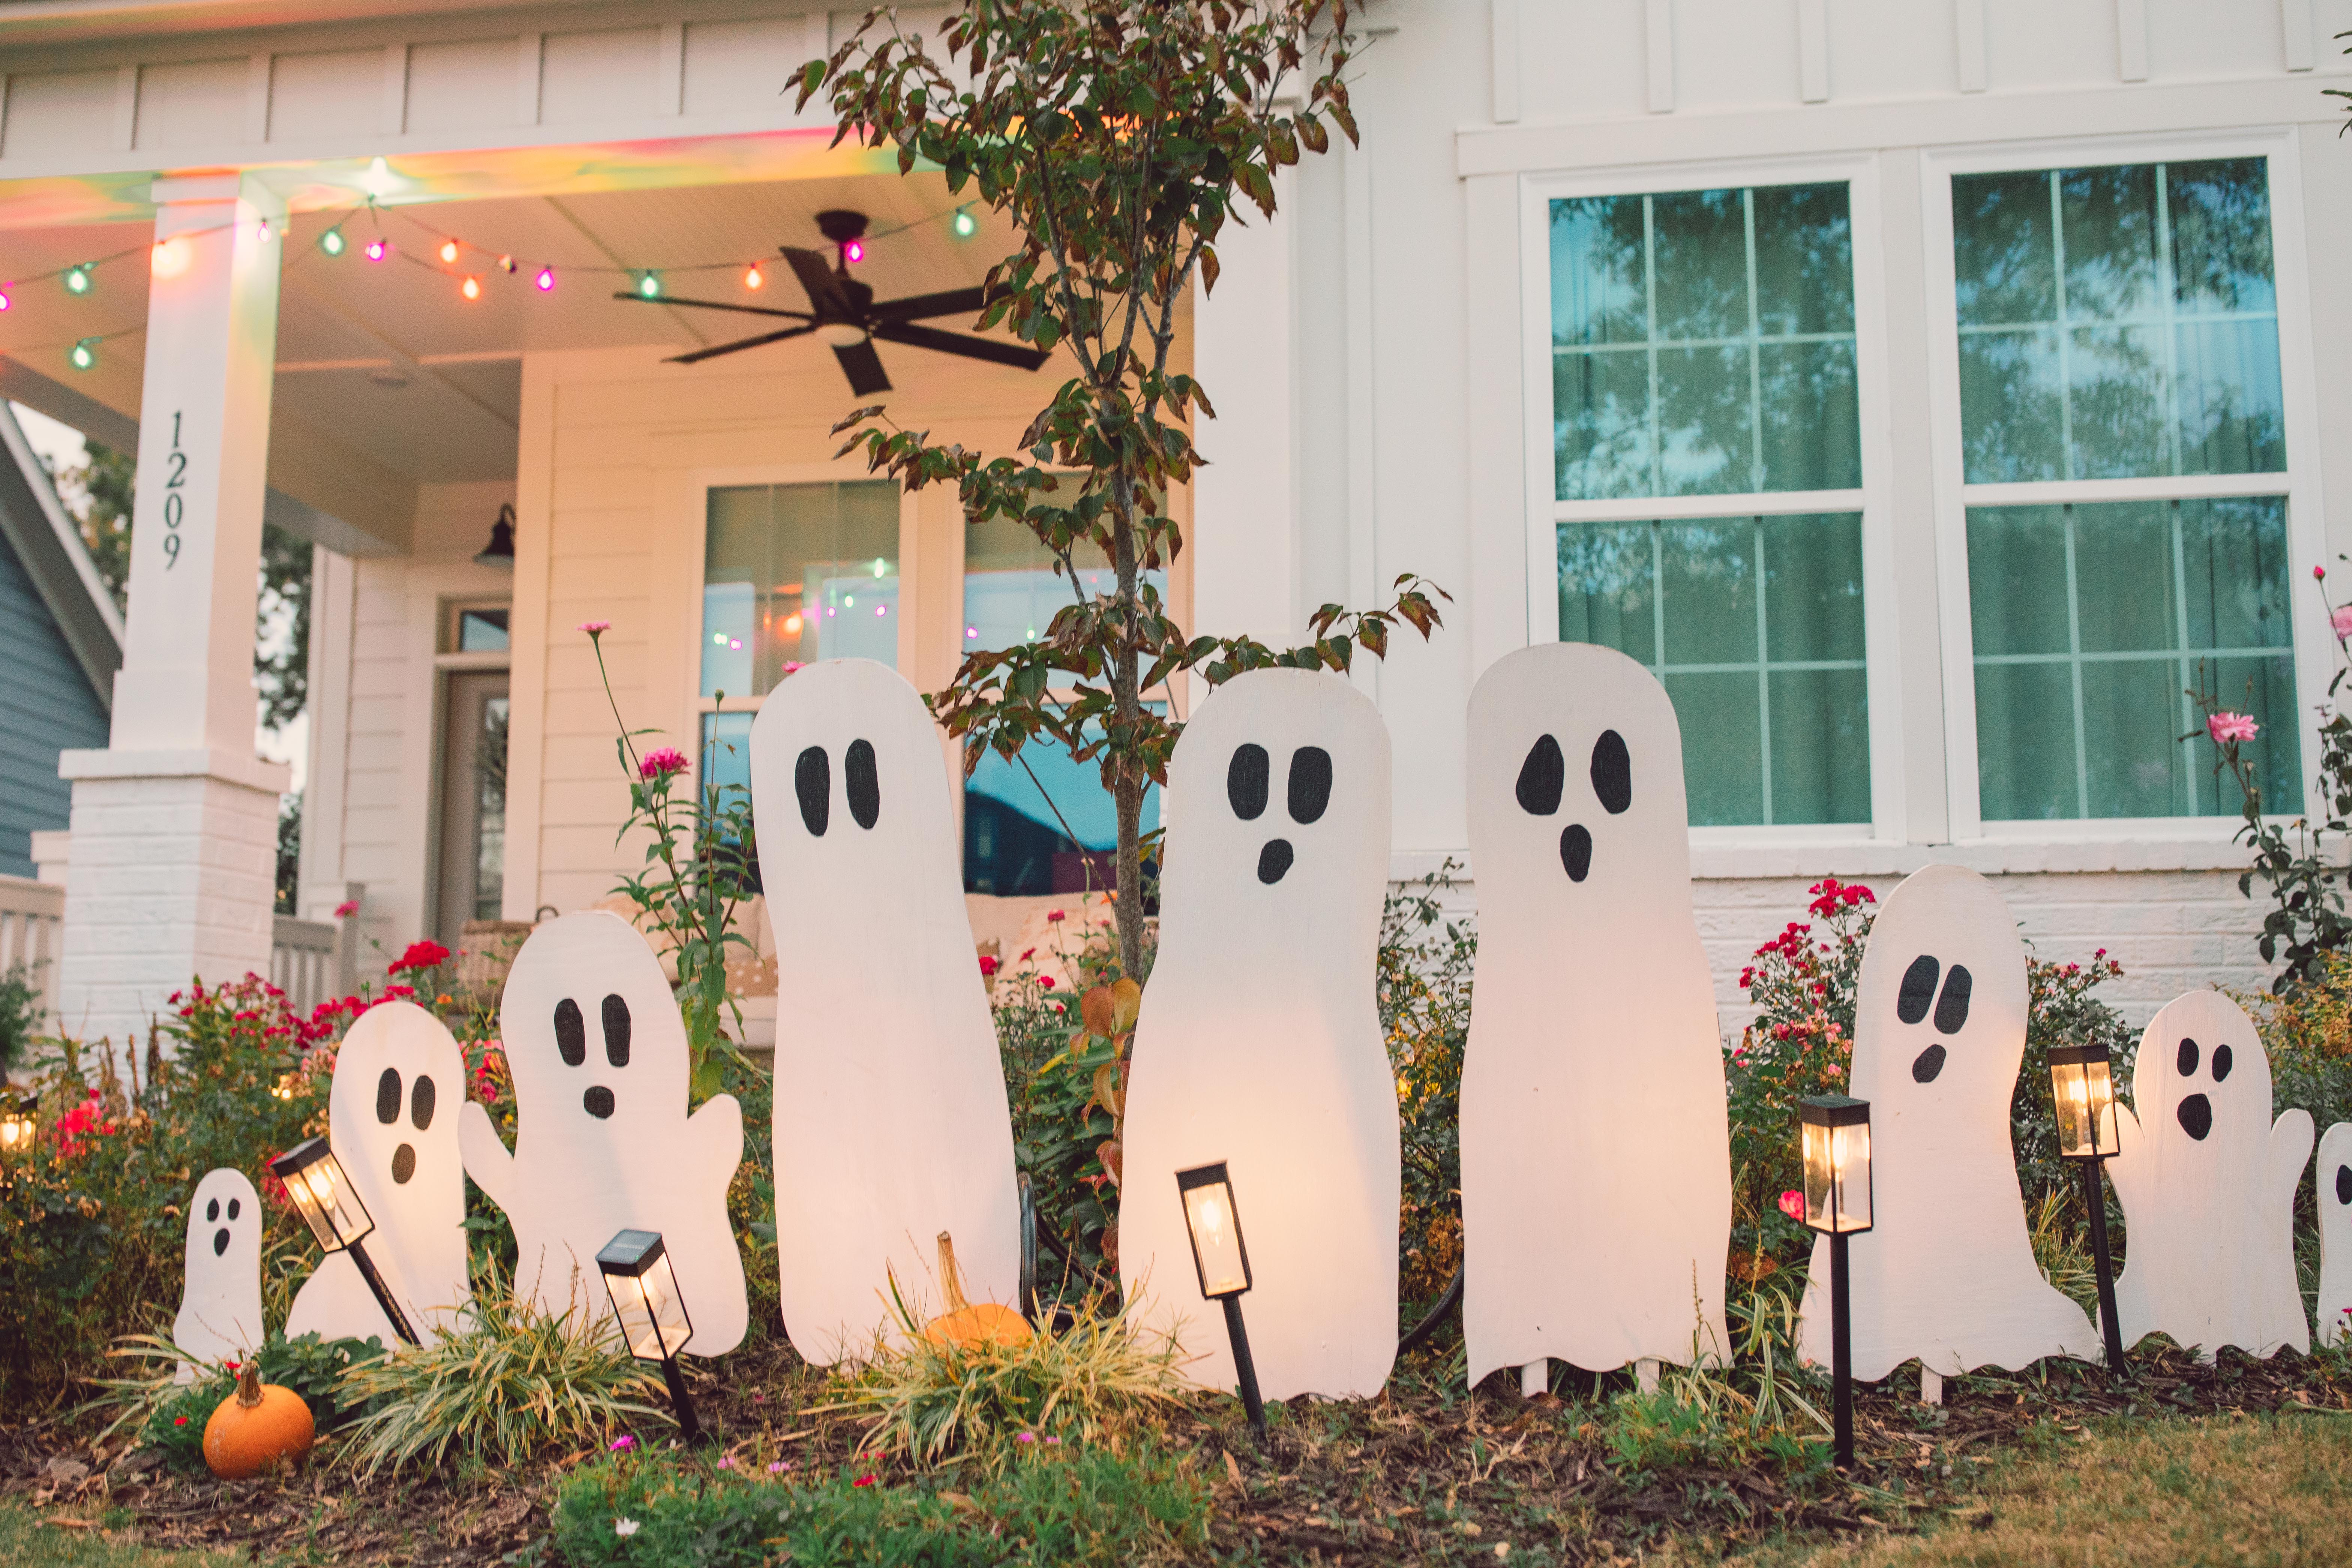
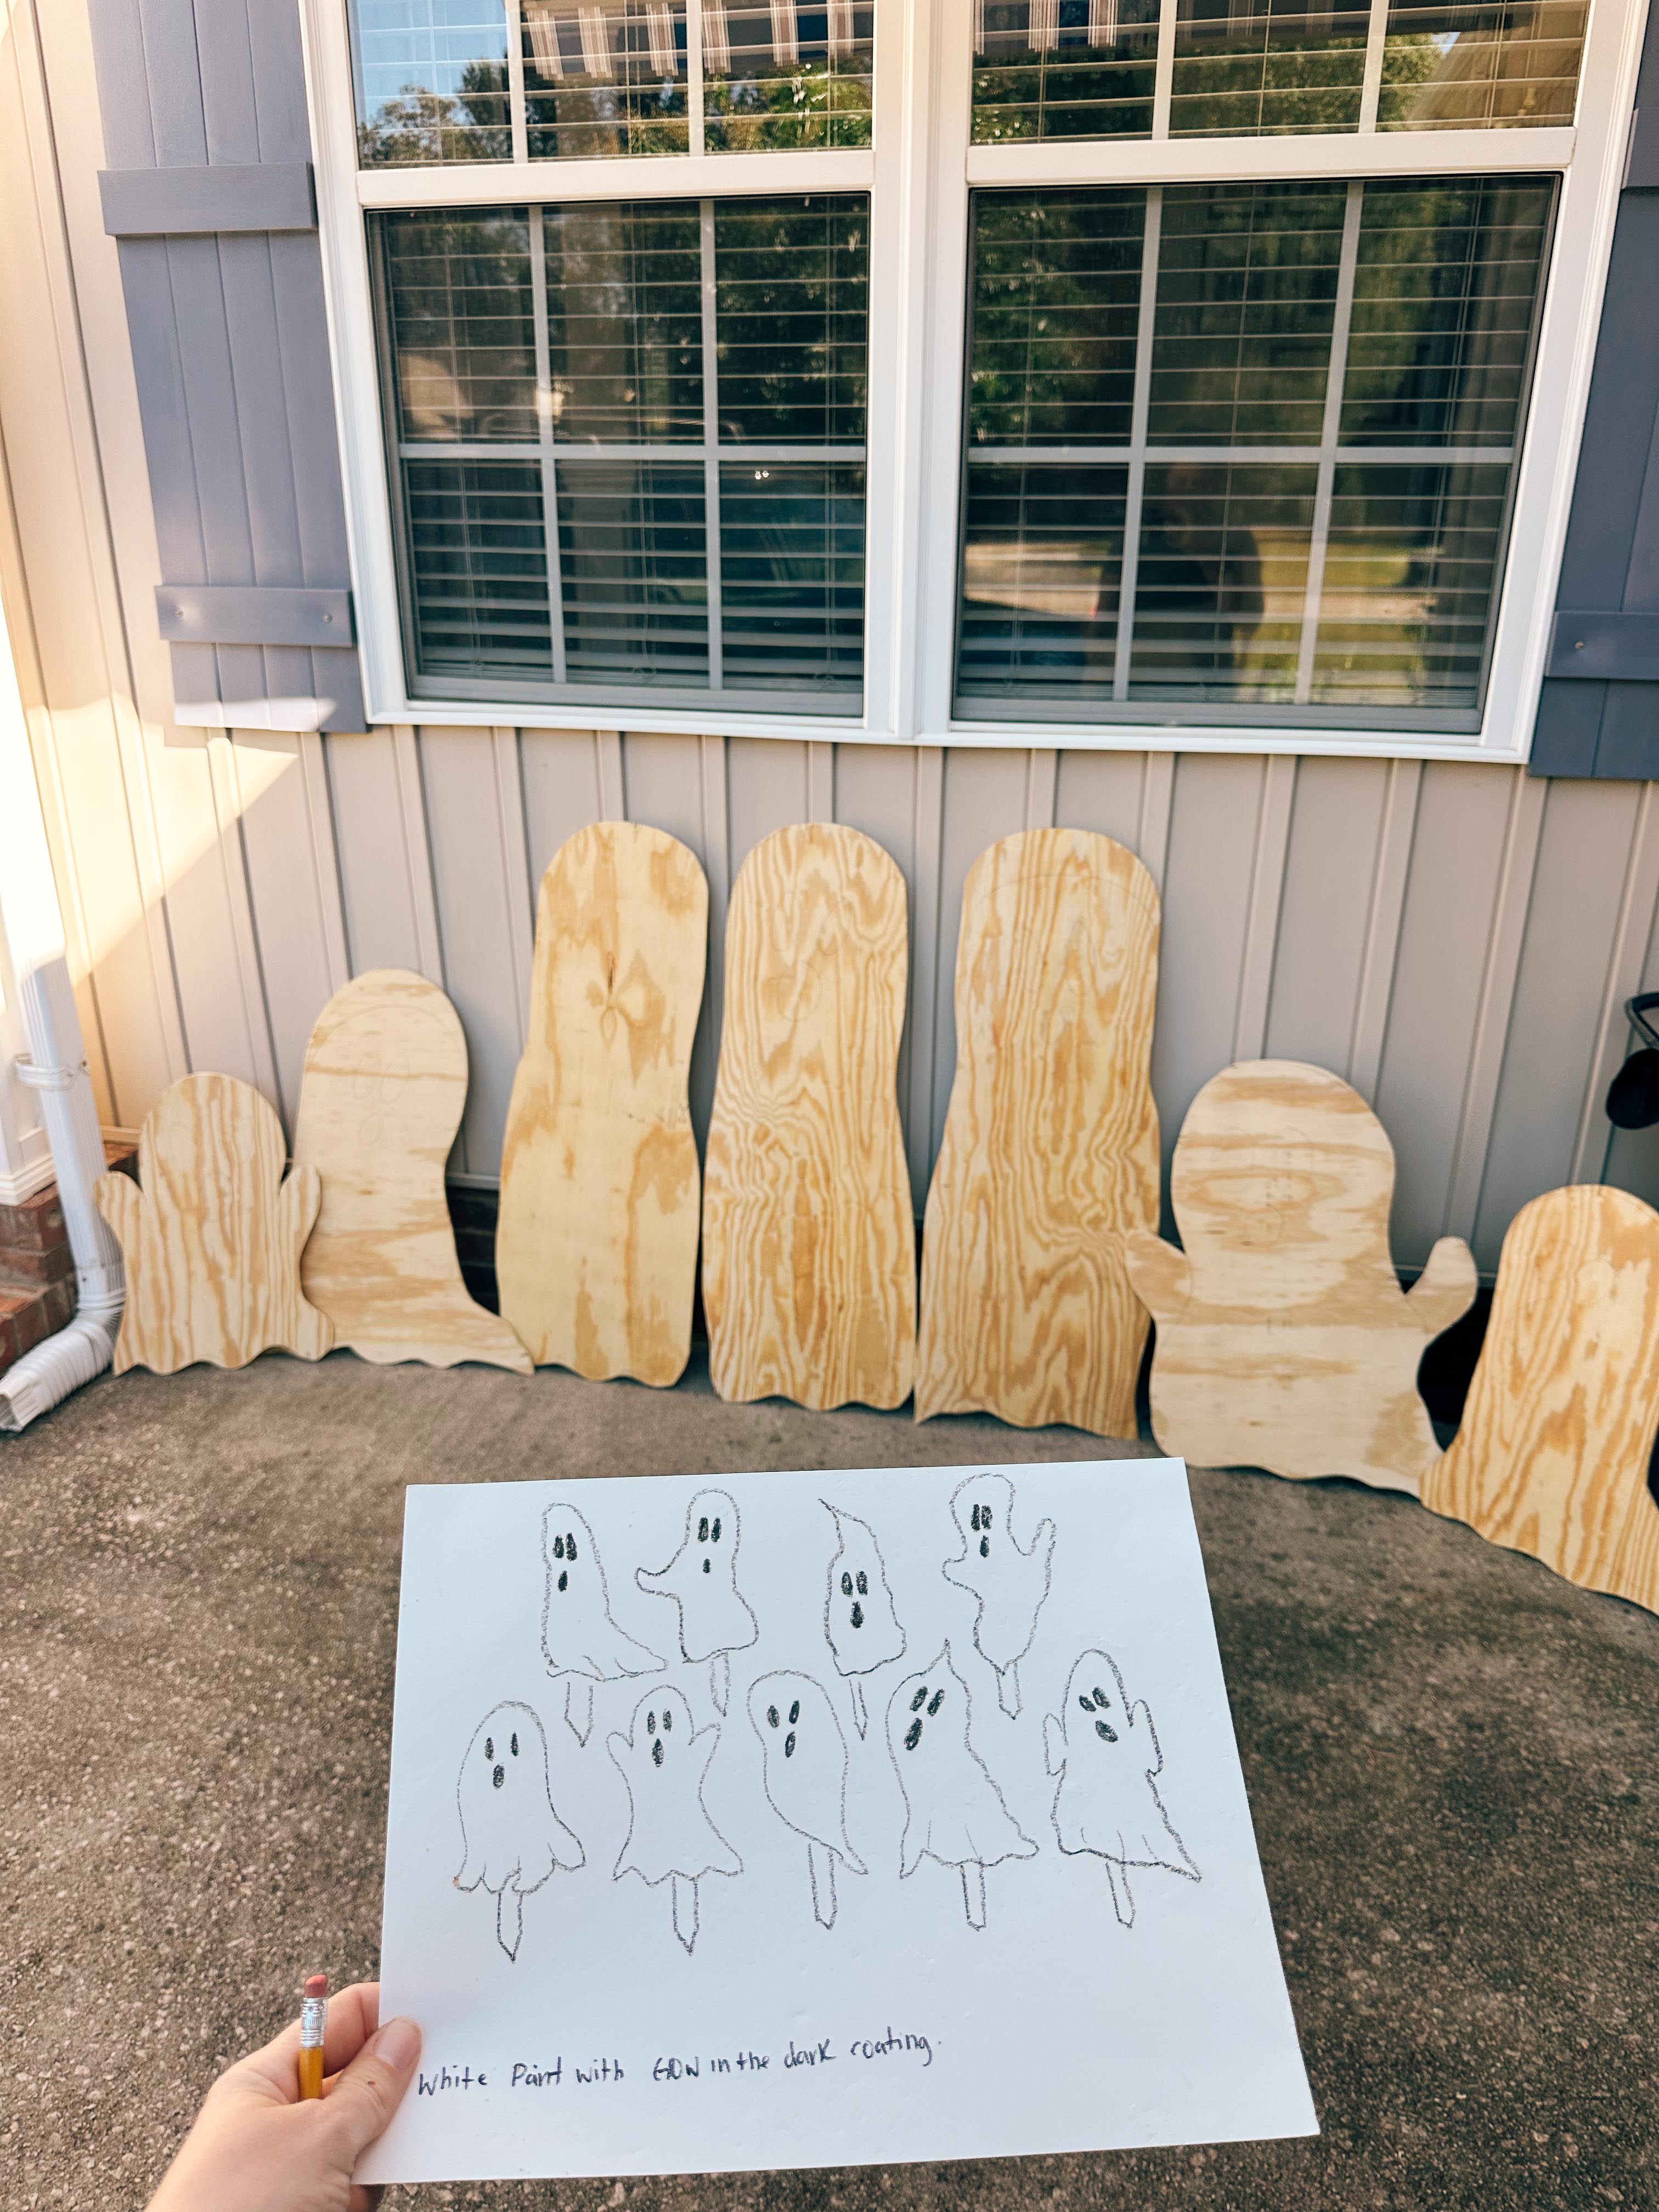
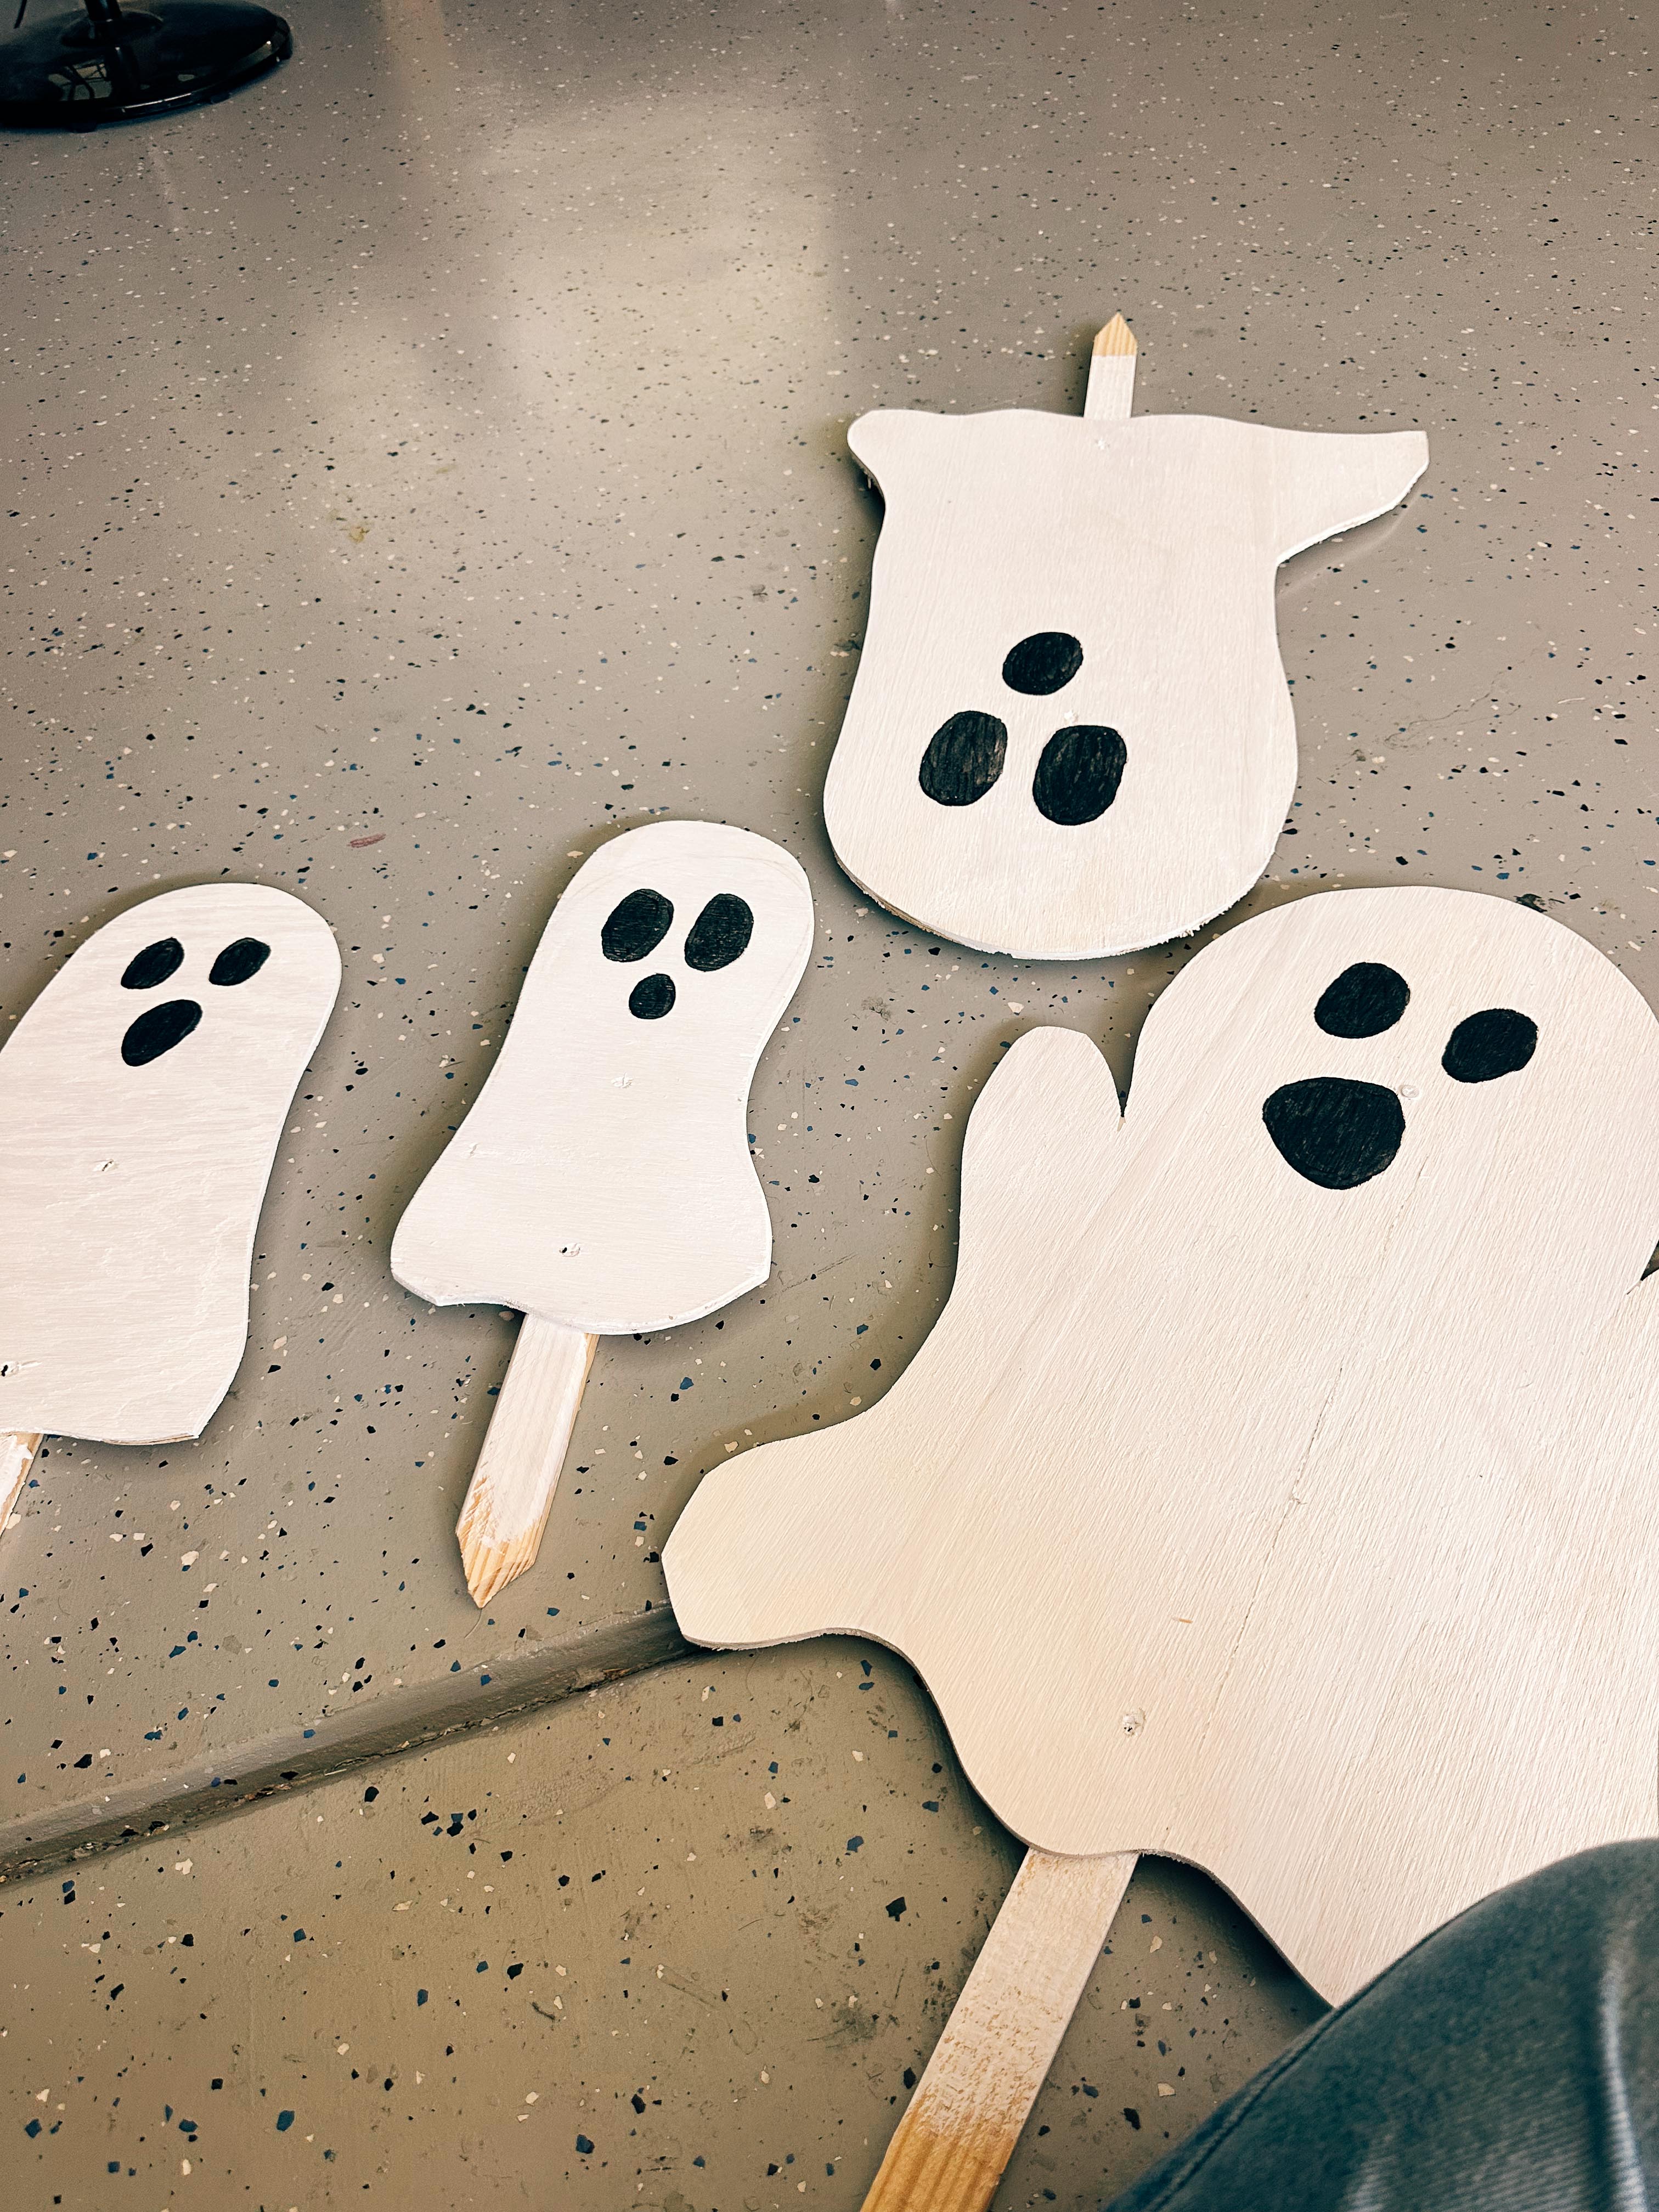
We grabbed some basic plywood, sketched out a bunch of ghosts in different shapes and sizes, cut them out, and gave each one its own little personality. The entire project only took us one afternoon, and I’m so glad we did it ourselves. They turned out even cuter than I pictured! My son LOVED helping on this project.
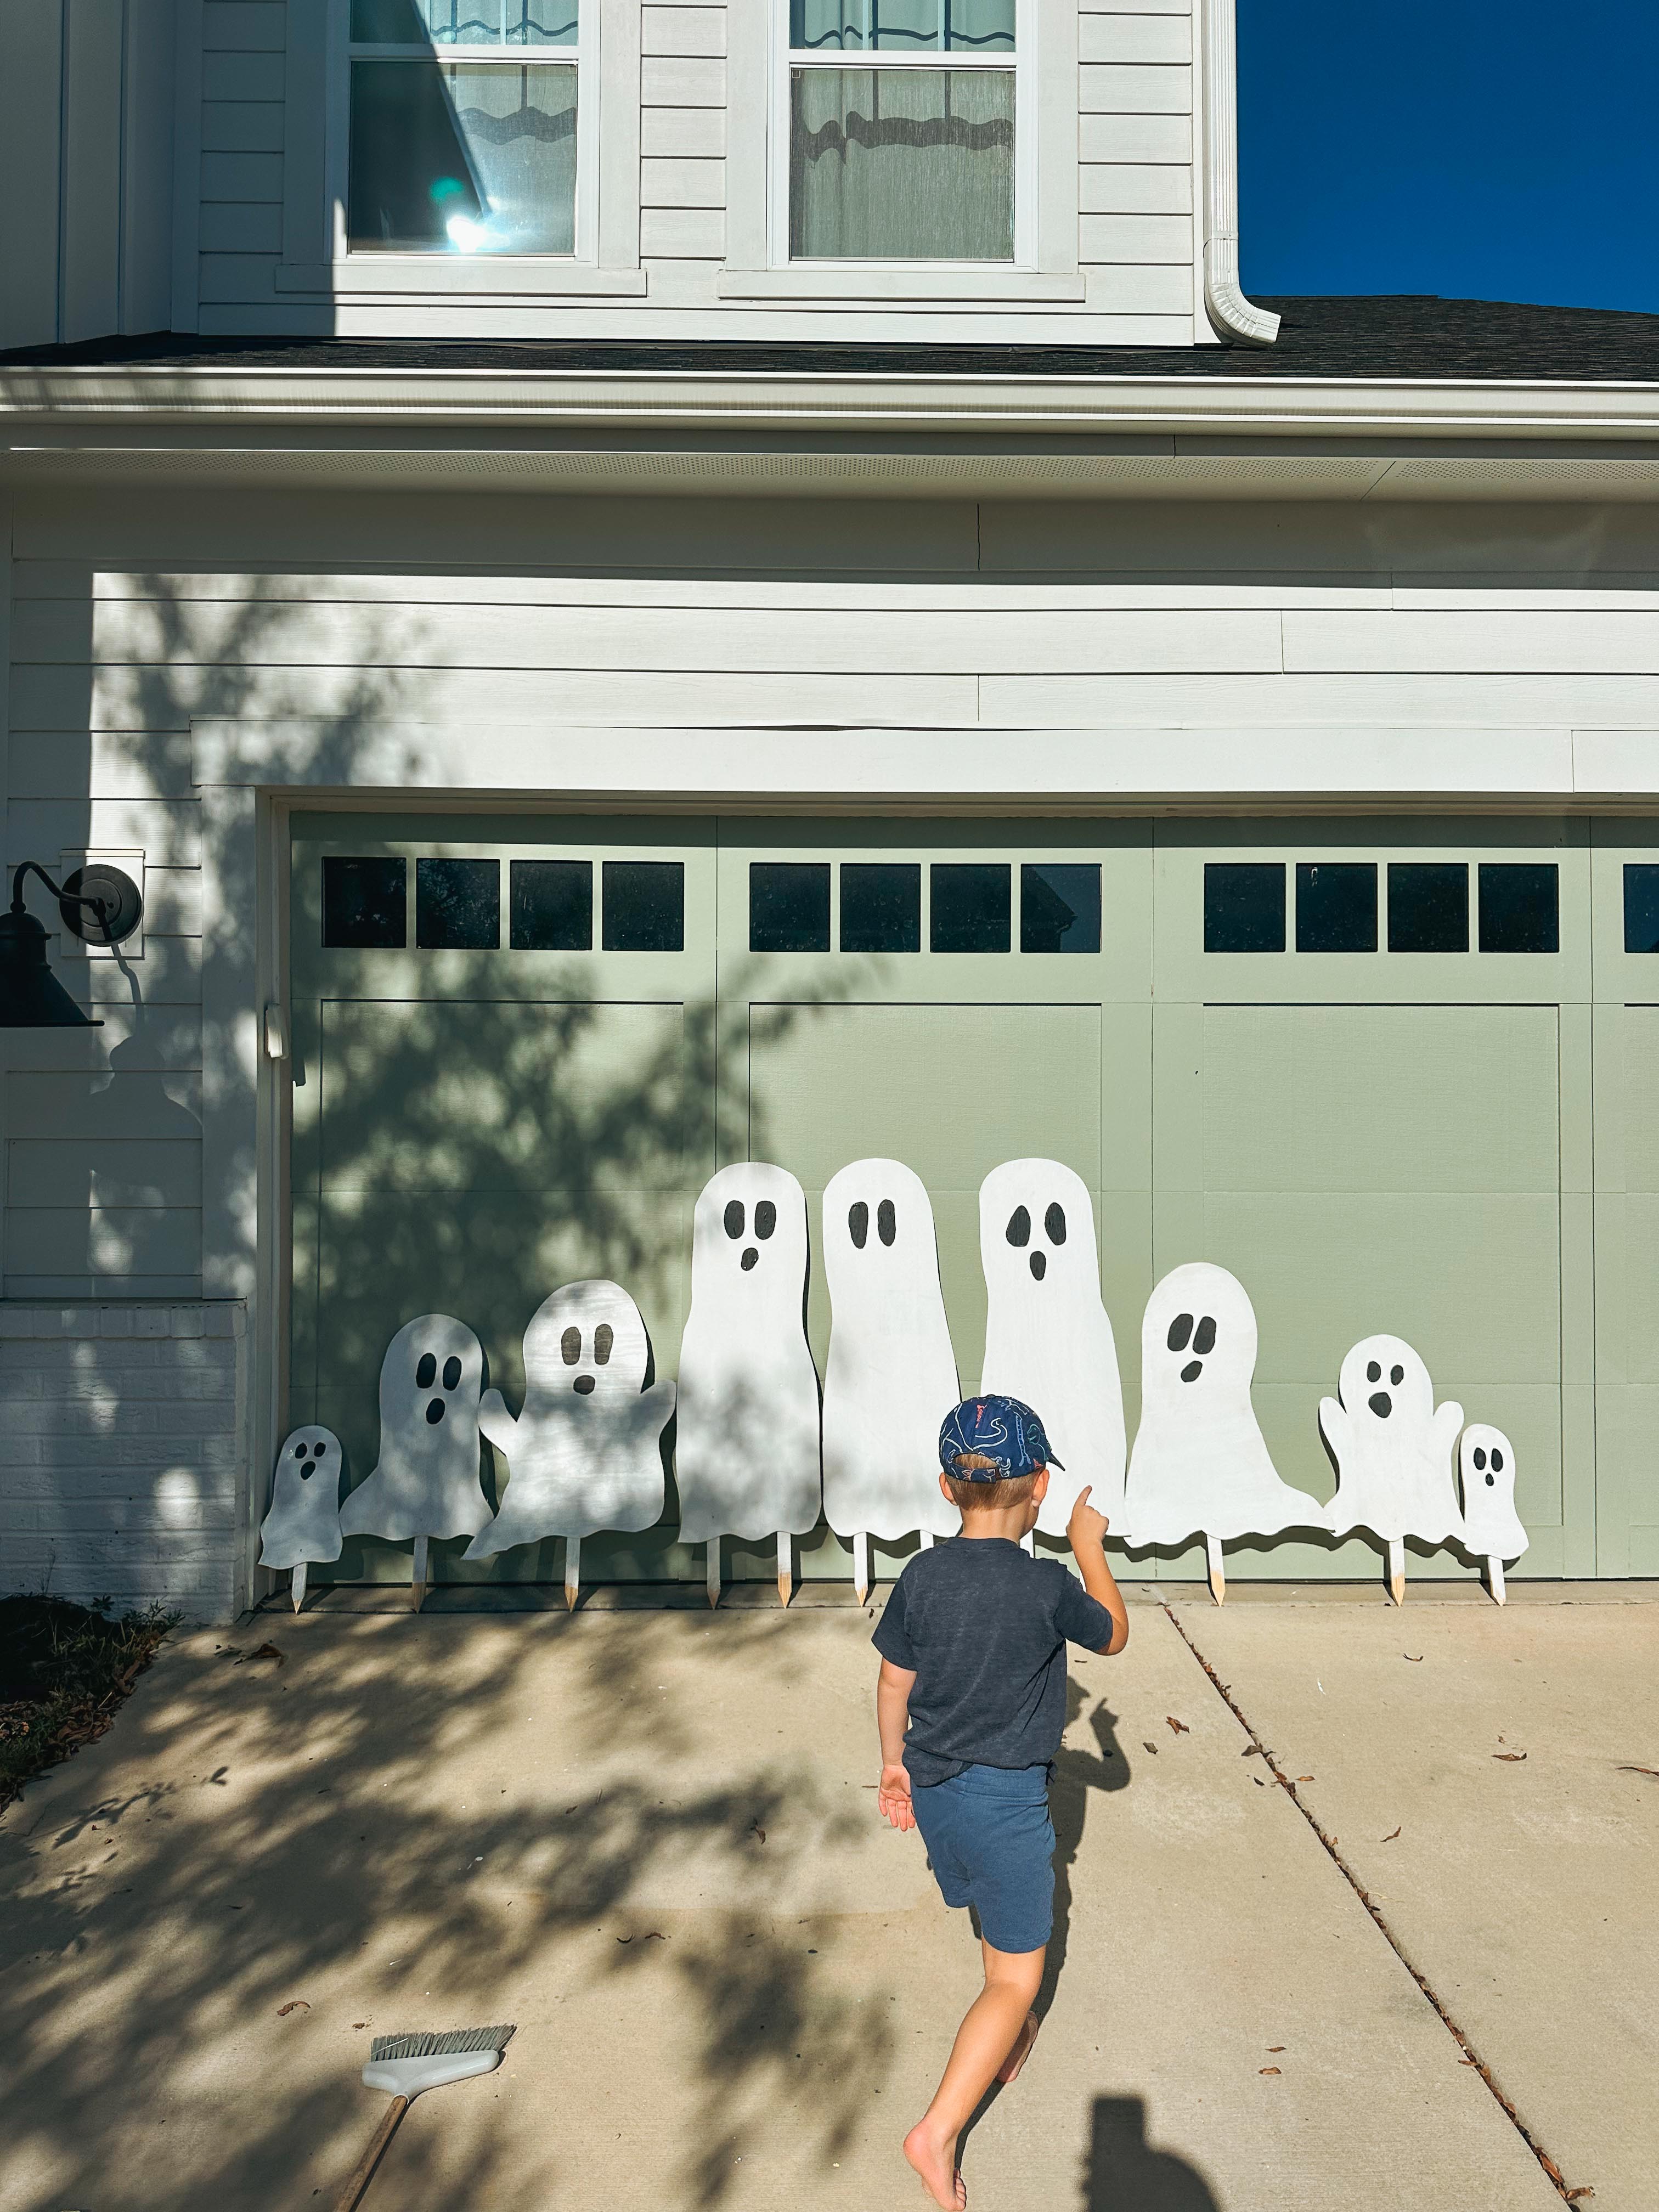
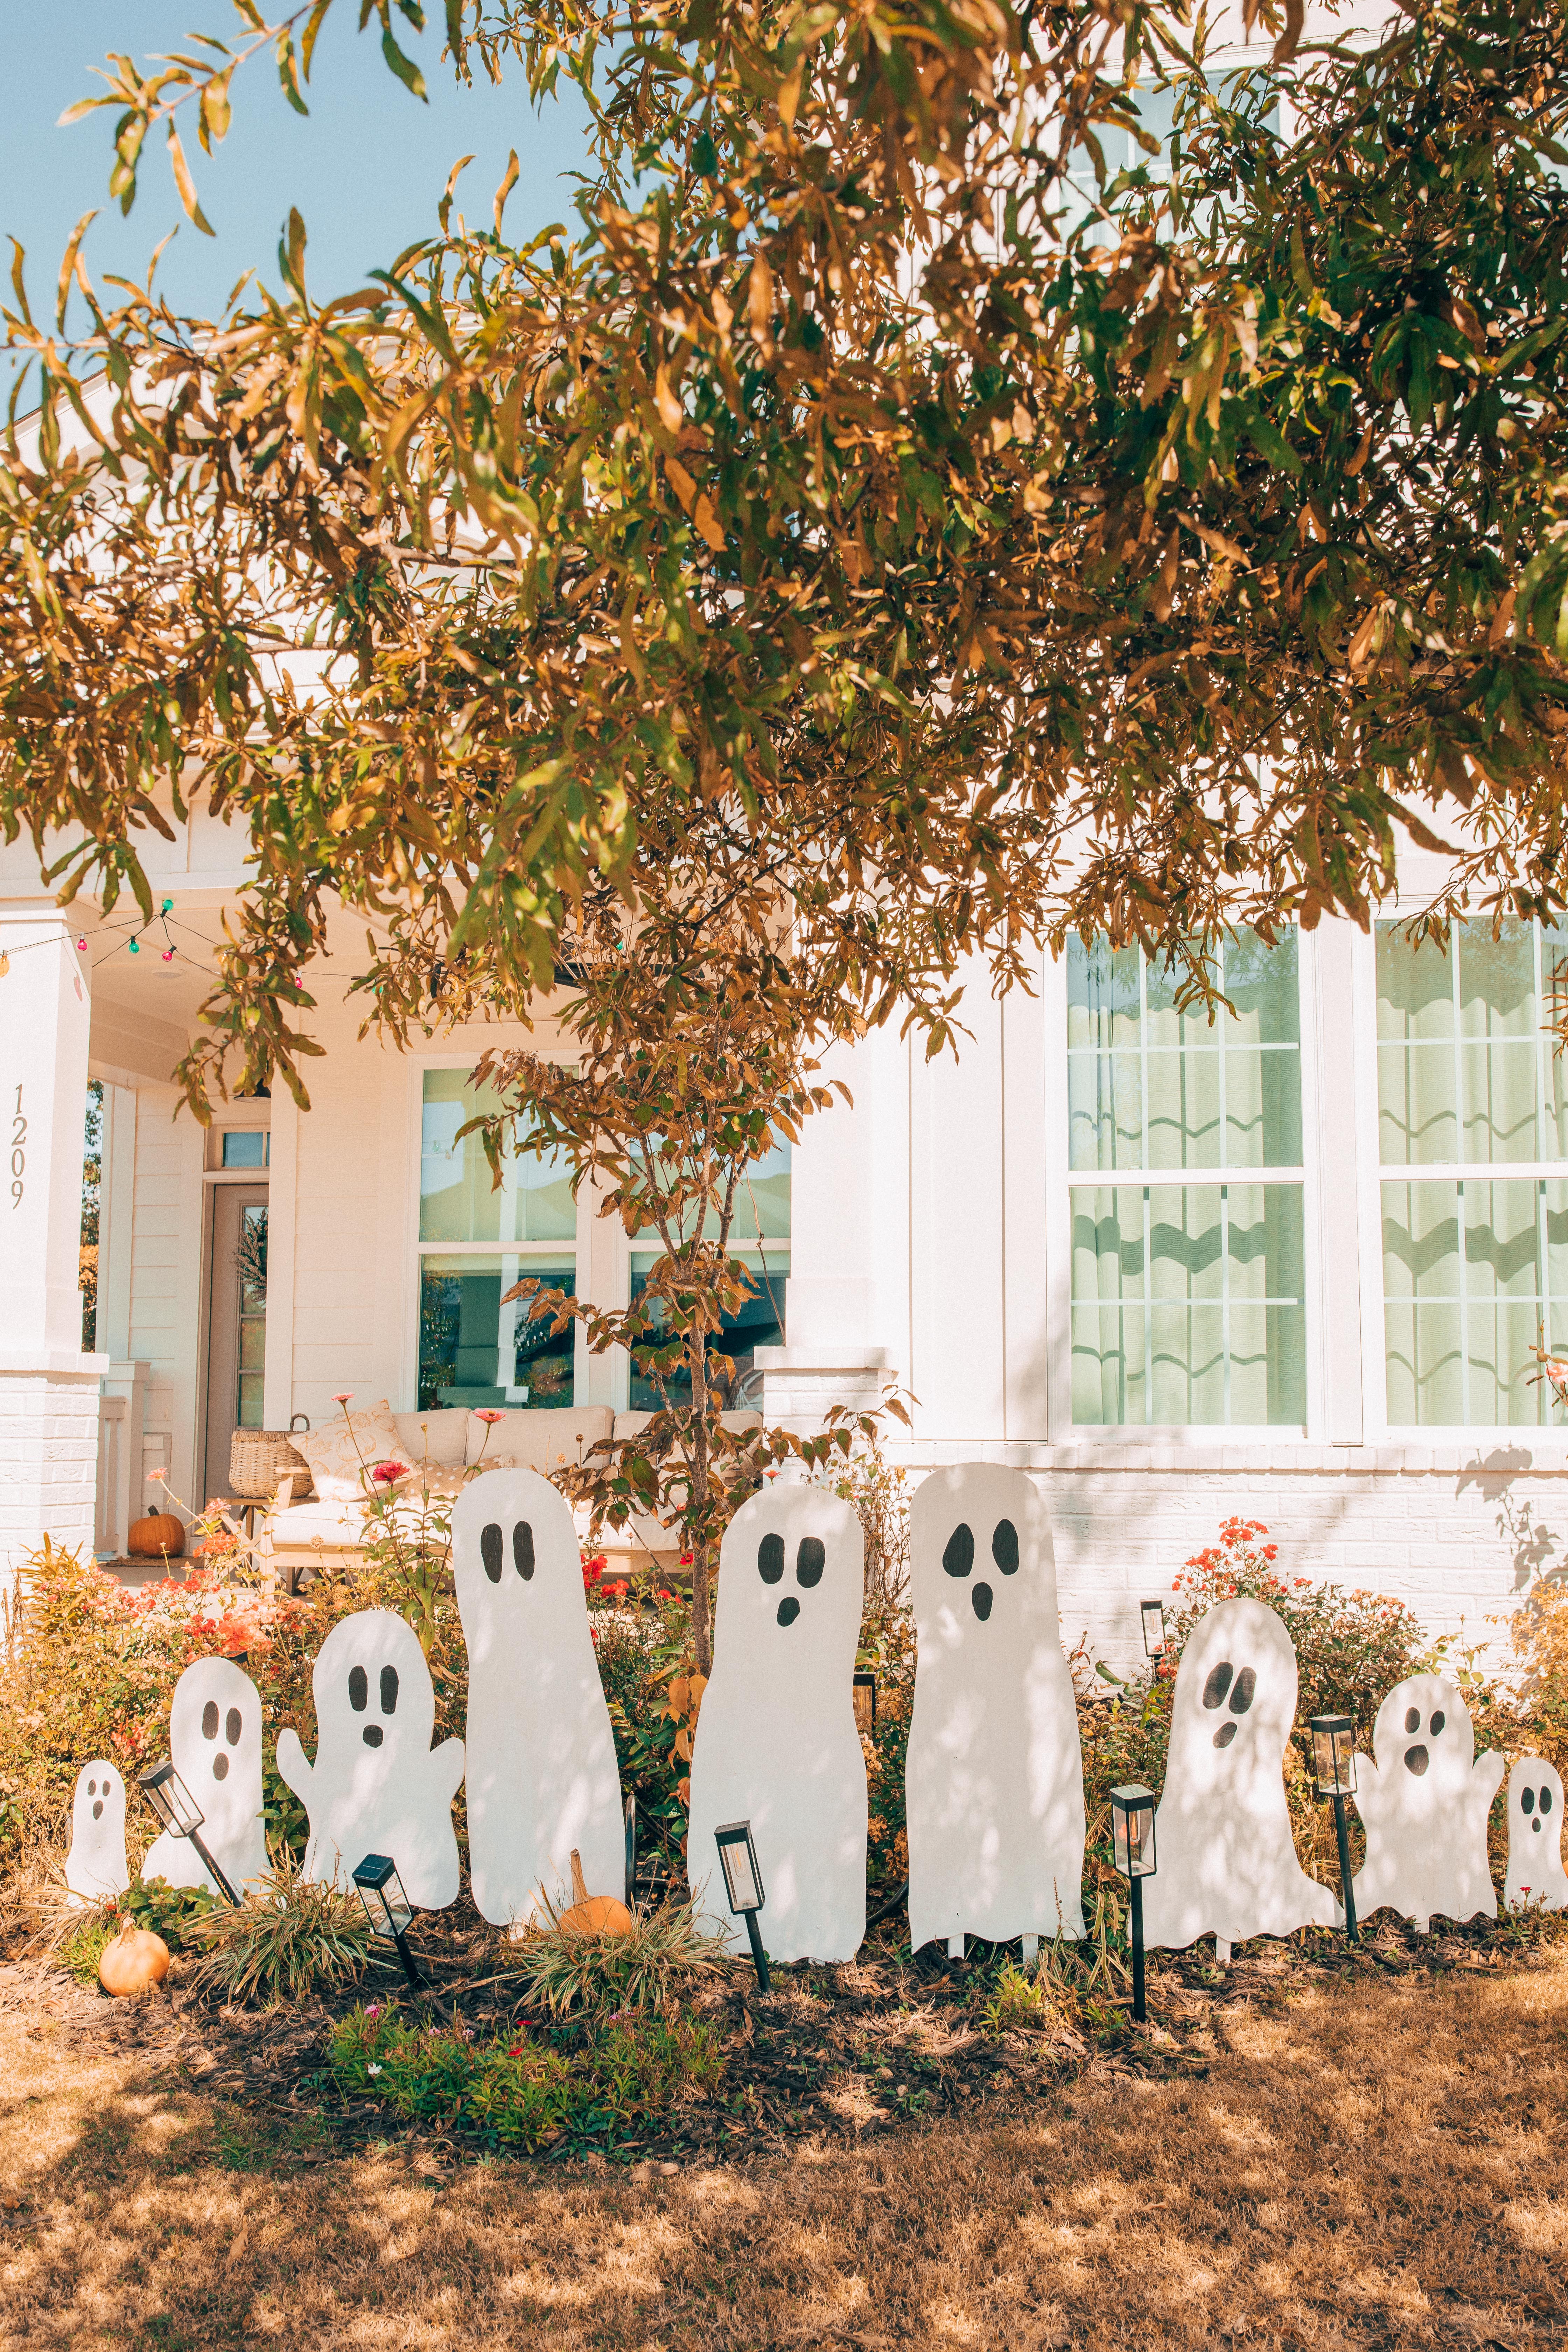
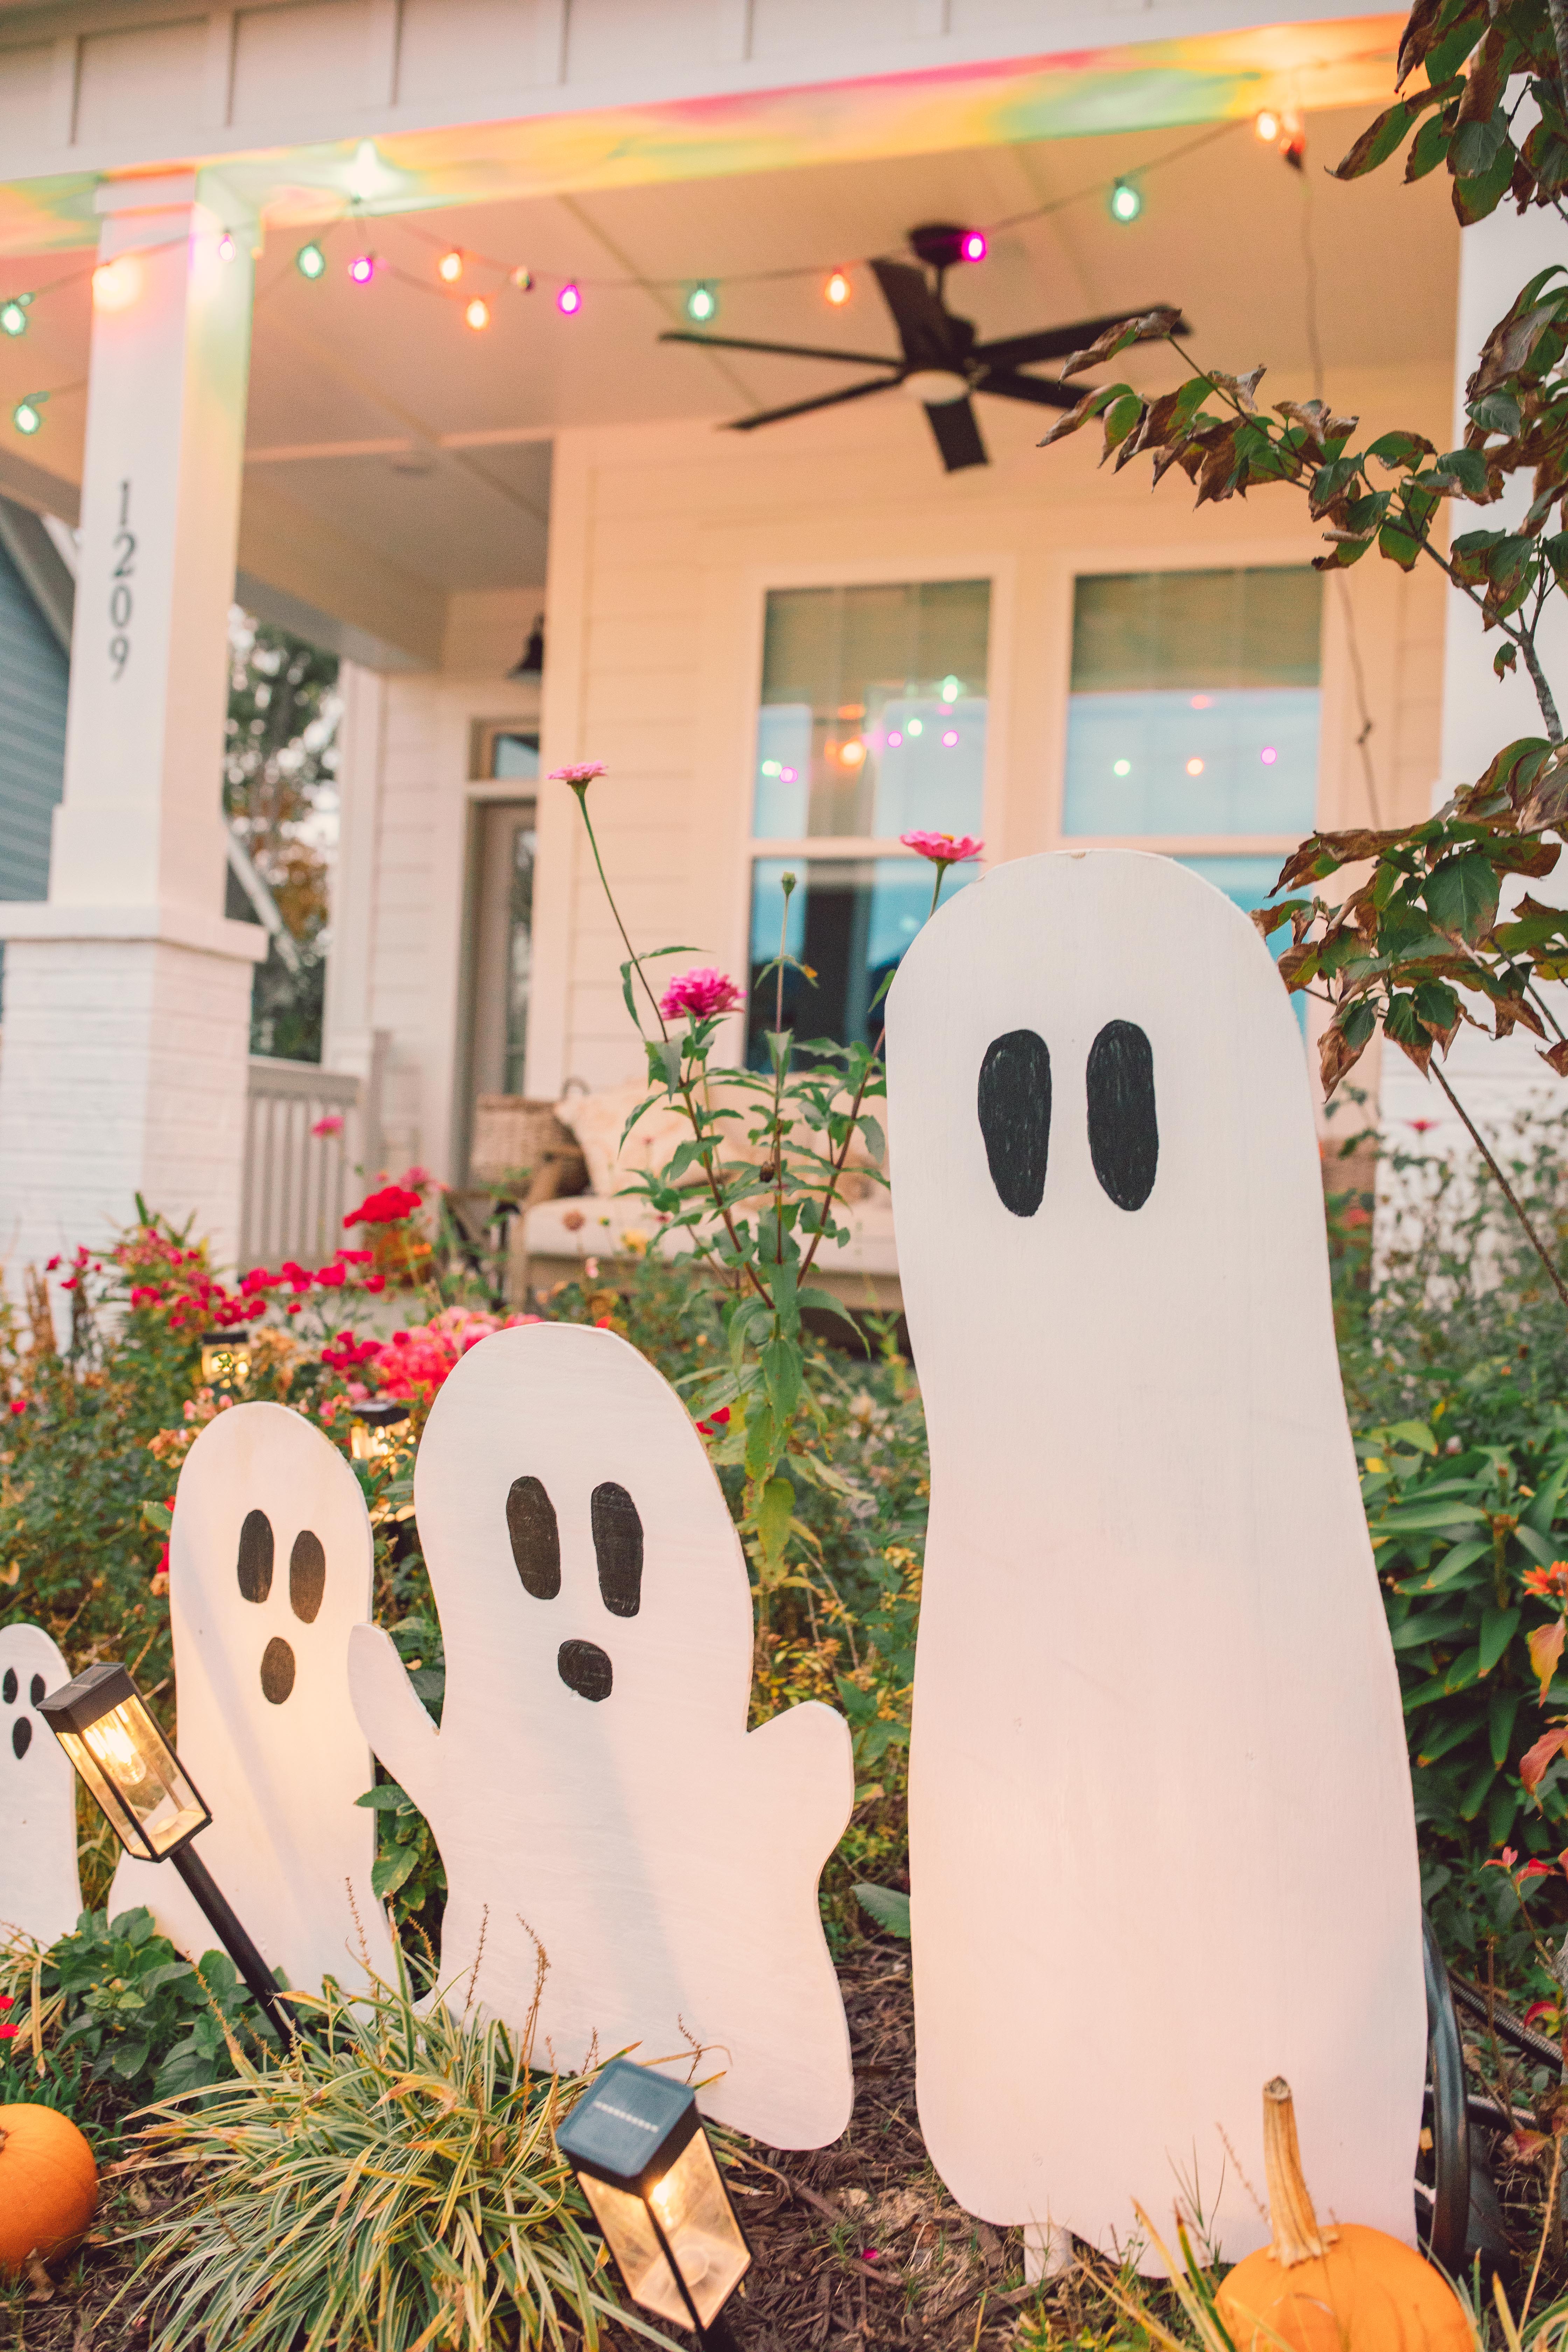
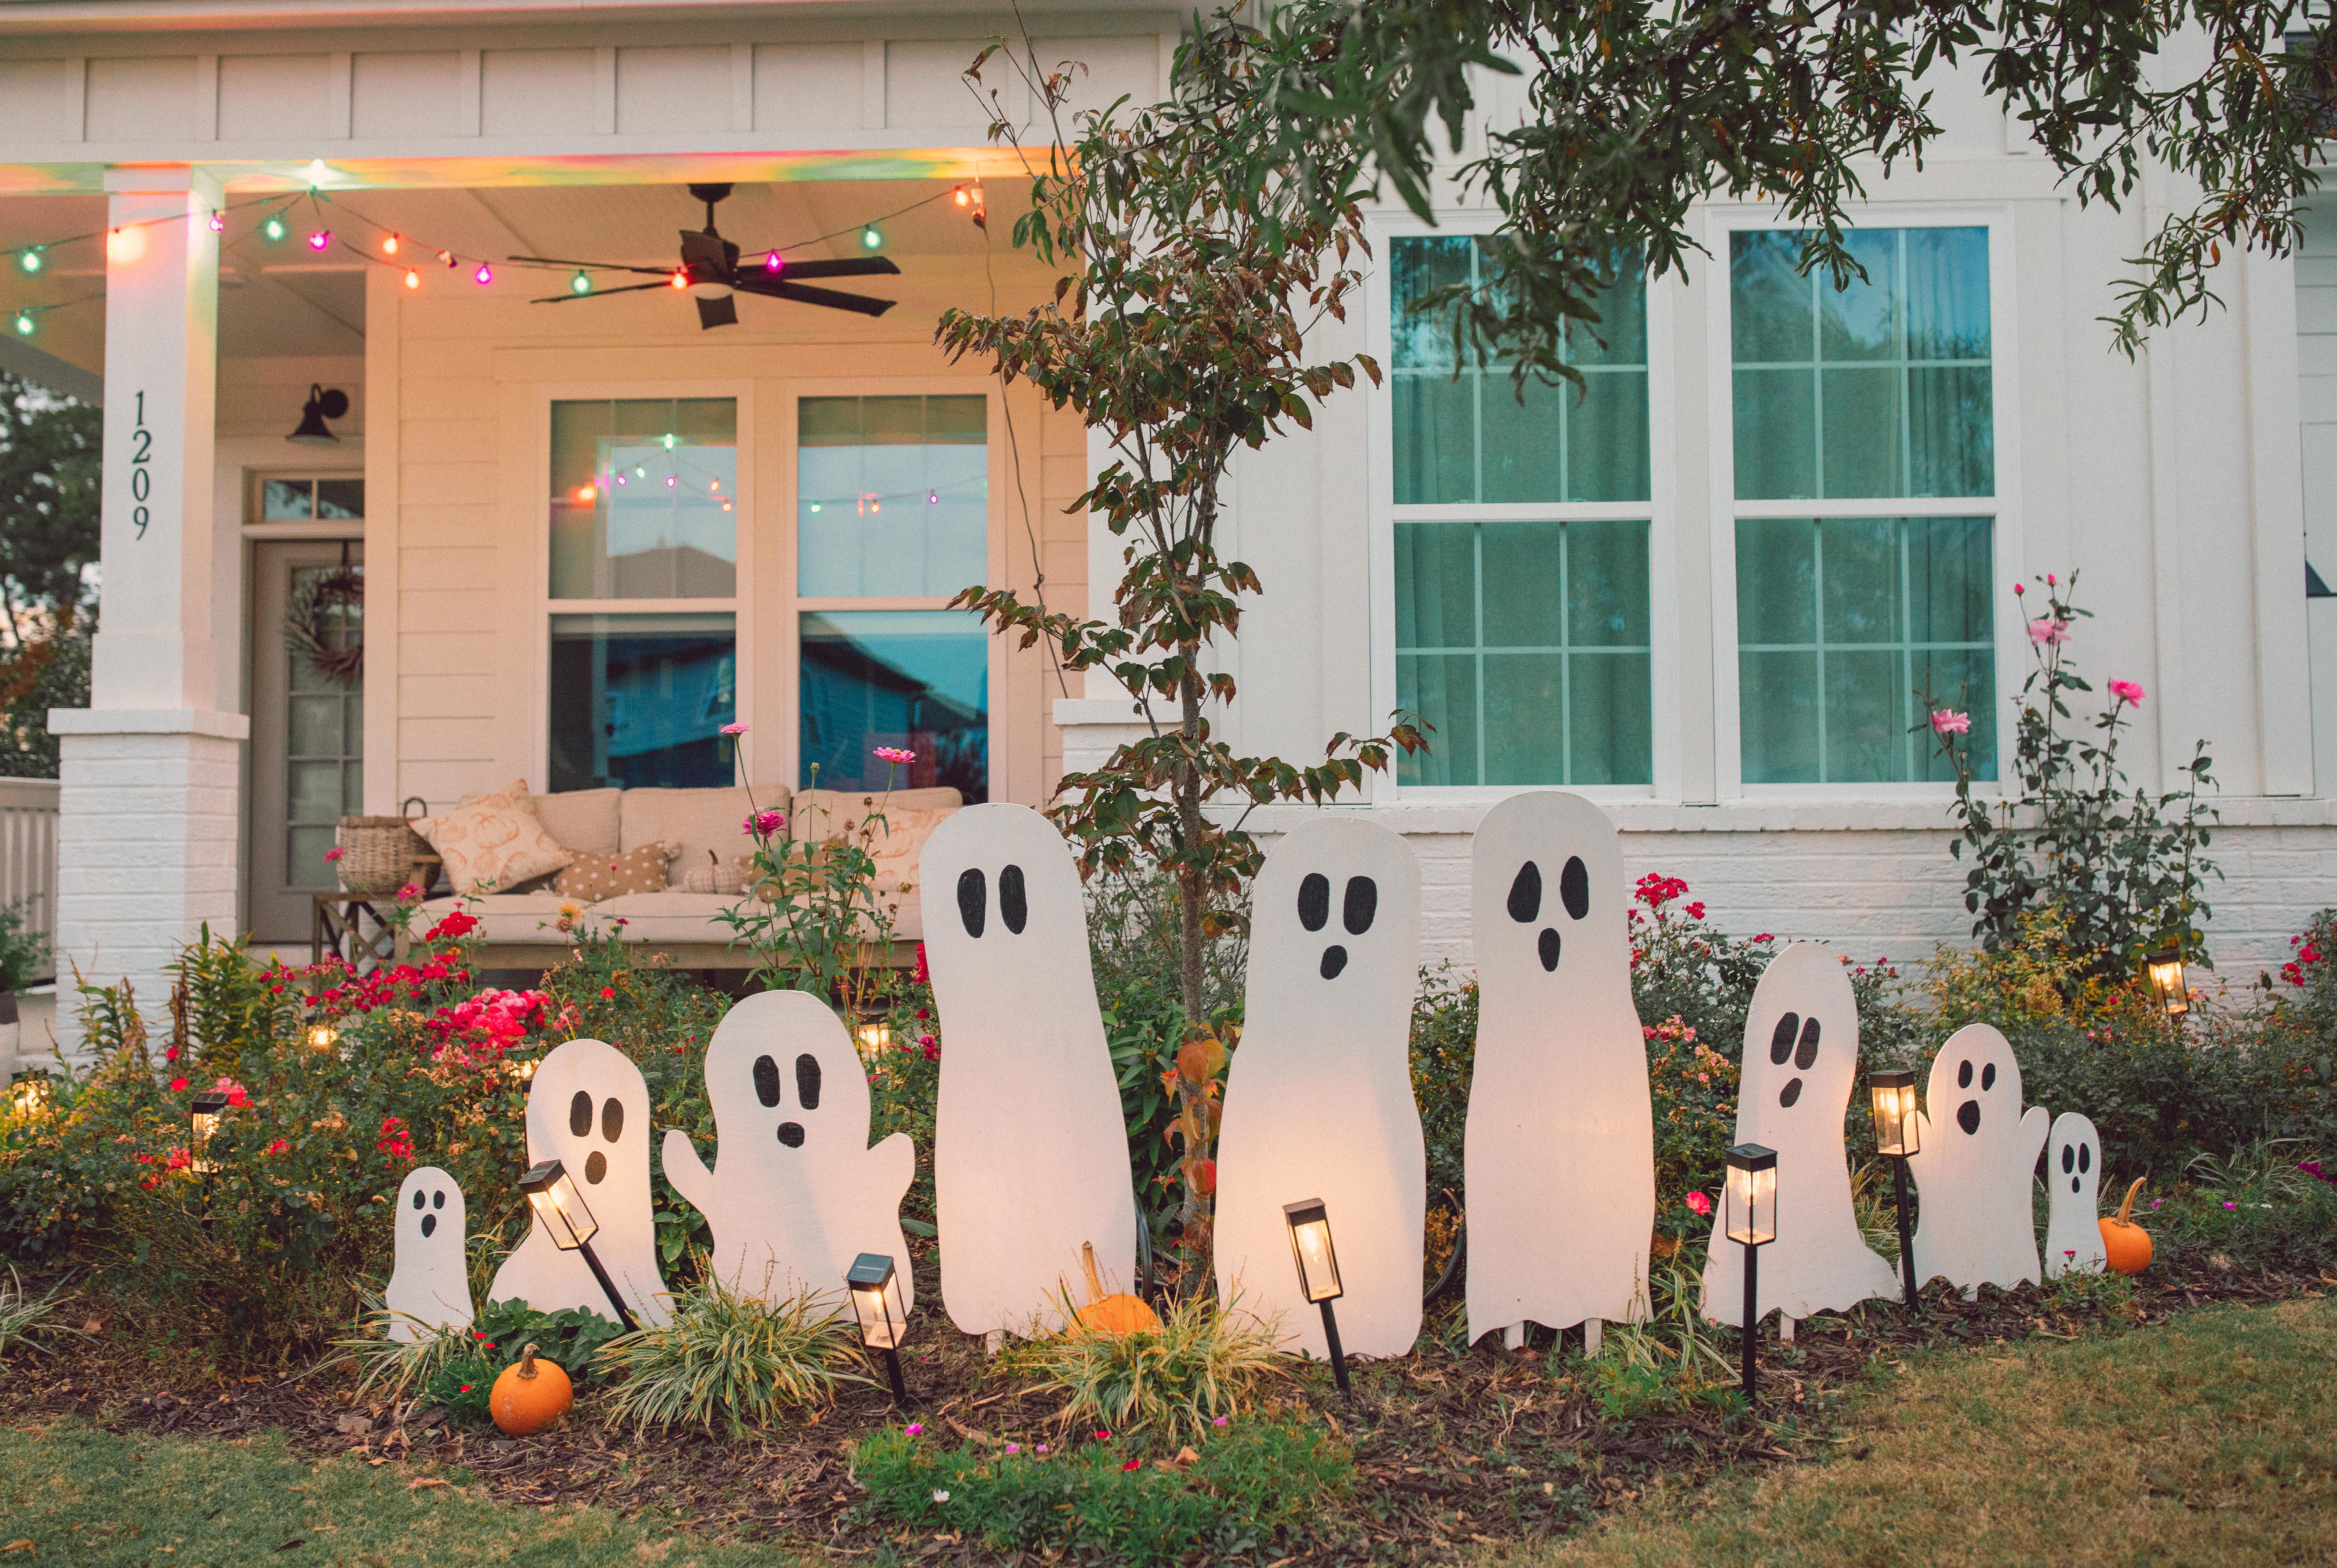
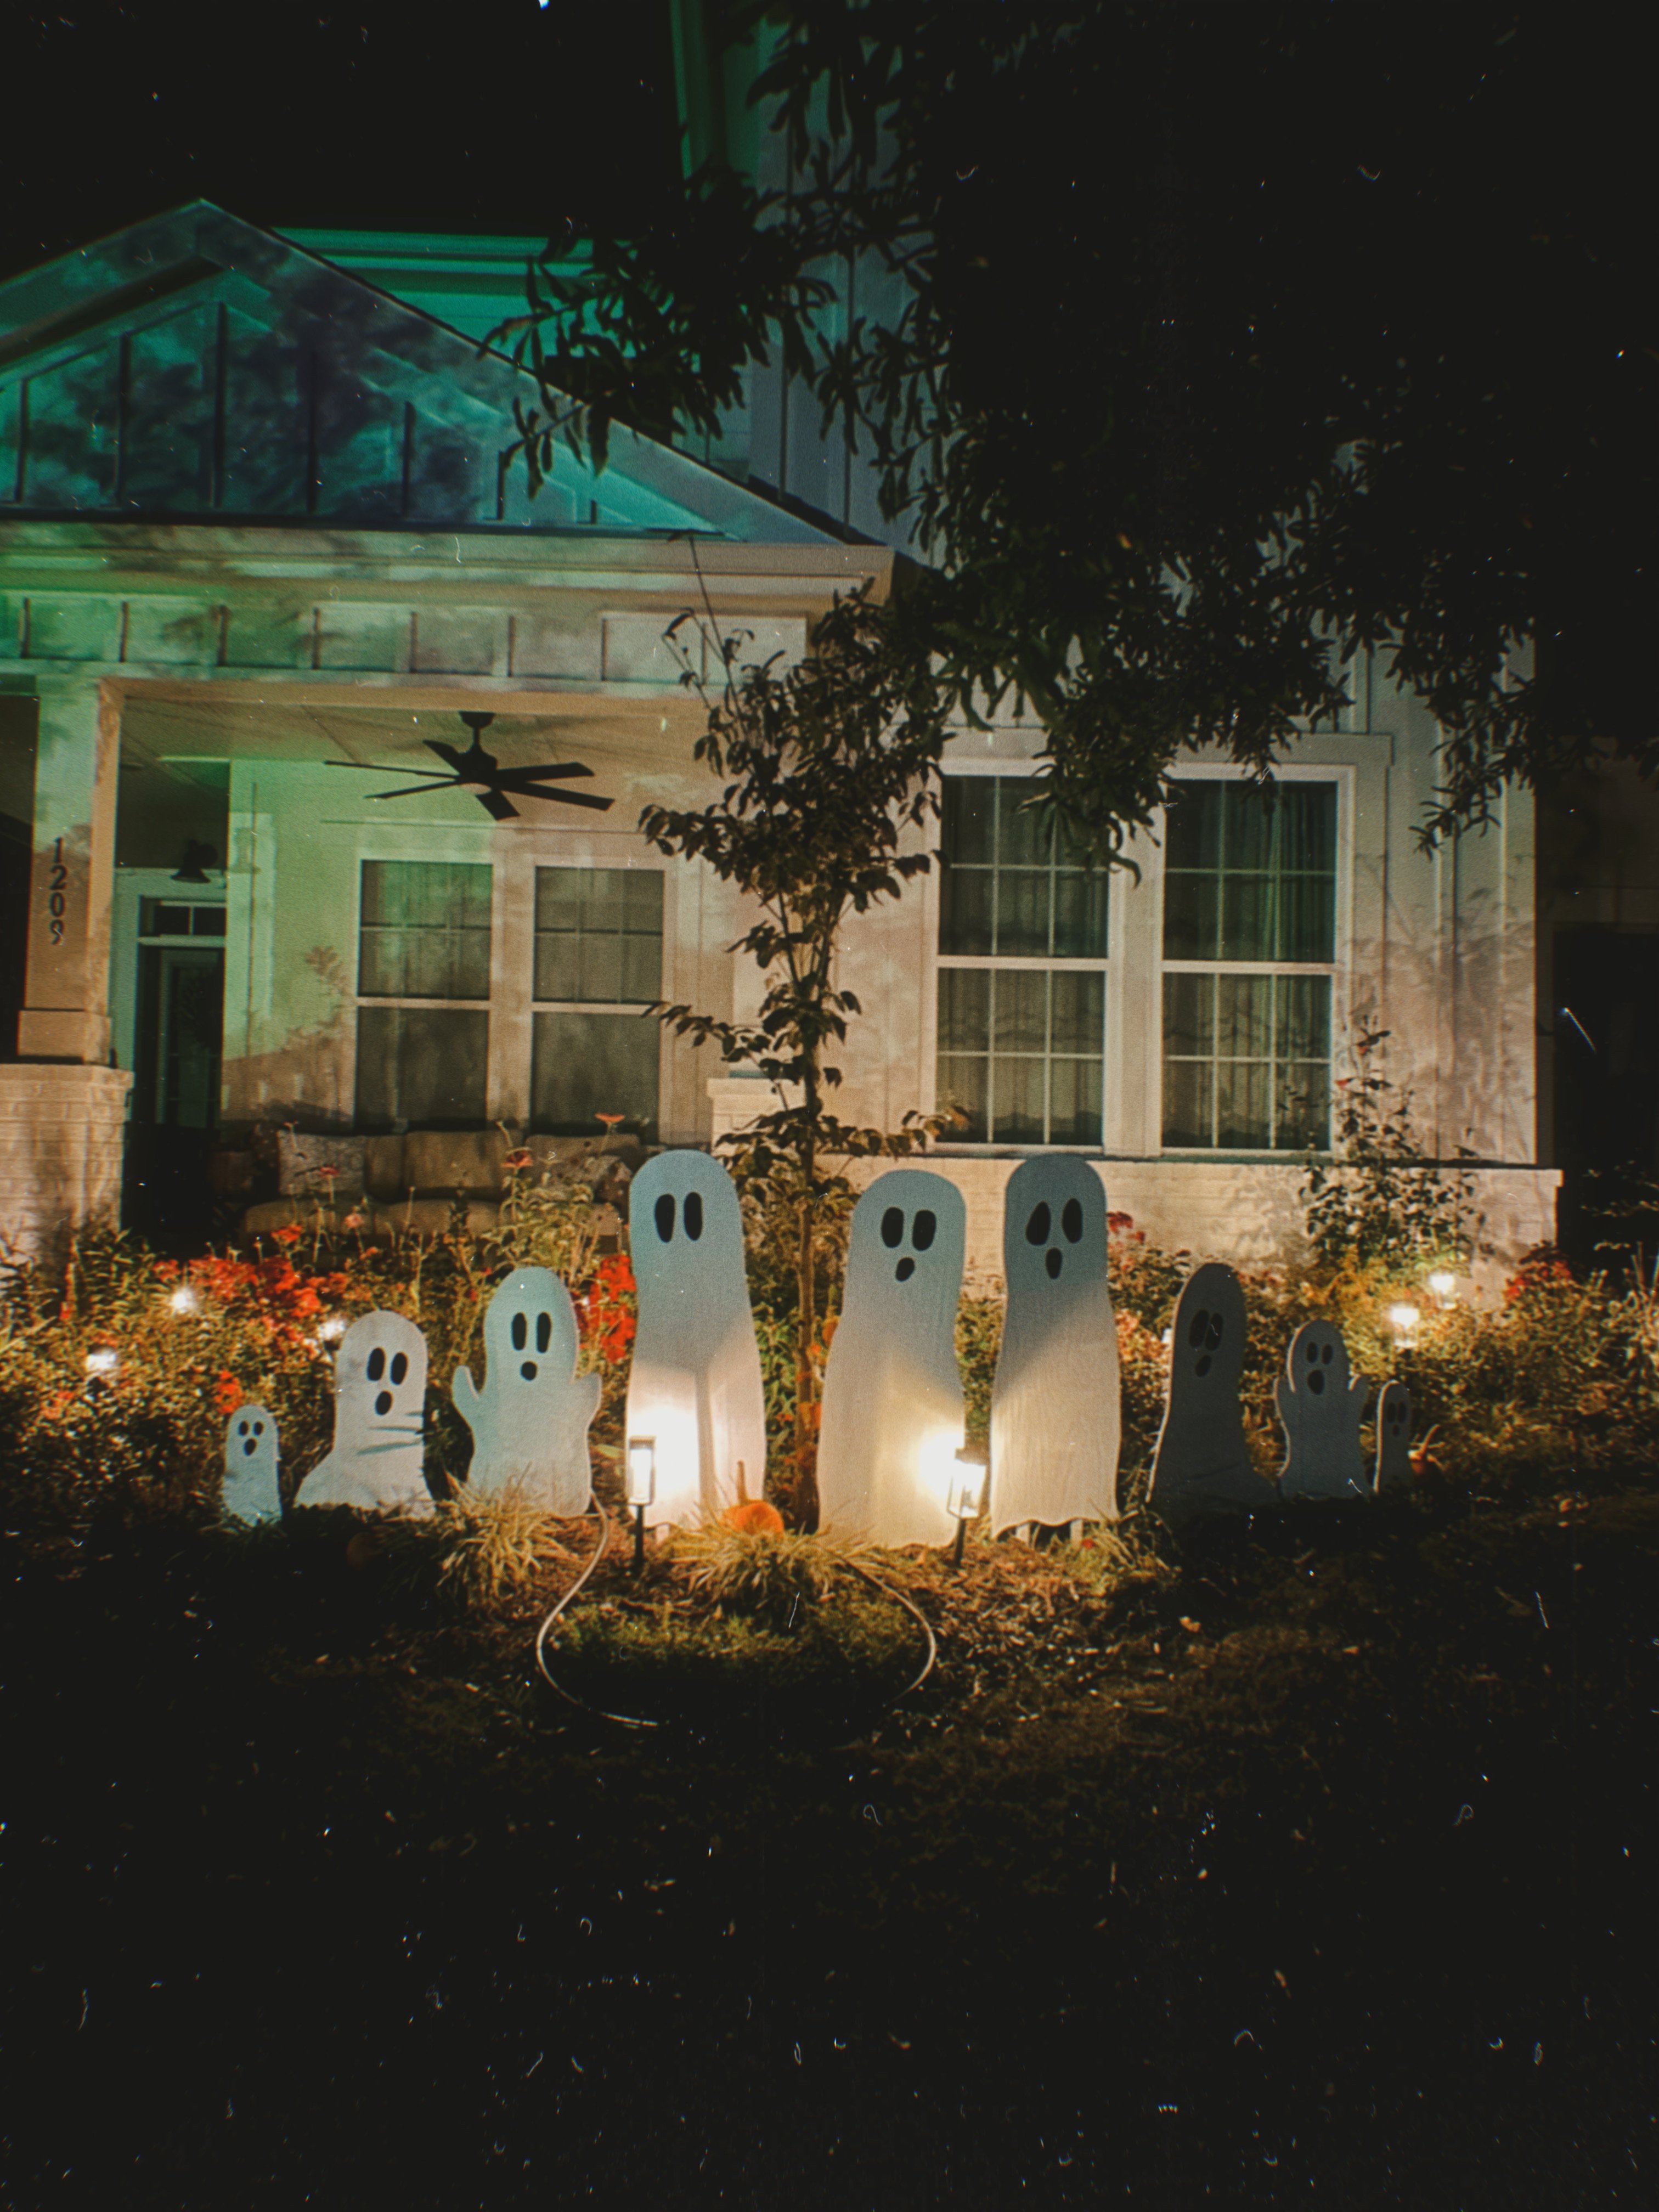
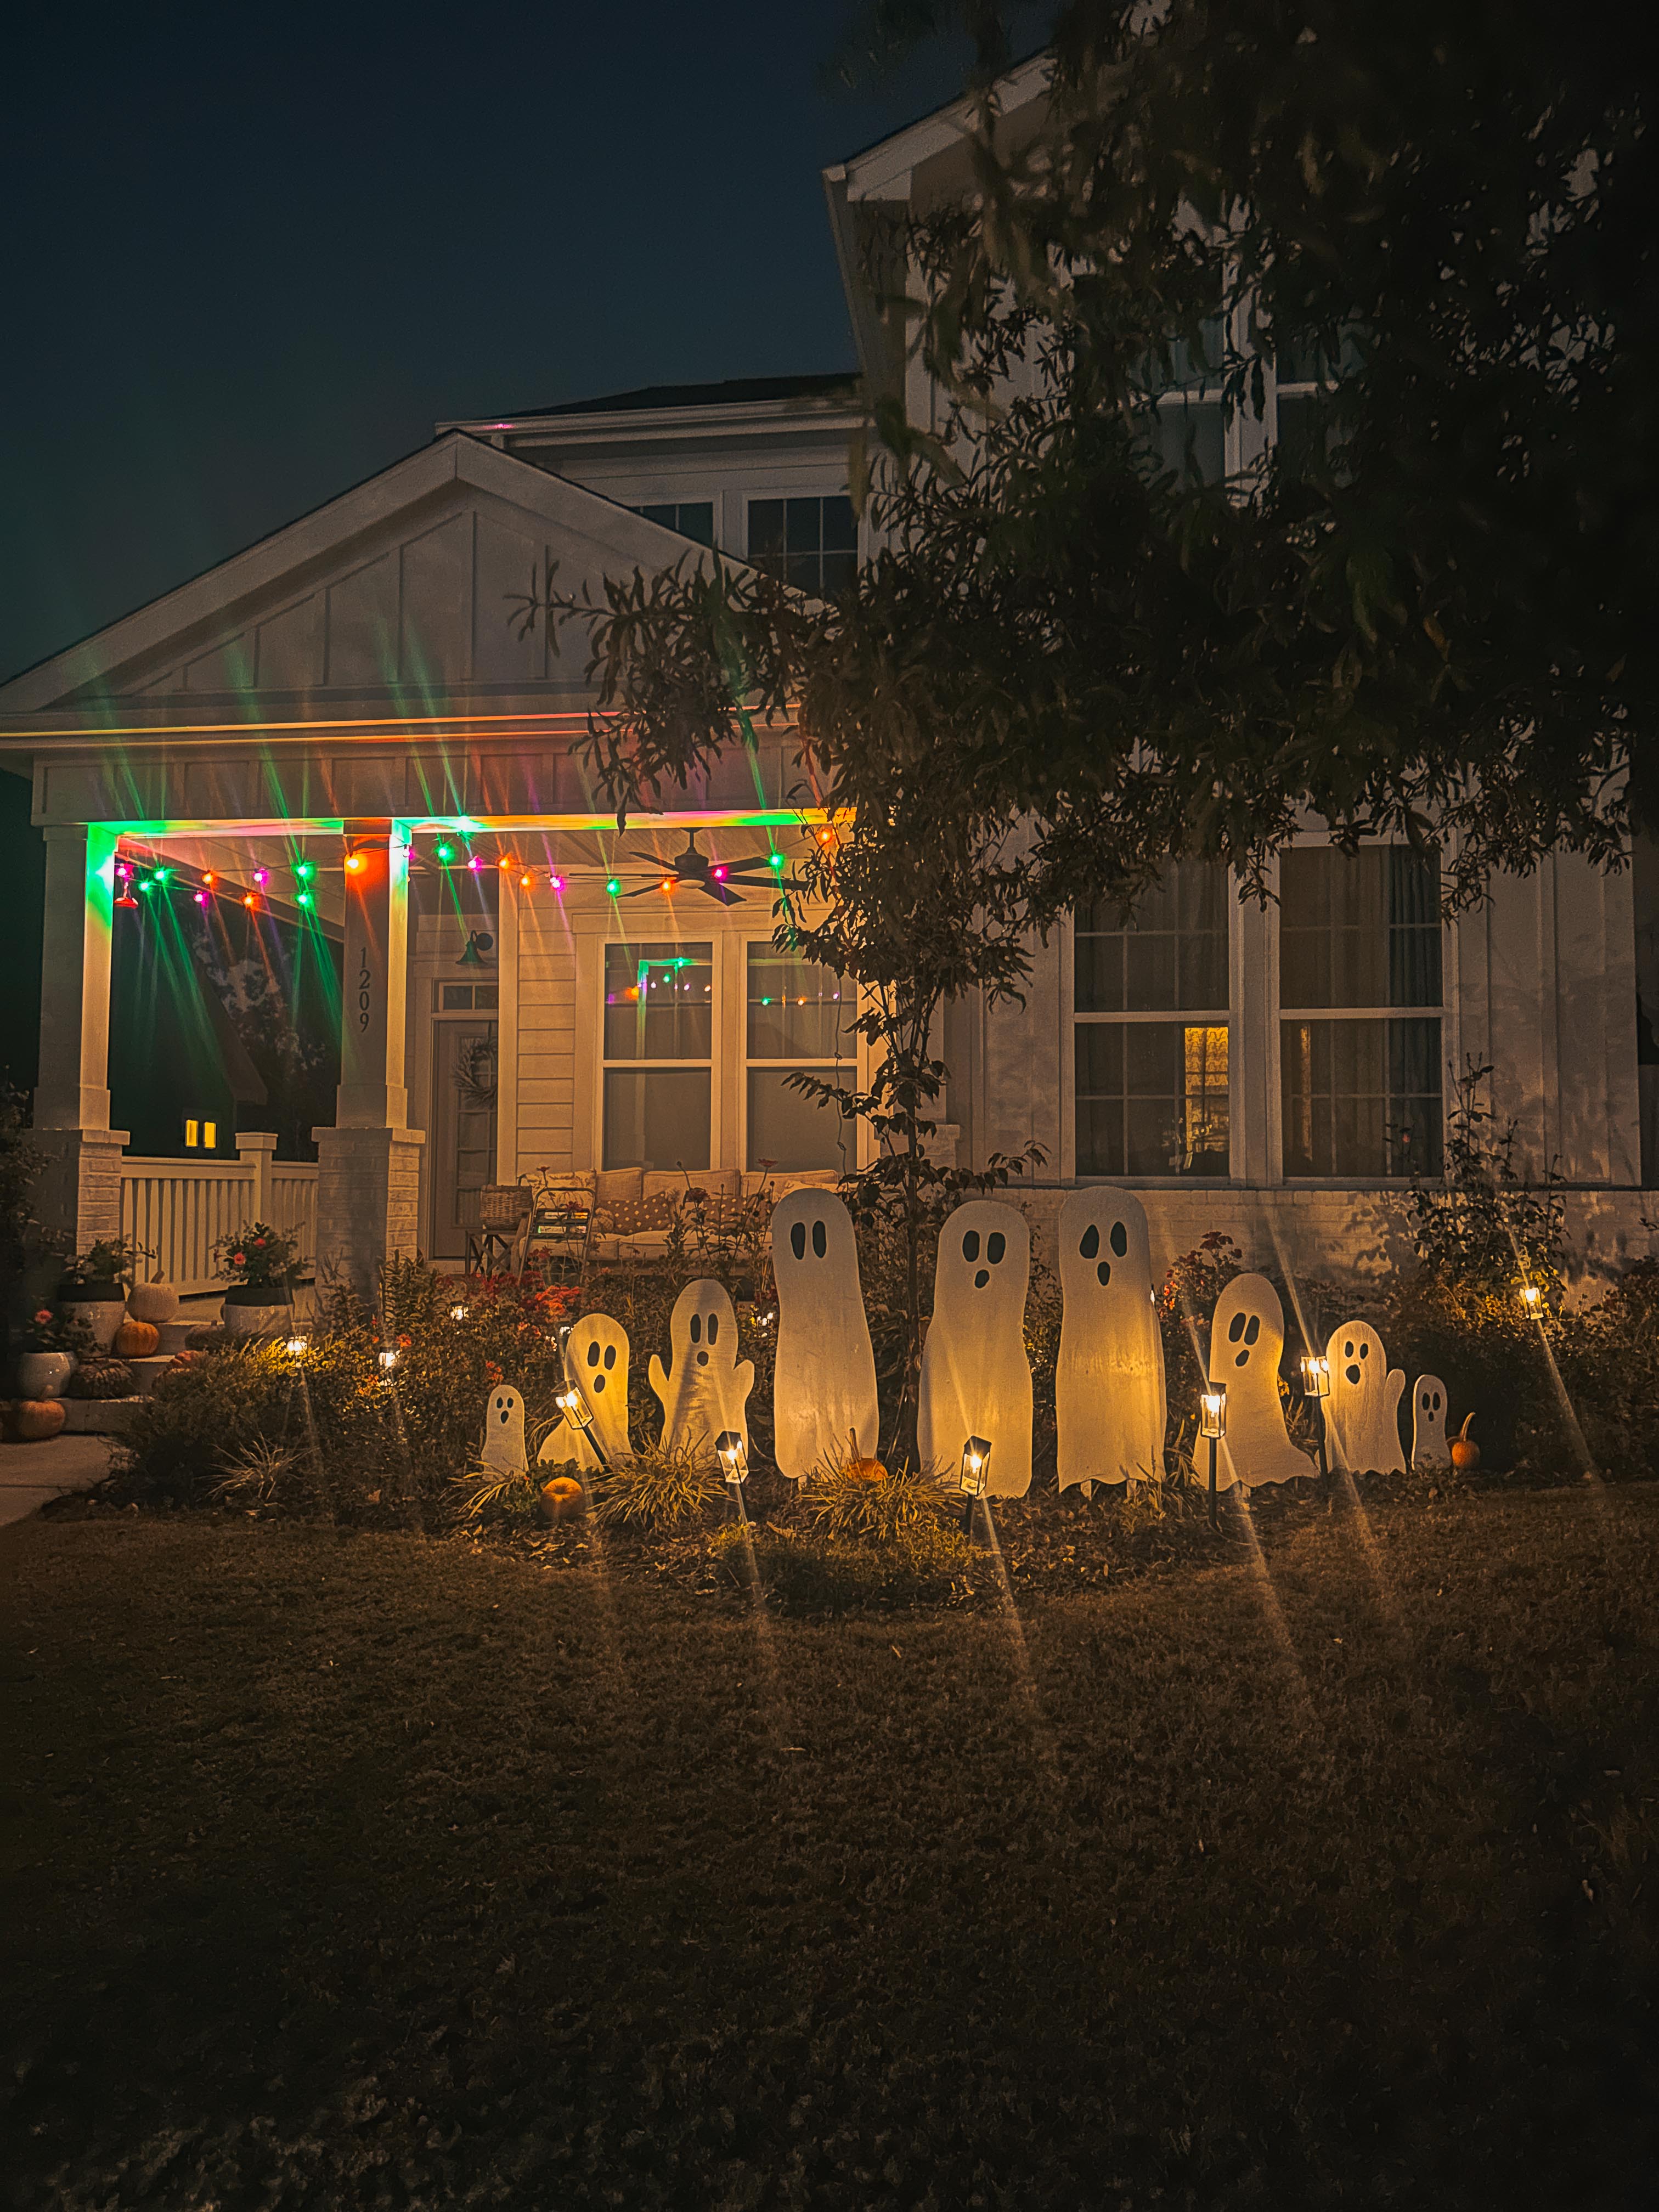
Once we scattered them throughout the garden, they looked like a whole little ghost family floating through the flowers.
WATCH THE VIDEO TUTORIAL BELOW
The best part is that they’re made from basic plywood, wood stakes, and exterior paint, so we can store them away and bring our little ghost family back out every Halloween. I may add in some new creatures this year.
Below, I’m sharing exactly how we made our DIY wooden yard ghosts, including the supplies we used, measurements, cutting and painting process, and how we secured them in the ground.
Why You’ll Love These DIY Wooden Ghosts
These are such a fun alternative to store-bought Halloween decorations because you can completely customize them to your yard. Make two giant ghosts for your porch, a whole family like we did, or little ghosts to tuck between pumpkins and landscaping.
They’re also:
- Made with inexpensive, easy-to-find materials
- Customizable in practically any size
- Suitable for outdoor decorating
- Easy to store flat after Halloween
- Cute during the day and after dark
- A fun project to make as a family
- Reusable year after year
And I think the slightly imperfect shapes actually make them better. None of our ghosts are exactly alike!
Materials You’ll Need
Wood + construction
- Plywood sheets
- 1 x 2-inch wood boards for stakes/supports
- Exterior-grade screws
- Pencil
- Measuring tape or yardstick
Tools
- Jigsaw
- Drill/driver
- Sandpaper or sanding block
- Safety glasses
Painting
- White exterior paint + primer
- Black exterior paint for the faces
- Small paintbrush
- Paint roller or larger brush for the bodies
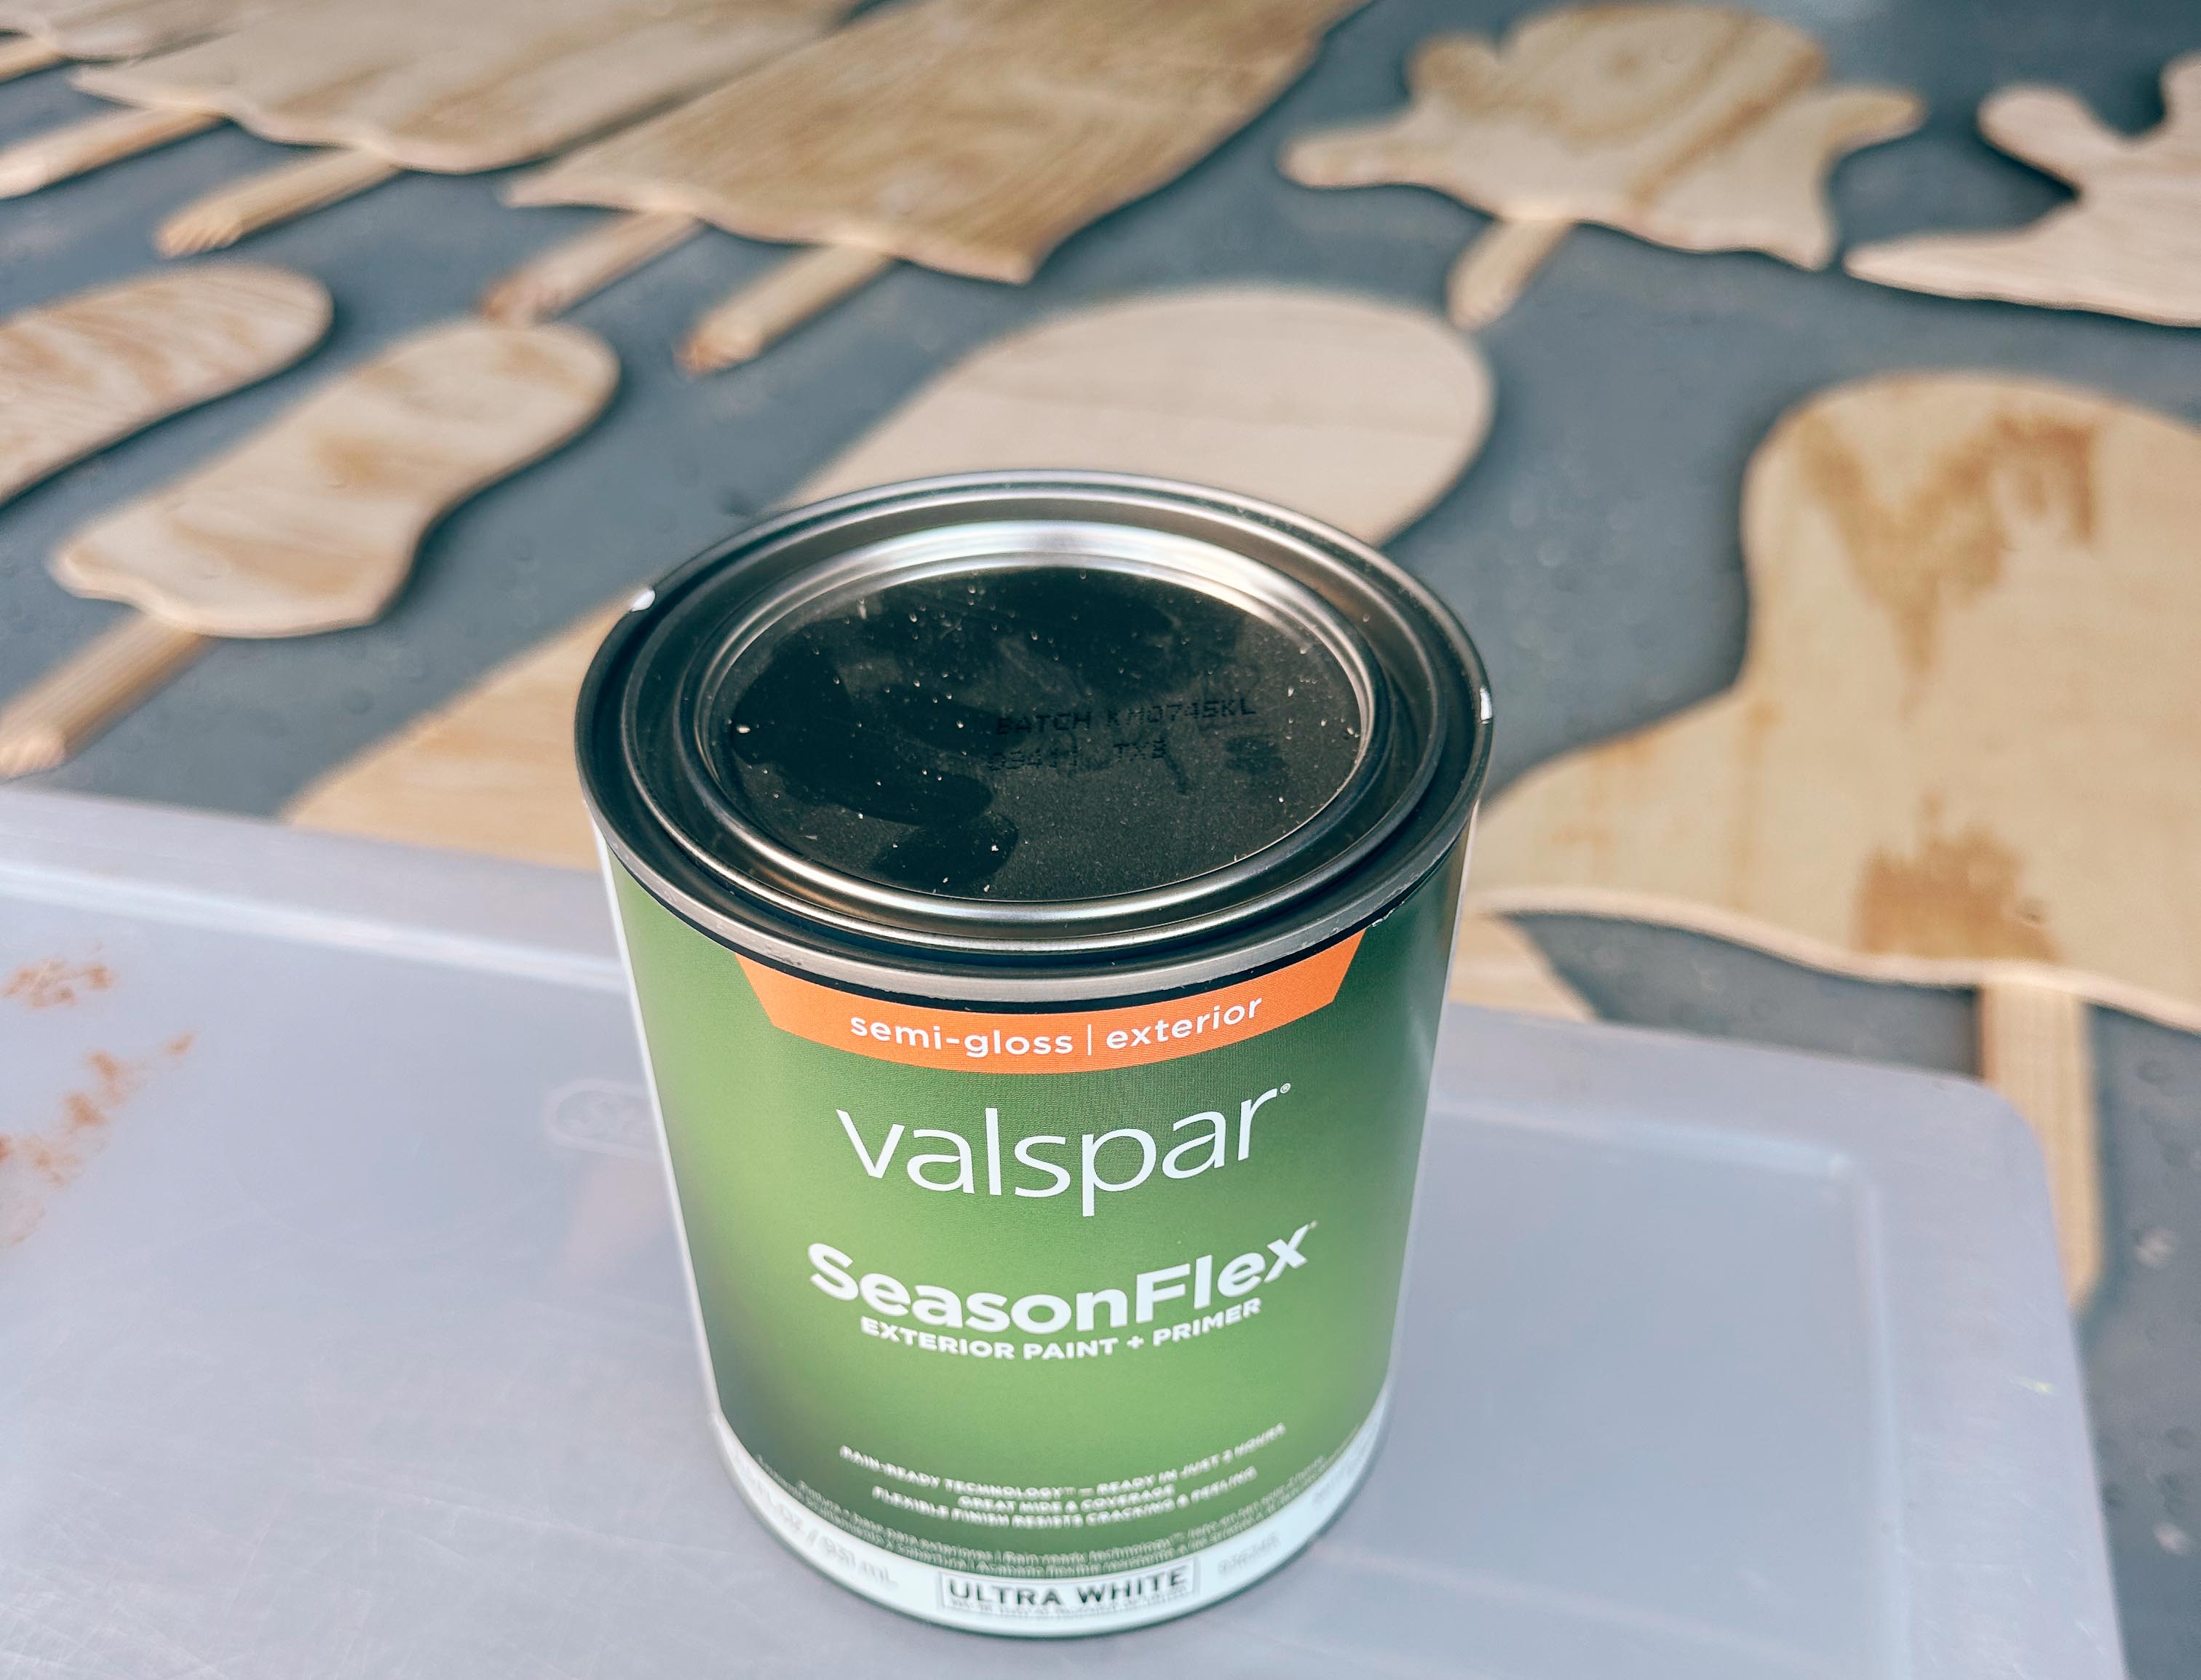
We used: Valspar SeasonFlex Exterior Paint + Primer in Ultra White with a semi-gloss finish.
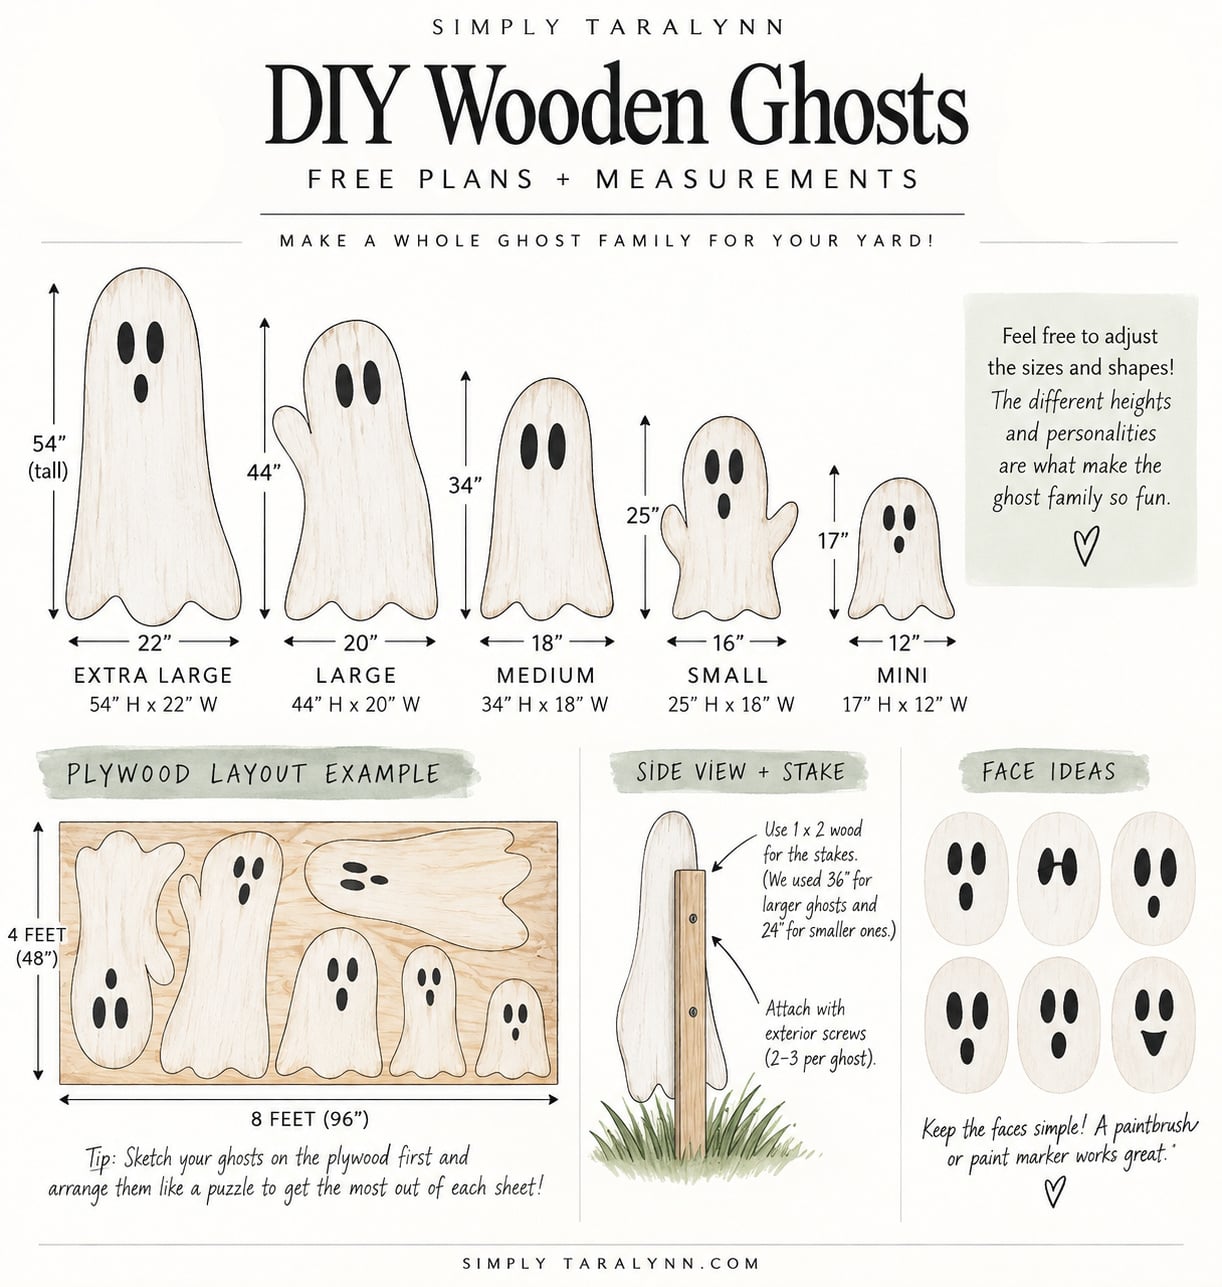
| Ghost | Approx. Height | Approx. Width |
|---|---|---|
| Extra-large ghost | 48–54 in. | 20–24 in. |
| Large ghost | 40–46 in. | 18–22 in. |
| Medium ghost | 30–36 in. | 16–20 in. |
| Small ghost | 22–28 in. | 12–16 in. |
| Mini ghost | 14–20 in. | 9–12 in. |
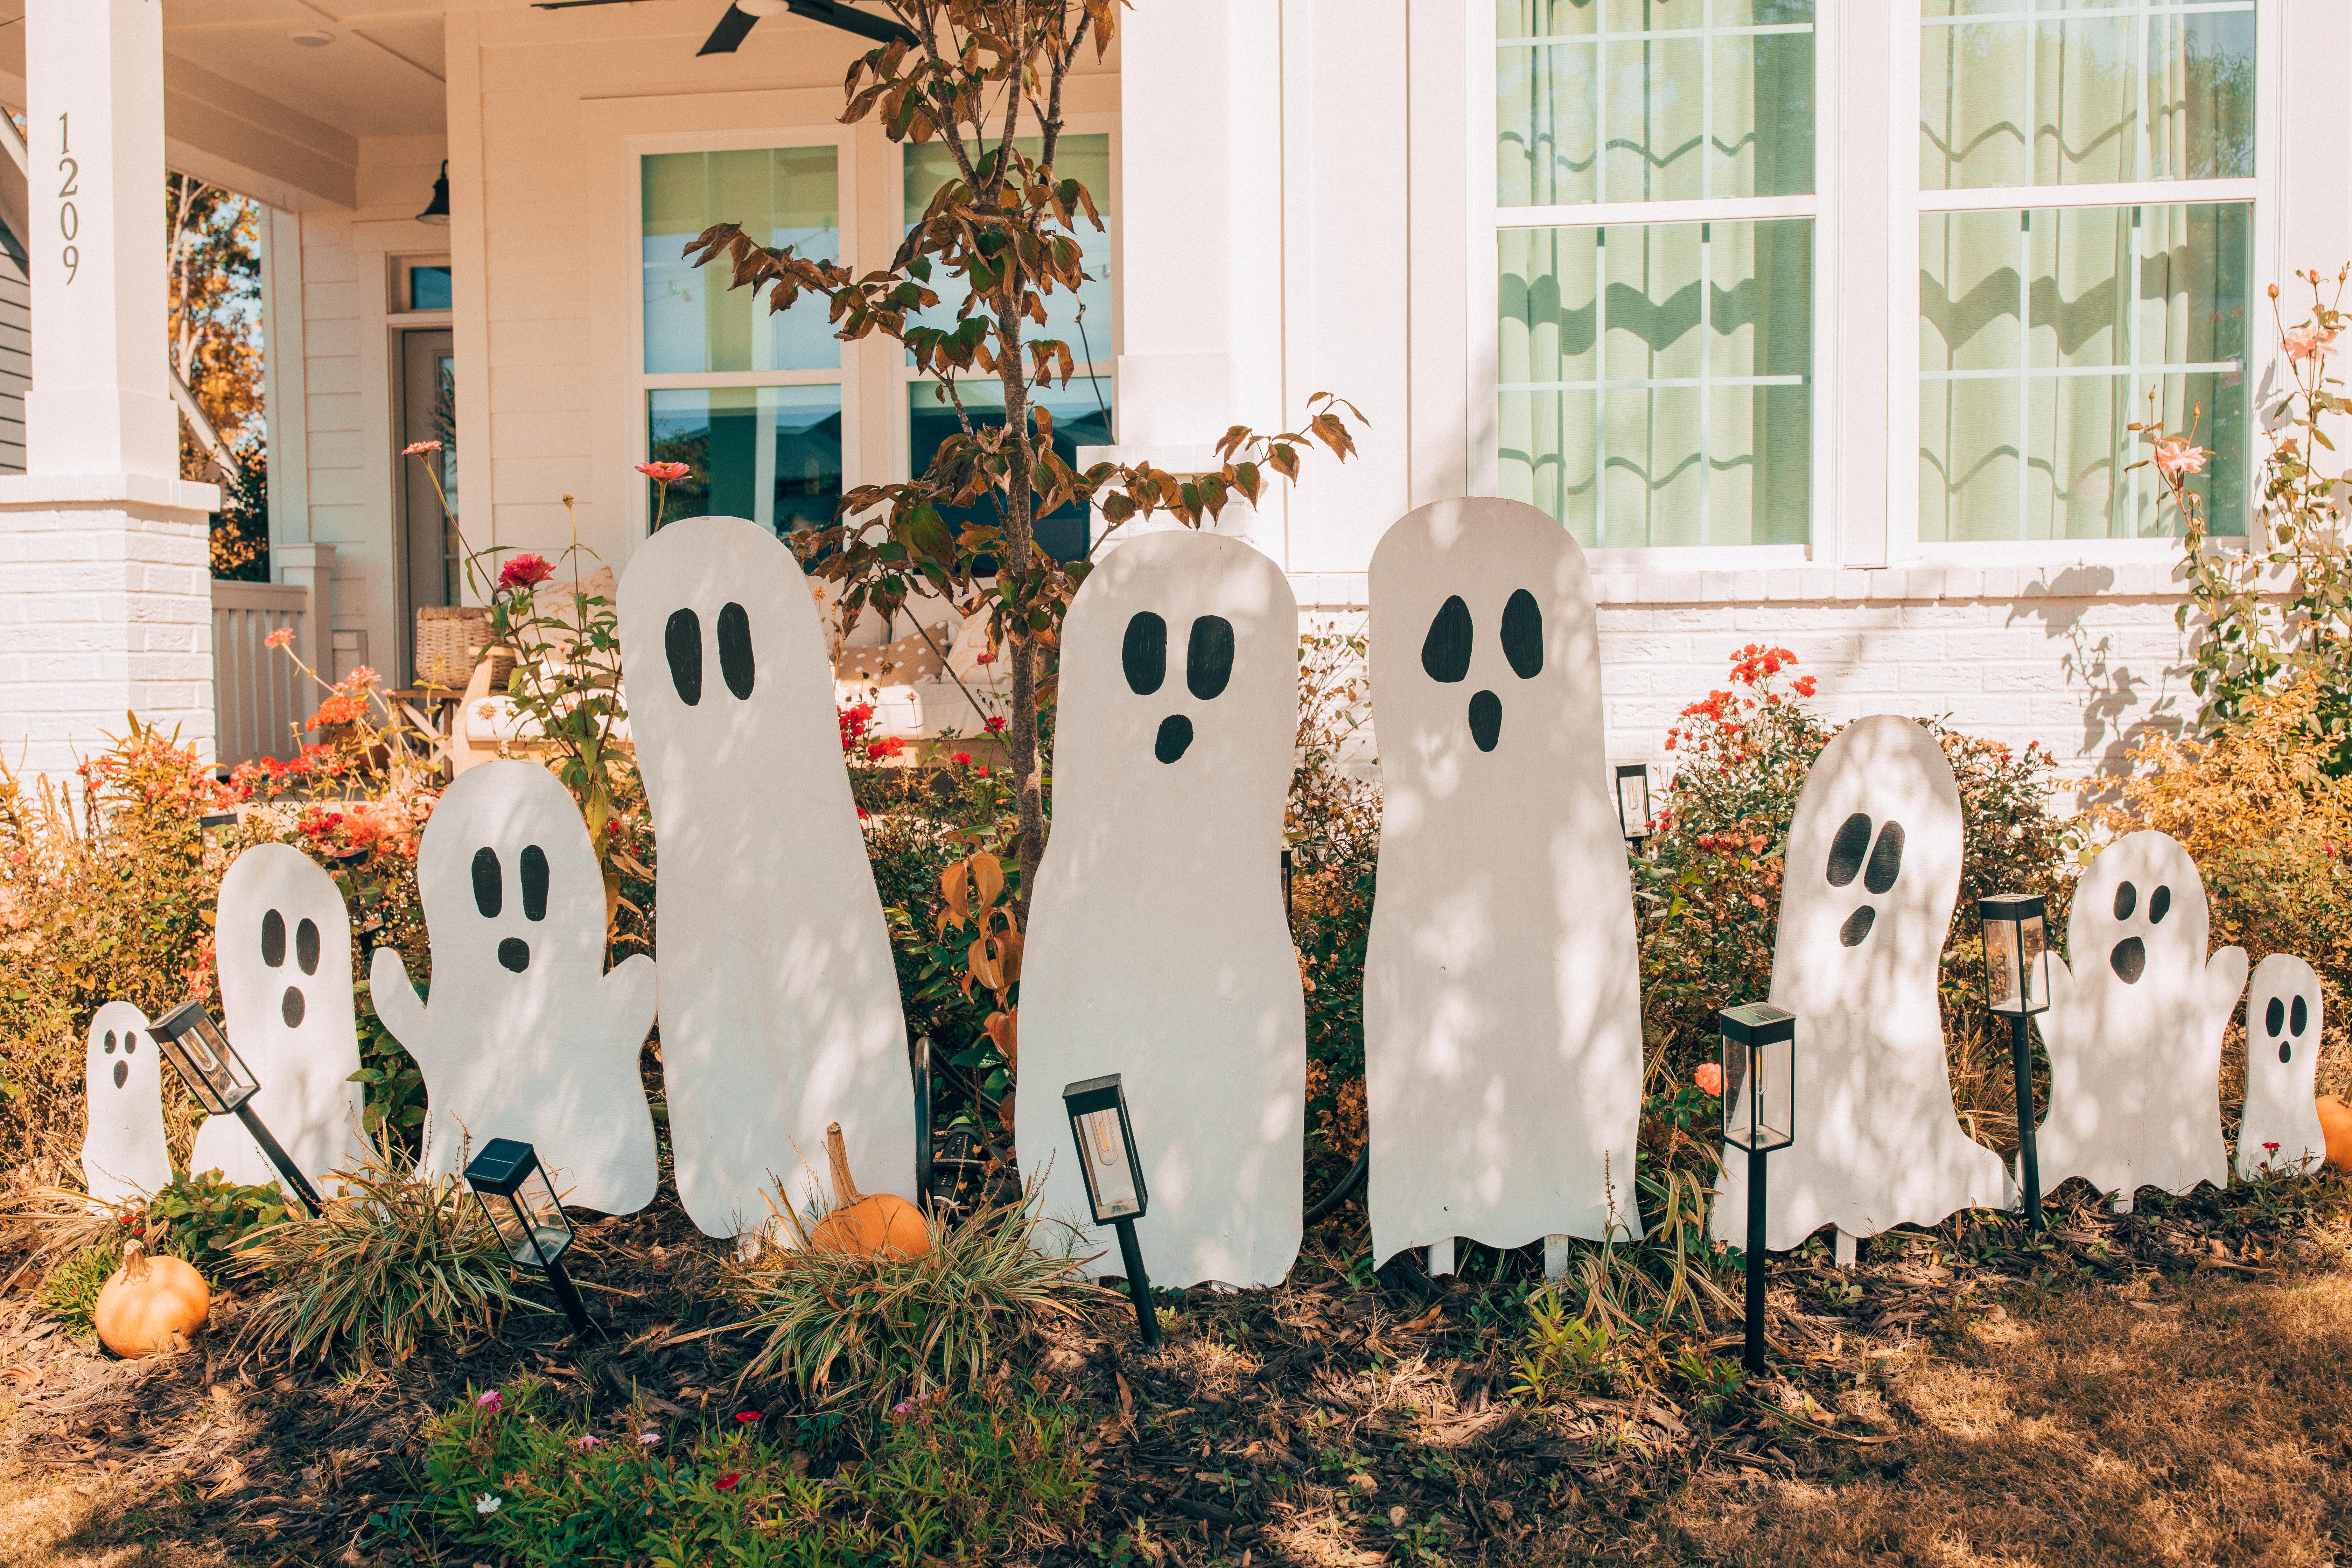
Don’t worry about making these measurements exact. We purposely varied the height, width, head shape and bottom of each ghost so they looked more like a little ghost family rather than identical decorations.
How to Make Wooden Ghosts for Your Yard
1. Plan Your Ghost Sizes
Before cutting anything, decide how many ghosts you’d like to make and where they’ll go in your yard.
We wanted ours to look like a little ghost family scattered throughout our front garden, so we made several different heights. Some are tall and skinny, while others are short and round.
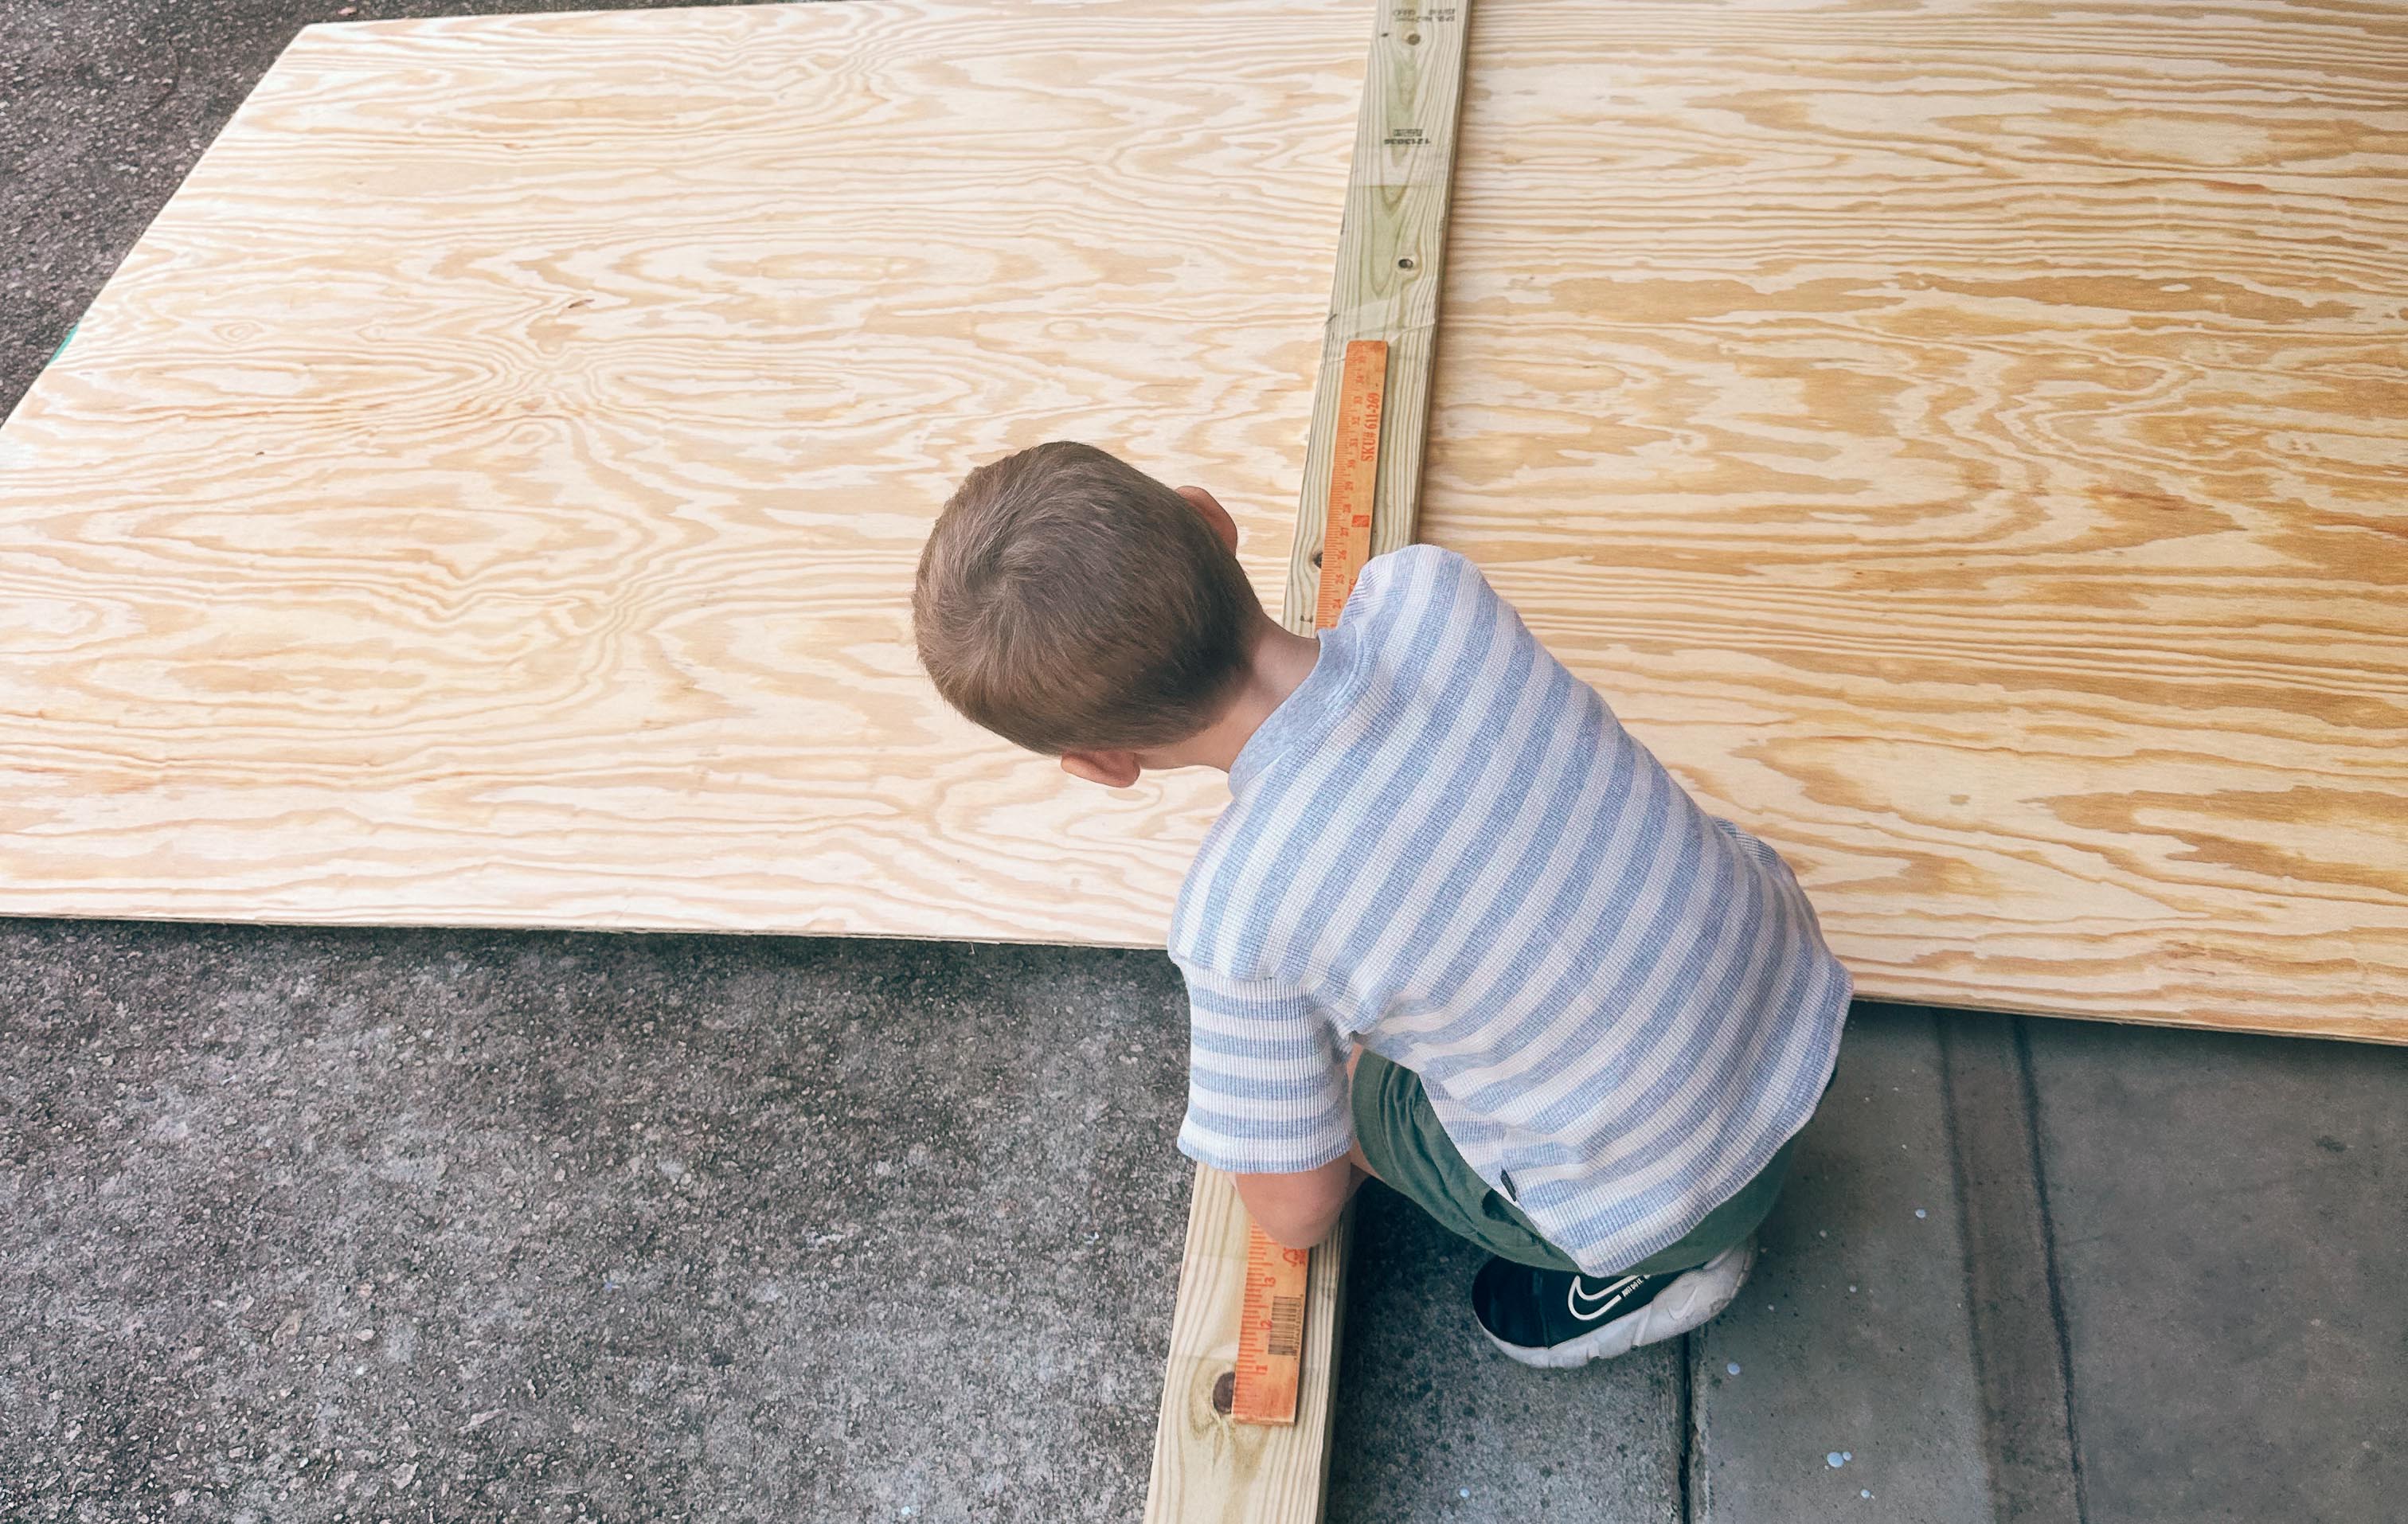
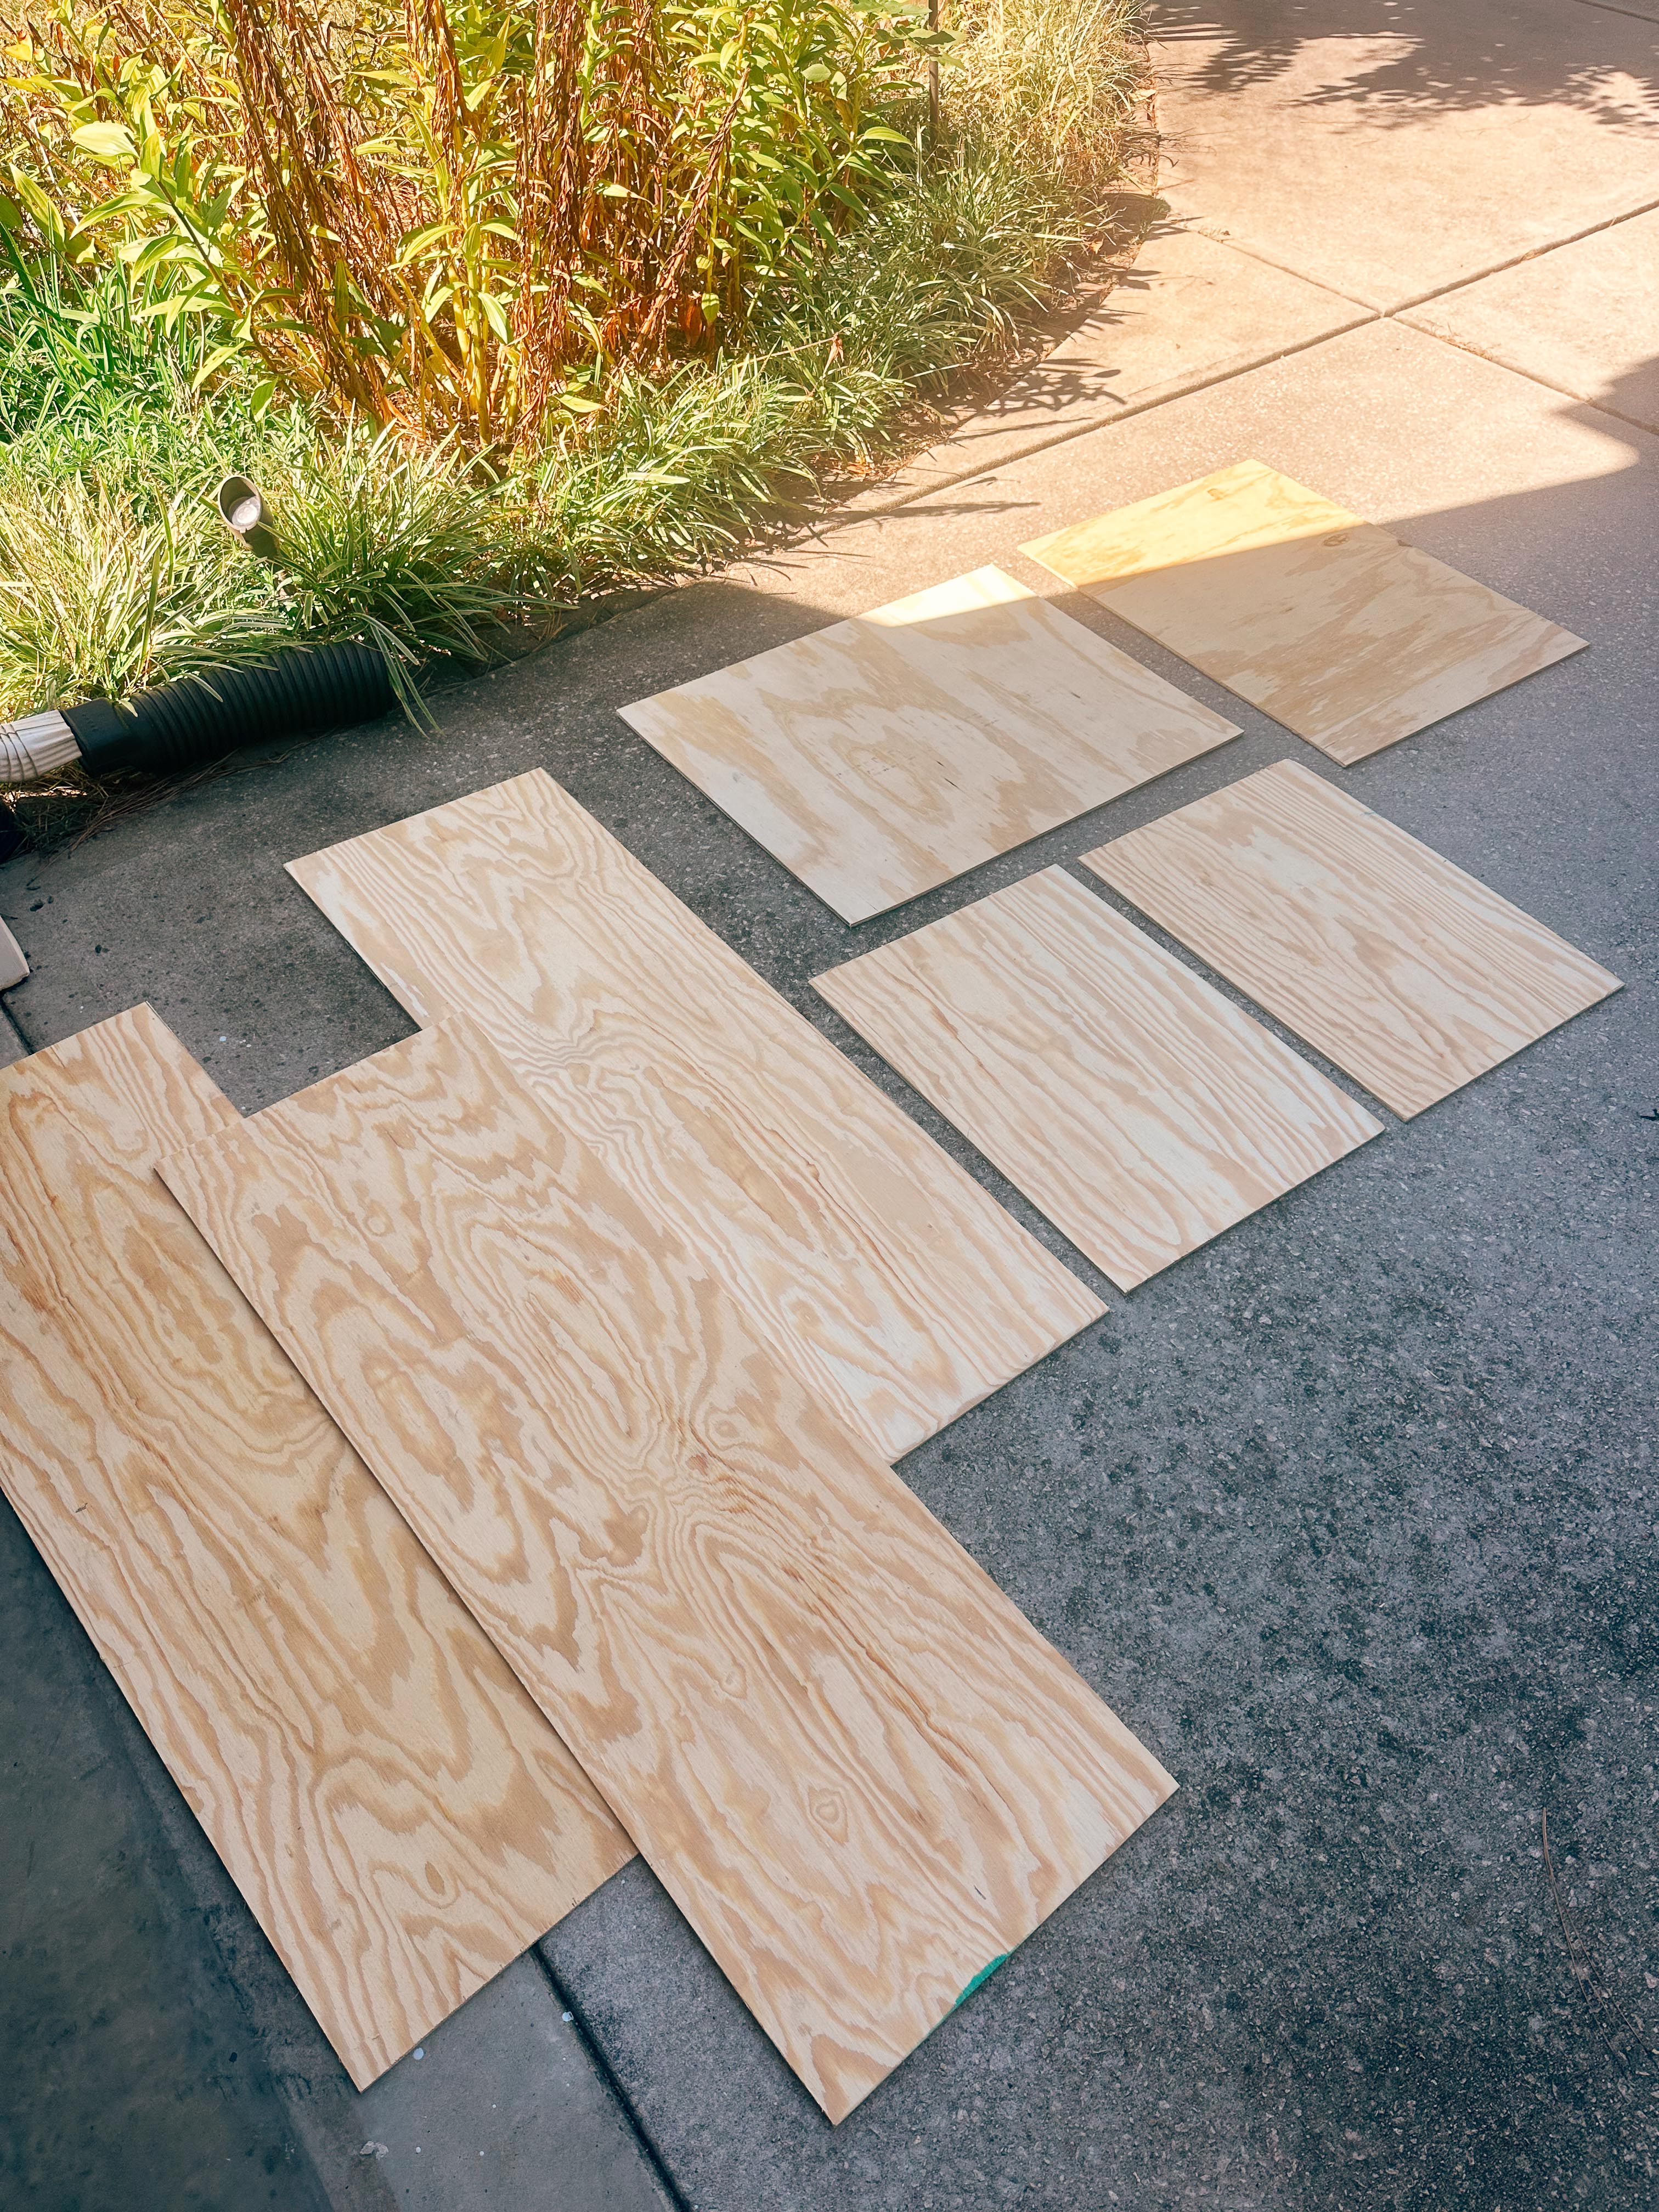
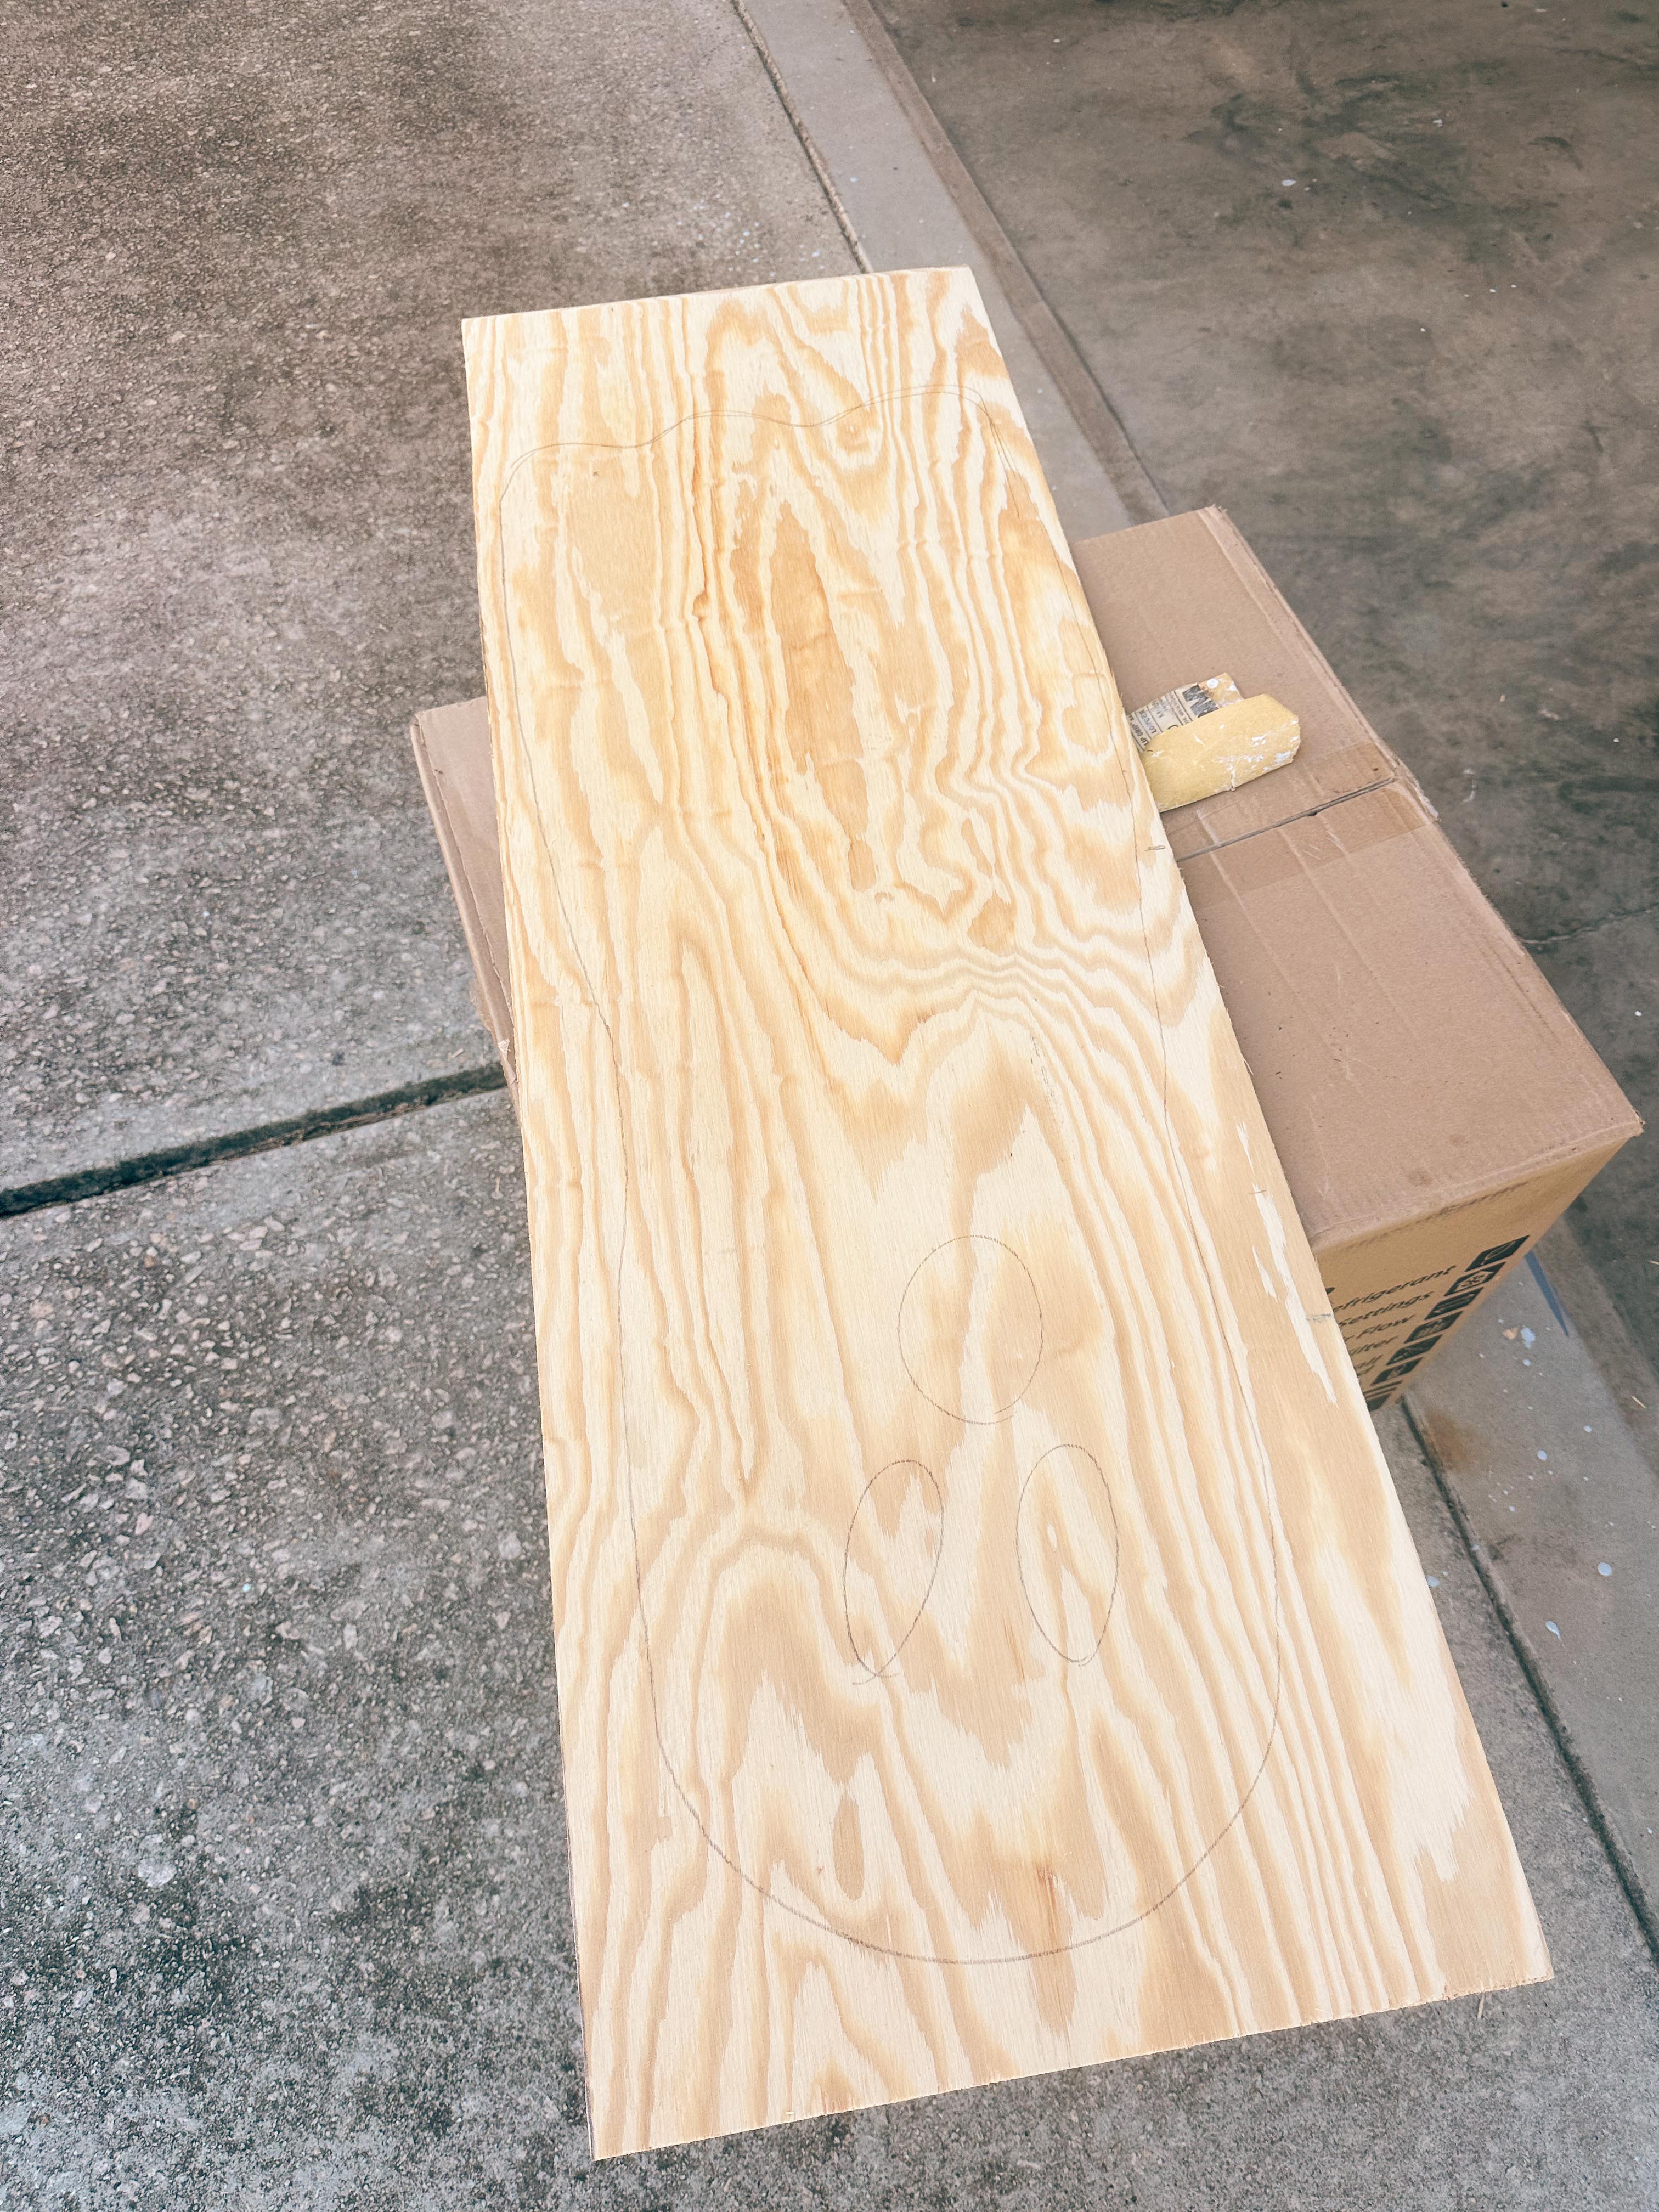
If you’re using a full sheet of plywood, sketch out several ghosts before you begin cutting so you can fit as many as possible onto each sheet.
2. Draw the Ghost Shapes Onto the Plywood
Use a pencil to lightly sketch each ghost directly onto the plywood.
The shapes don’t need to be complicated. Start with a rounded head, bring the sides down and then give the bottom a few soft waves.
This is also where you can give them personality. Some of ours have arms, some are narrow, some are extra round and some are tiny.
Tip: Don’t overthink the shape! The handmade, slightly wonky ghosts ended up being some of my favorites.
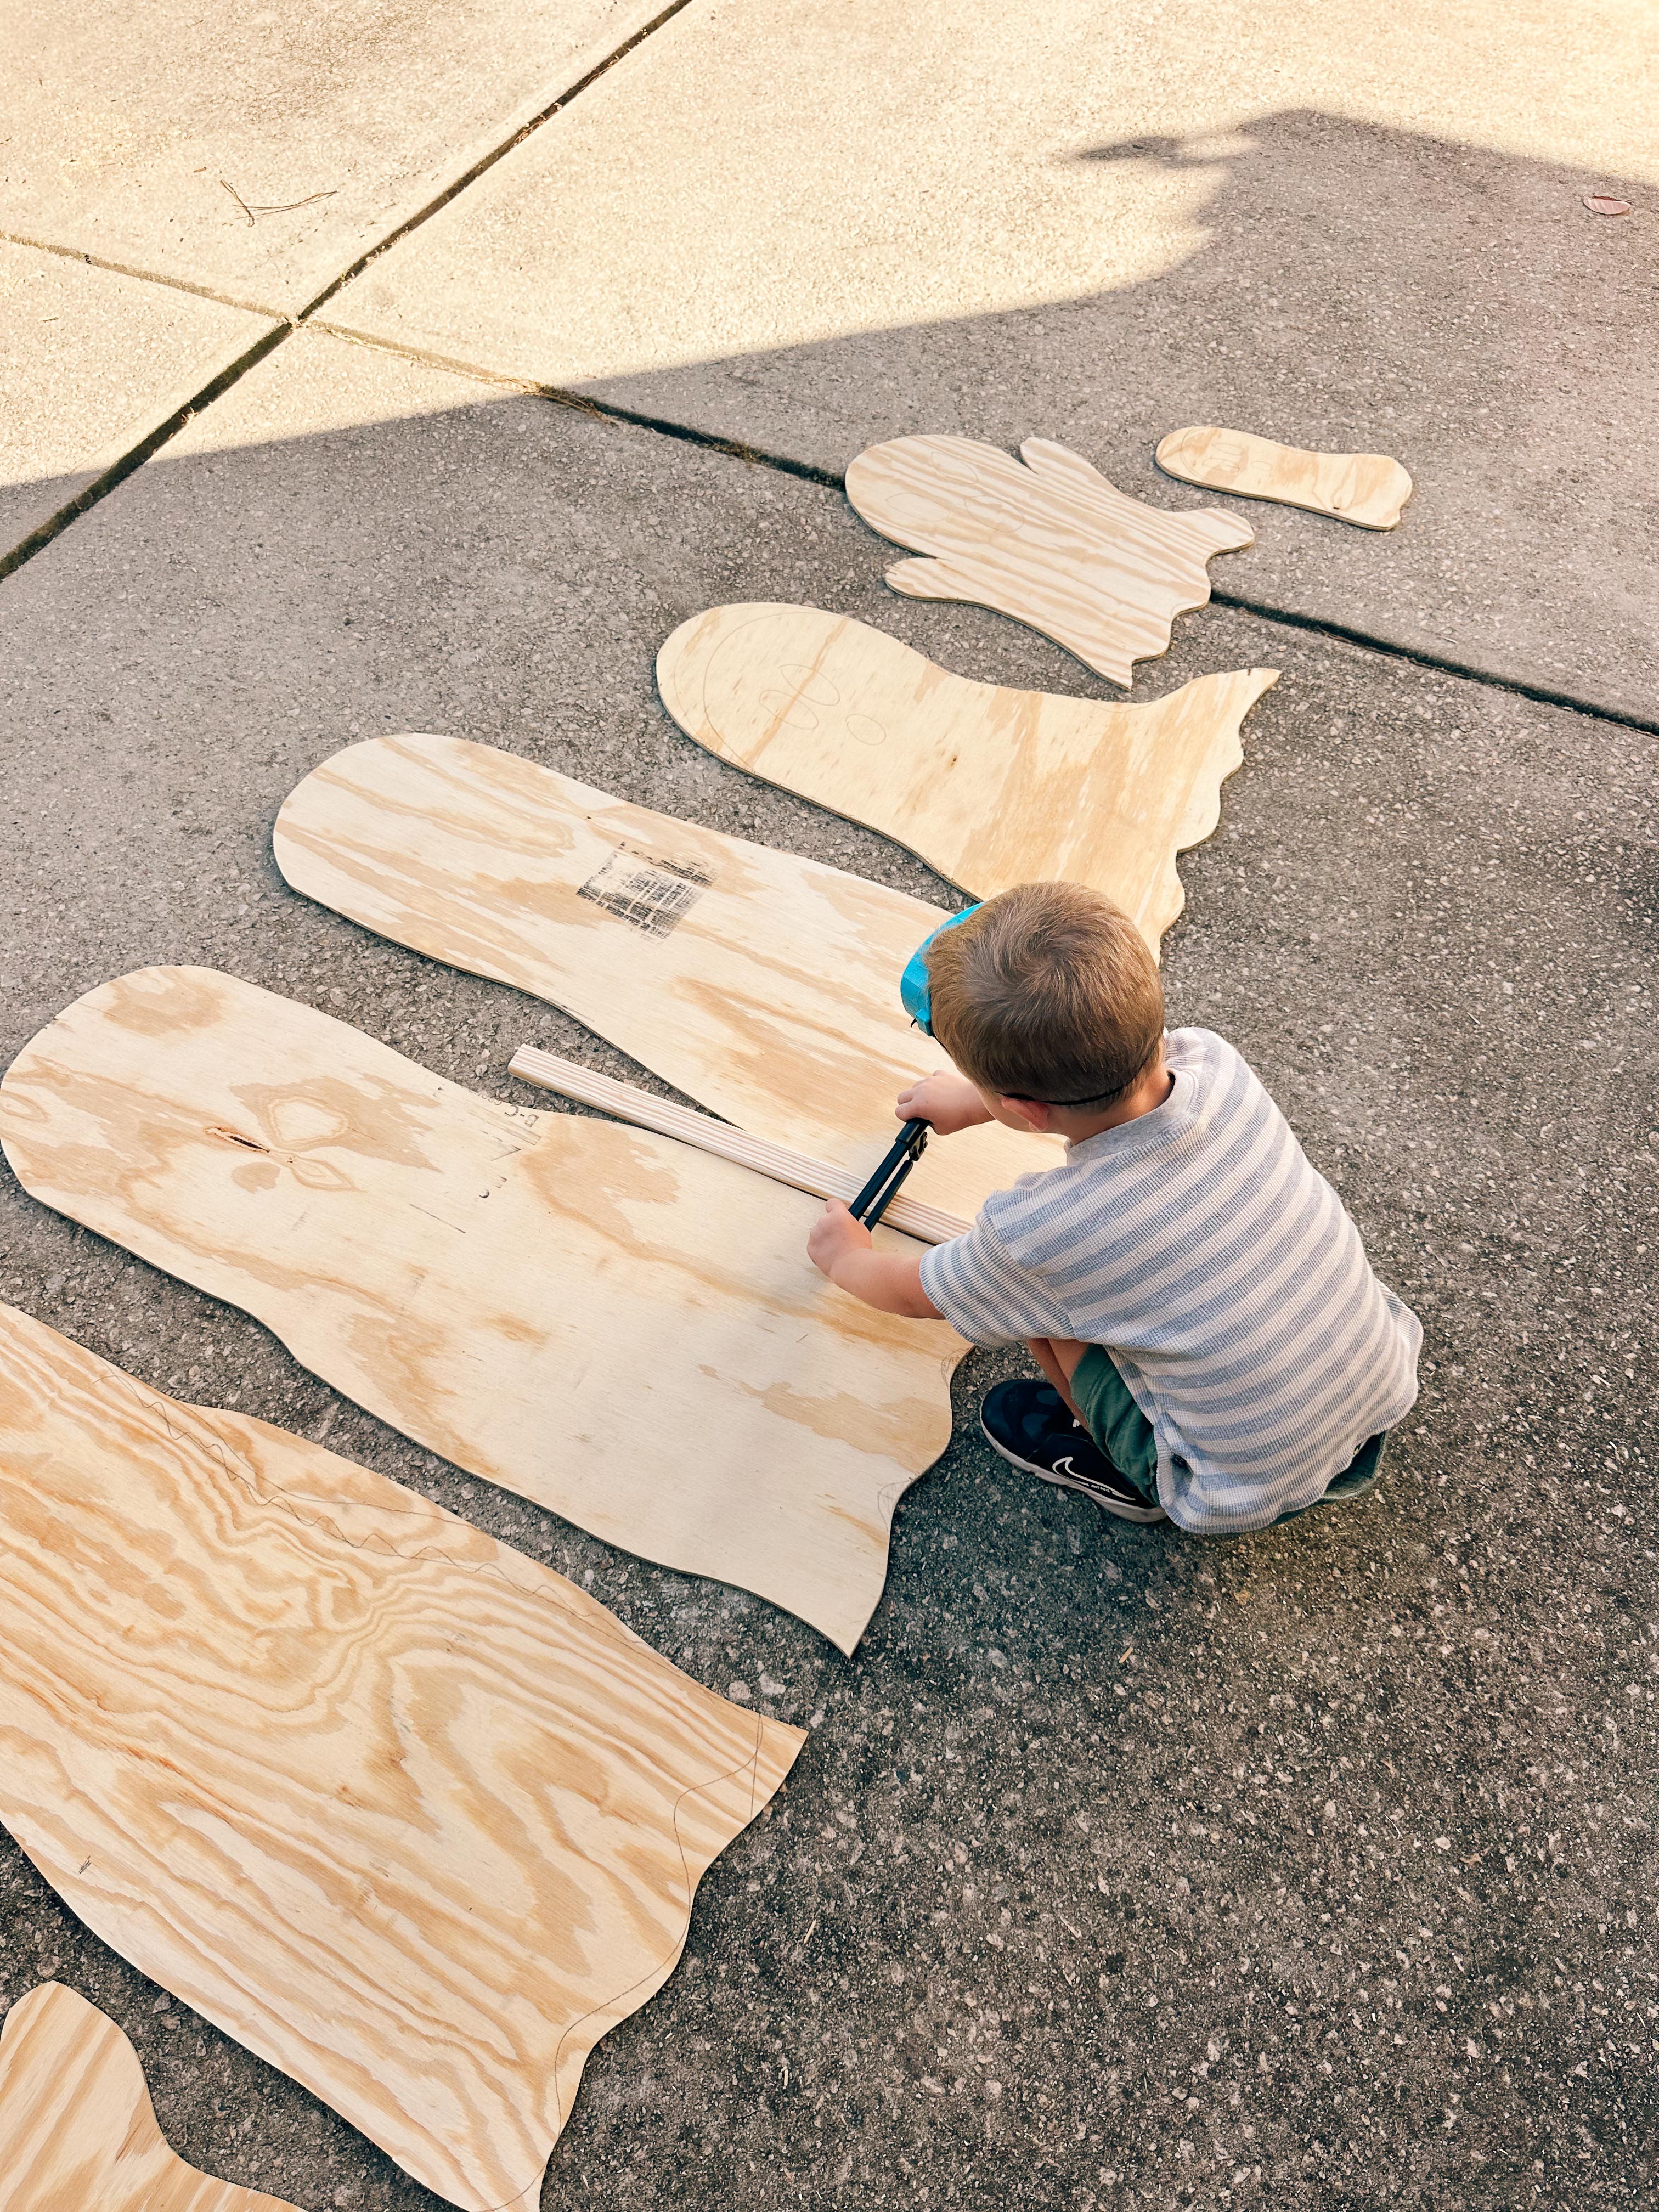
3. Cut Out Each Ghost
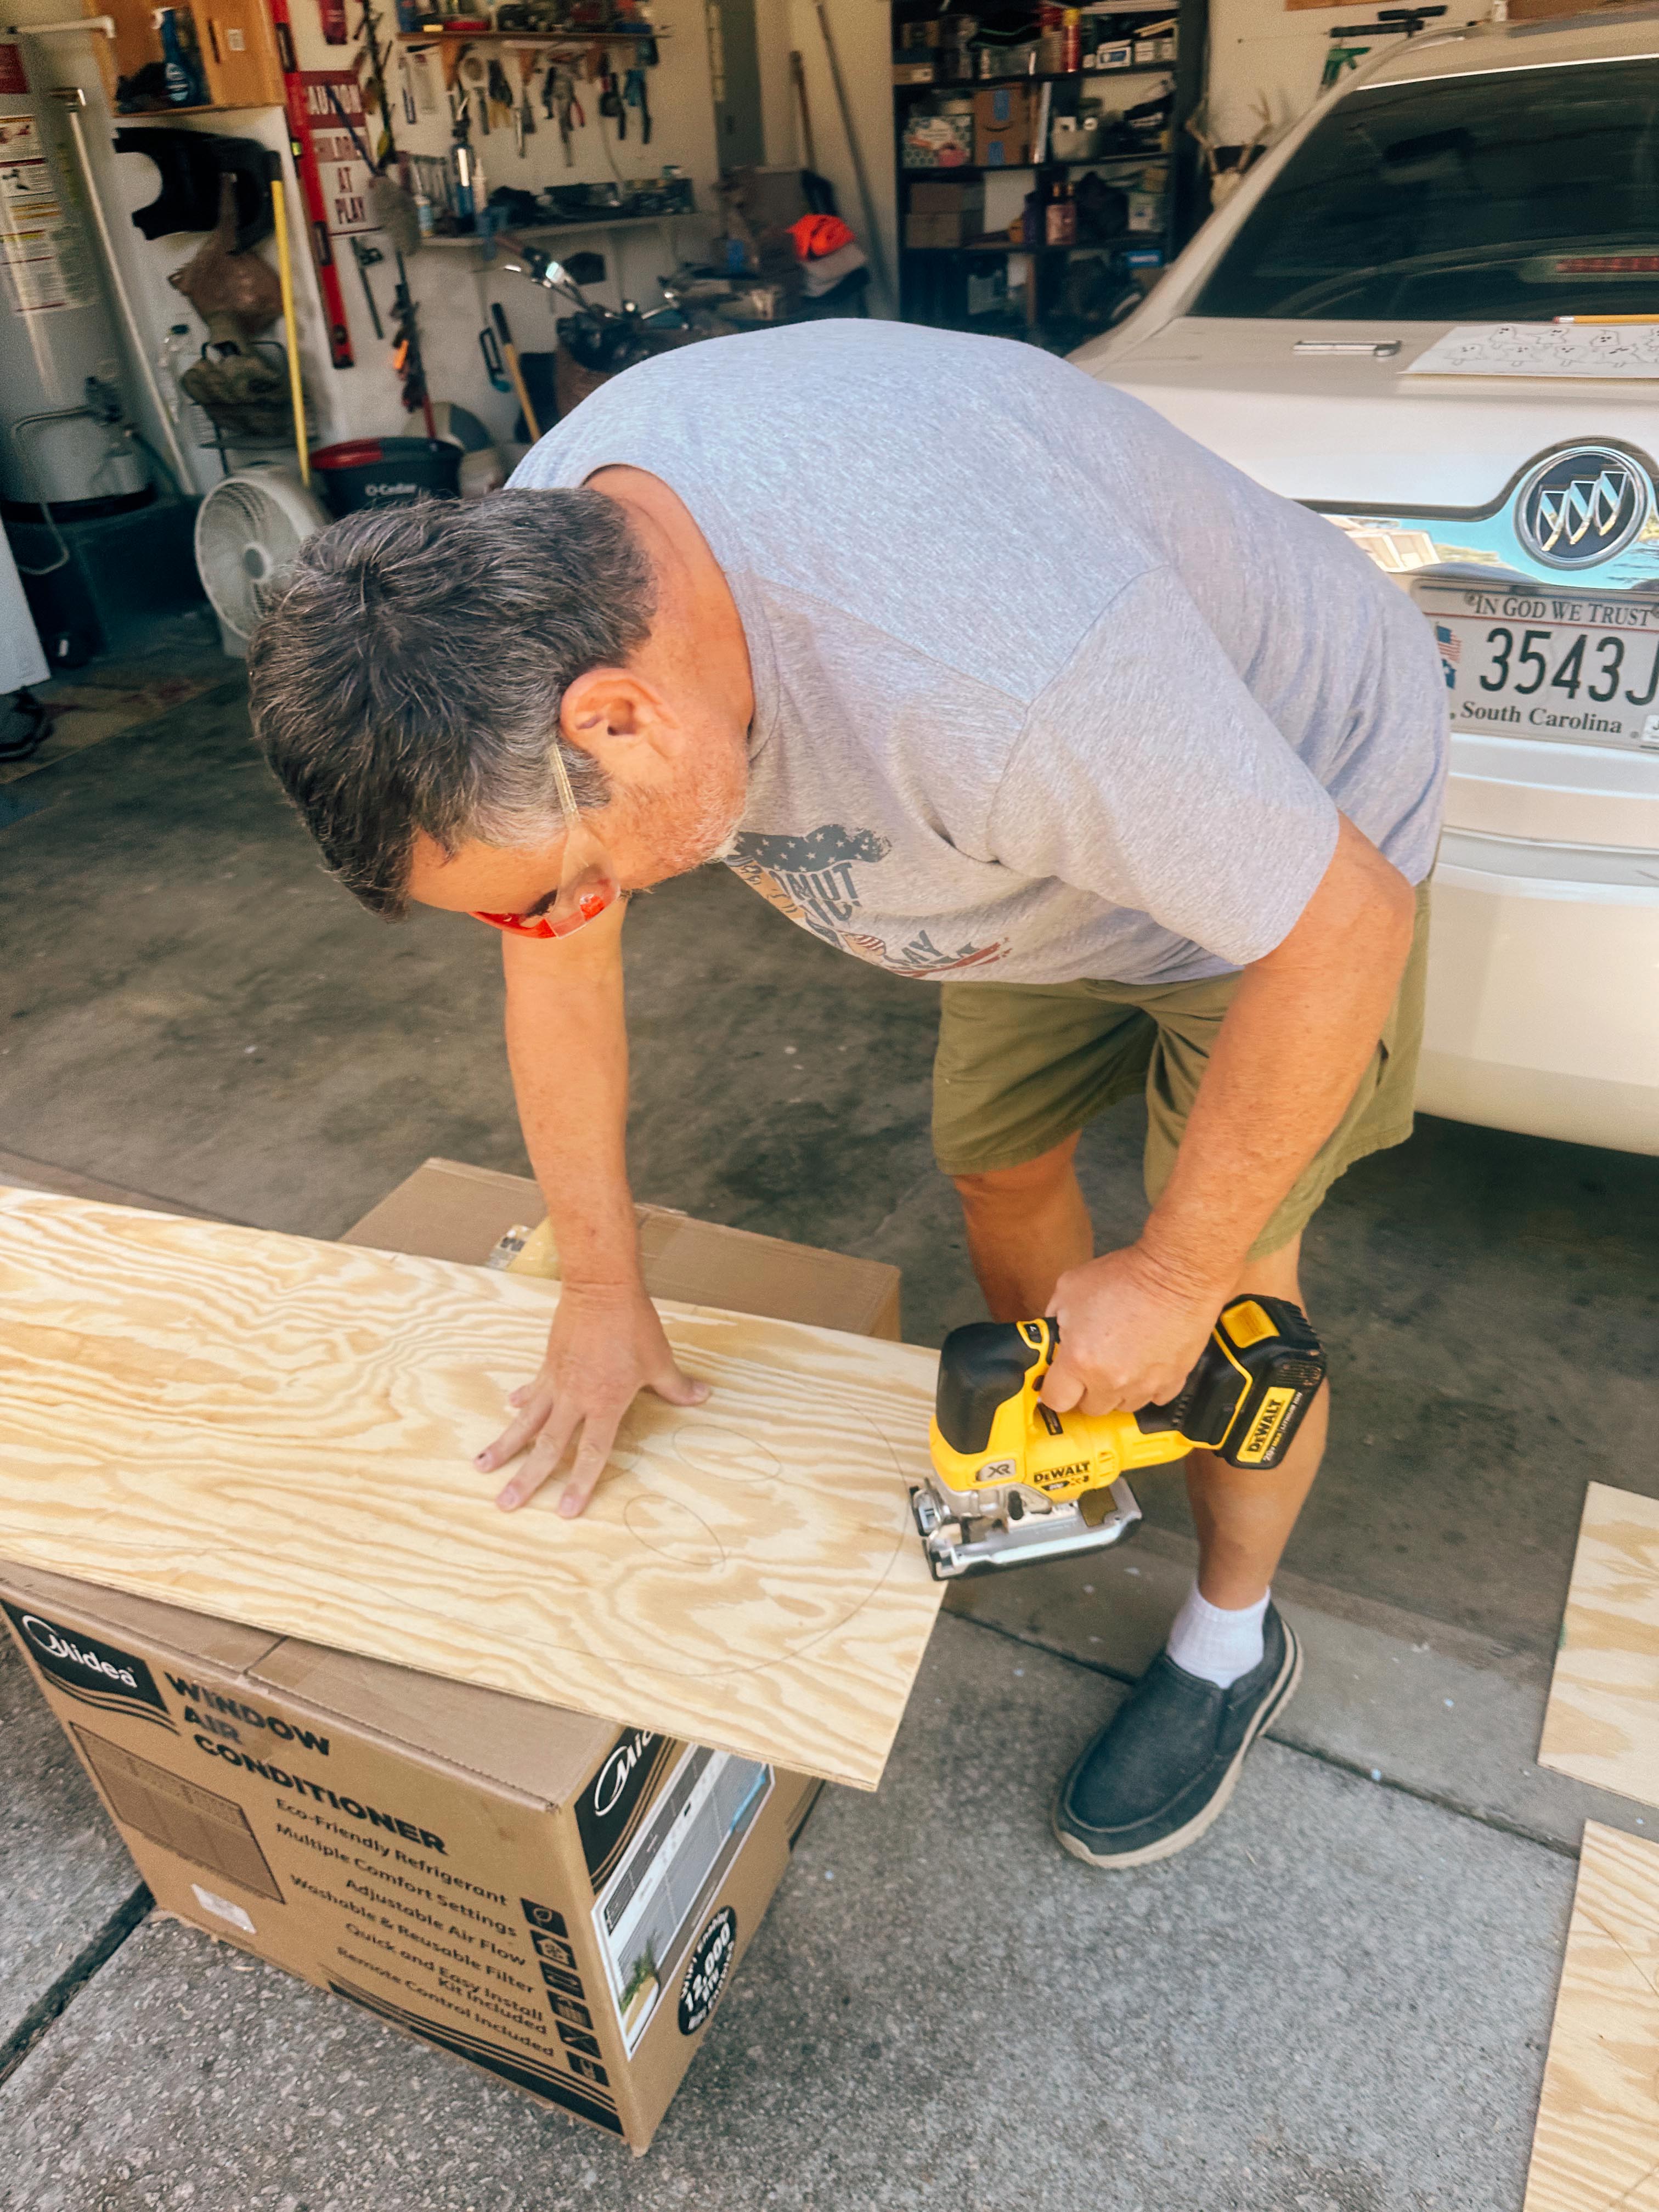
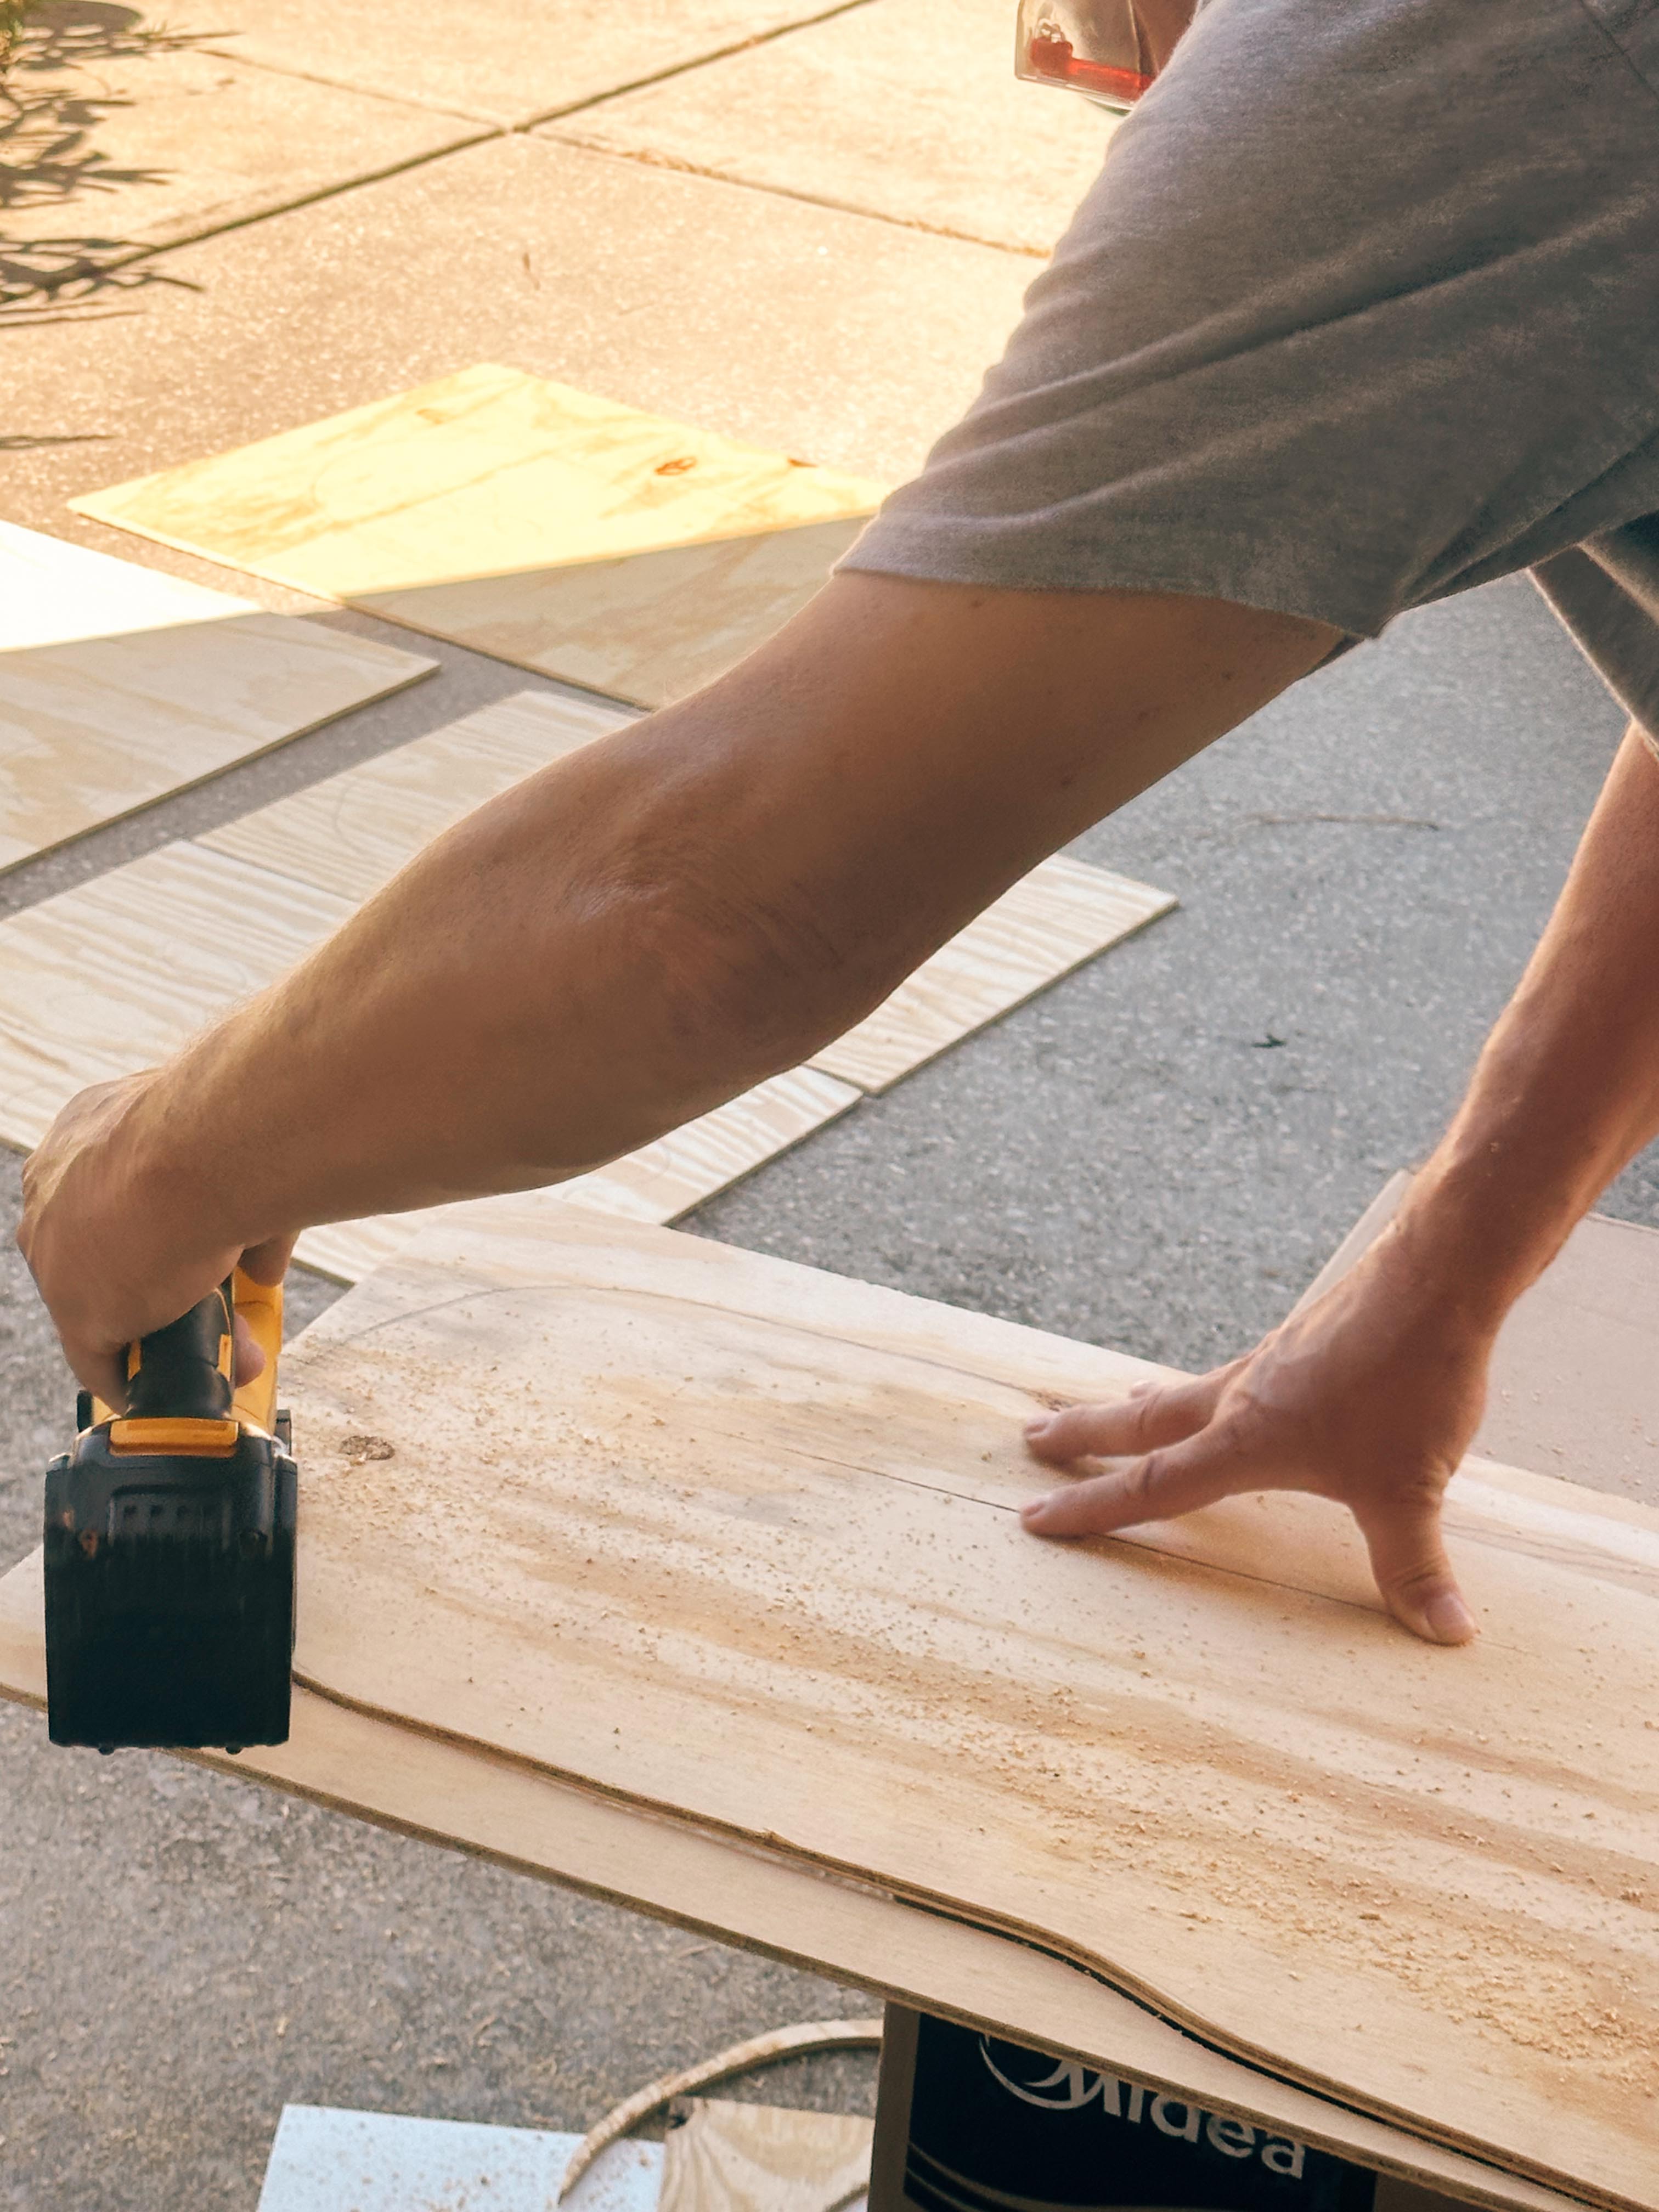
Using a jigsaw, carefully follow the pencil line and cut out each ghost.
For the tighter curves around arms or the bottom of the ghost, work slowly rather than trying to force the saw around the curve.
Once you’ve finished cutting, you’ll have your basic wooden ghost shape.
4. Sand the Edges
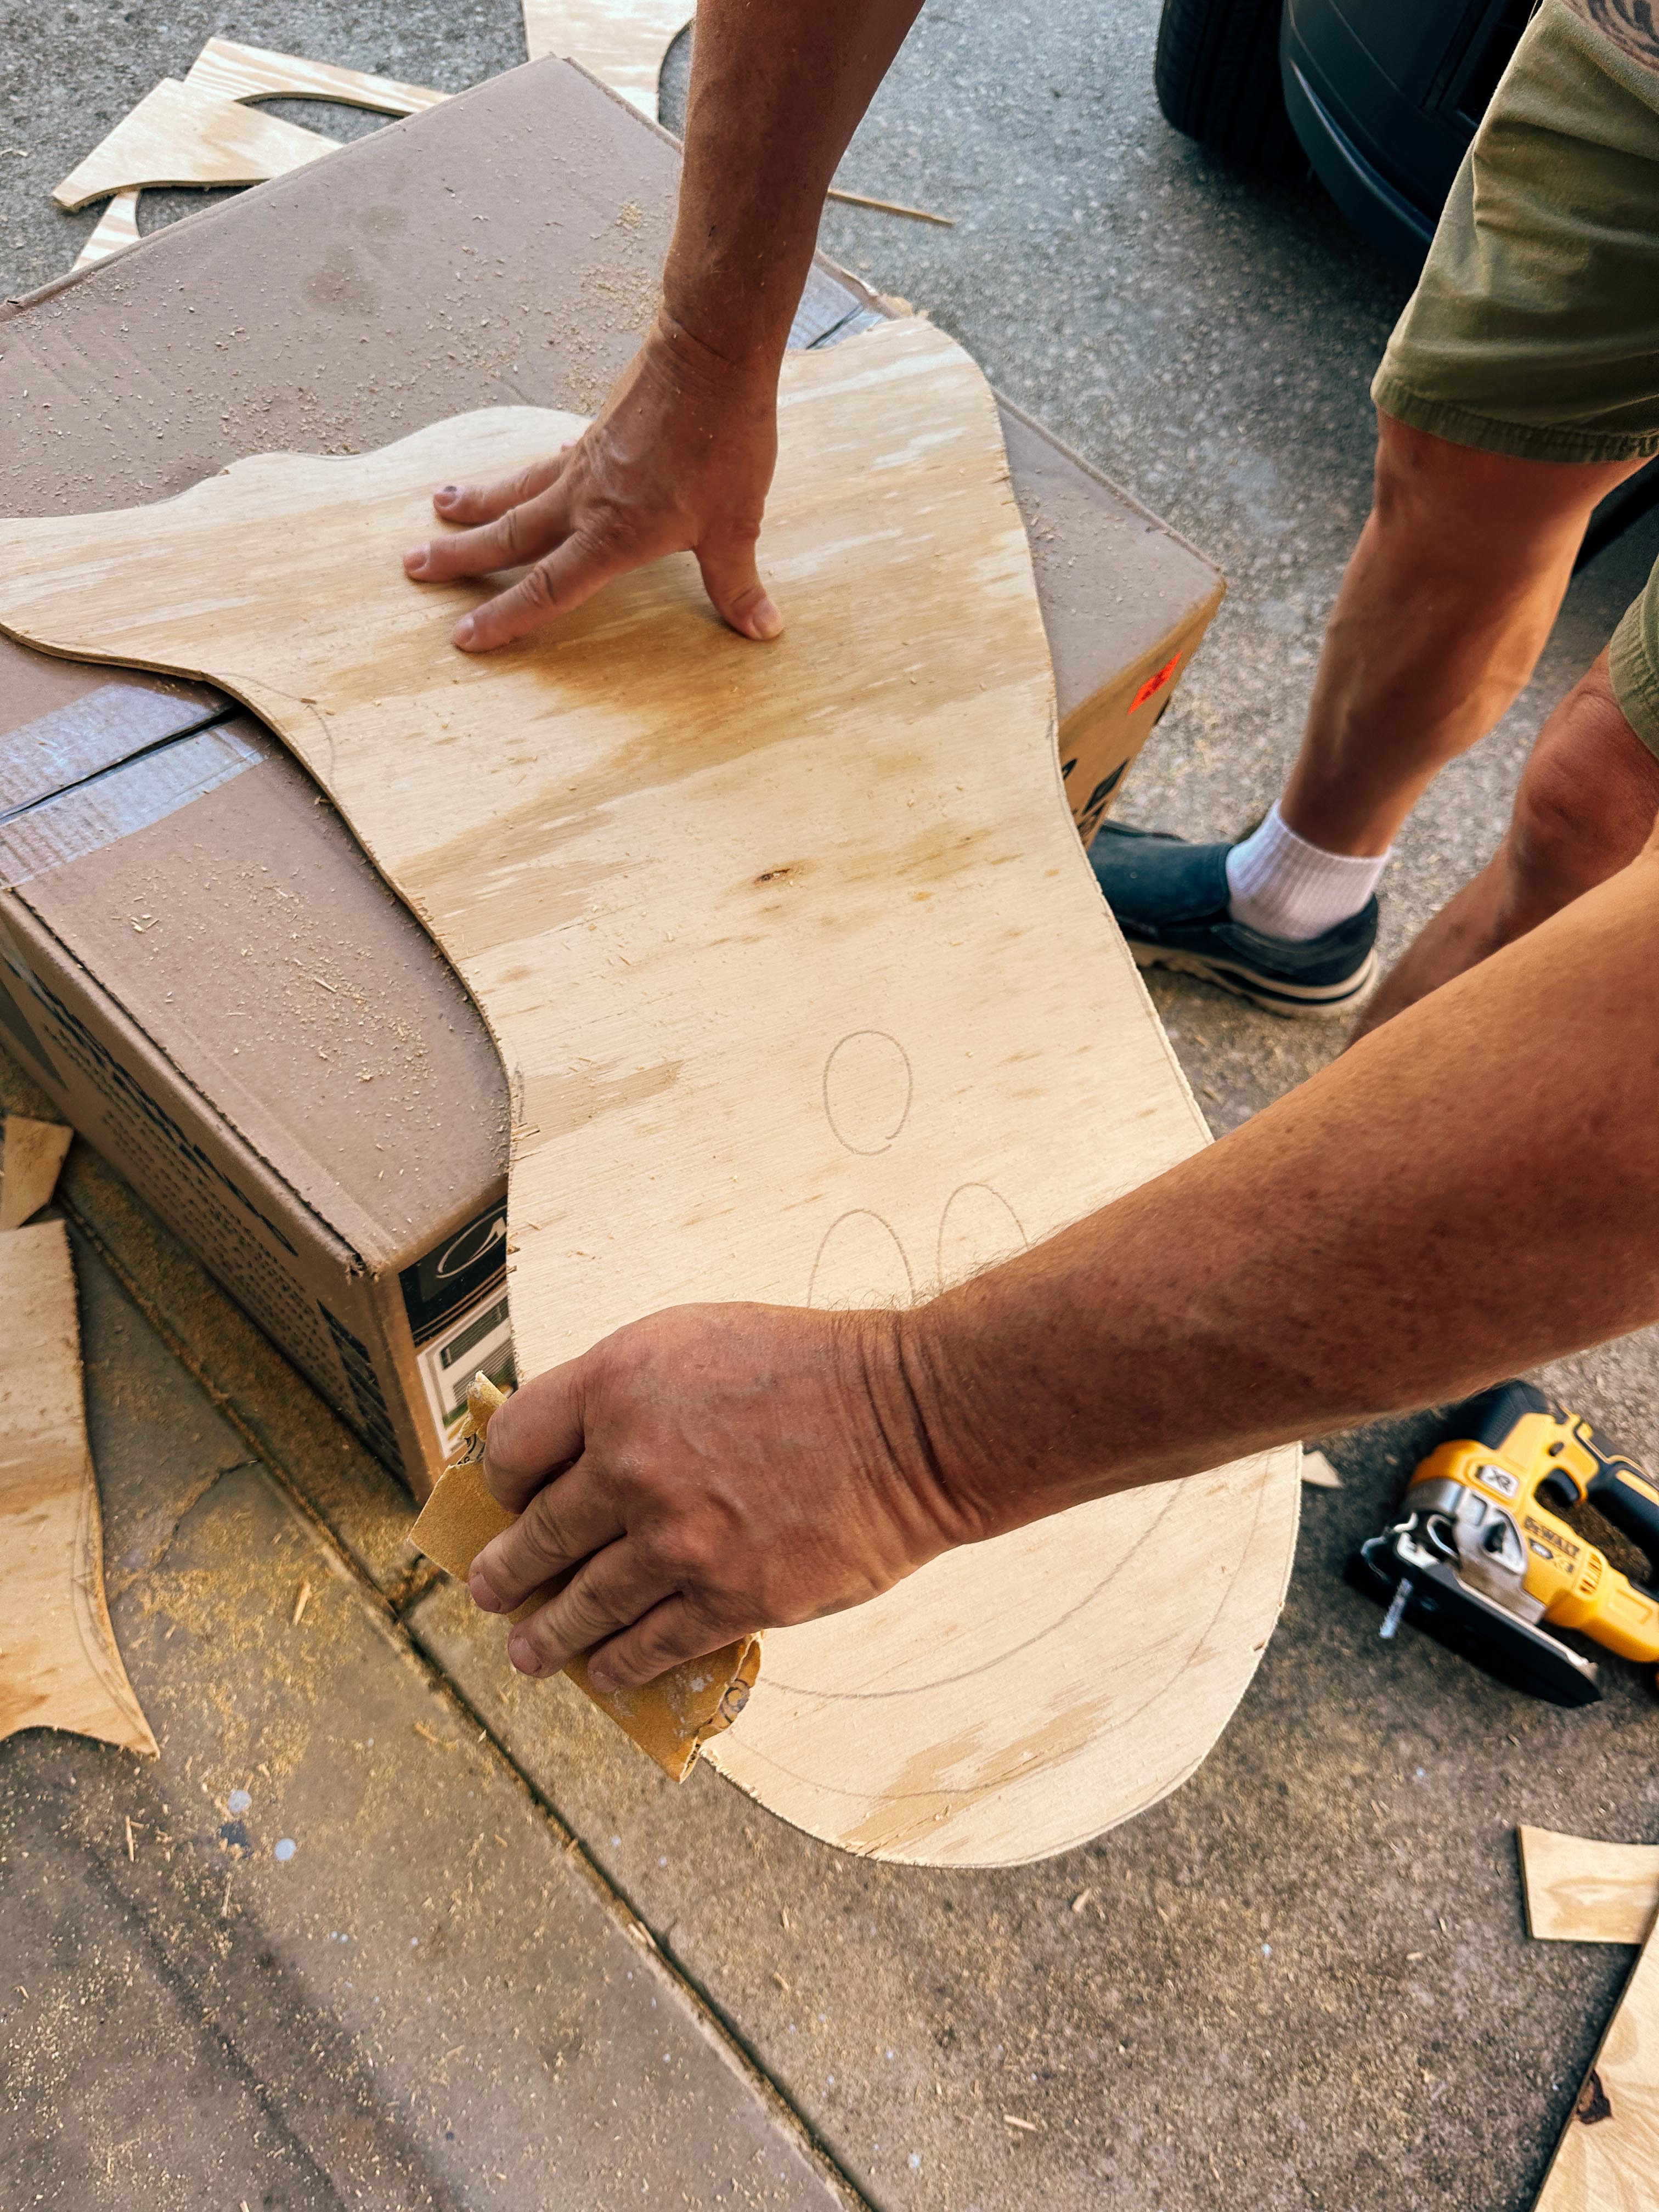
Sand around the entire outside edge of each ghost to remove splinters and smooth any rough areas left by the jigsaw.
You don’t need to make the plywood perfectly smooth. We mainly focused on the cut edges and any noticeably rough spots on the front.
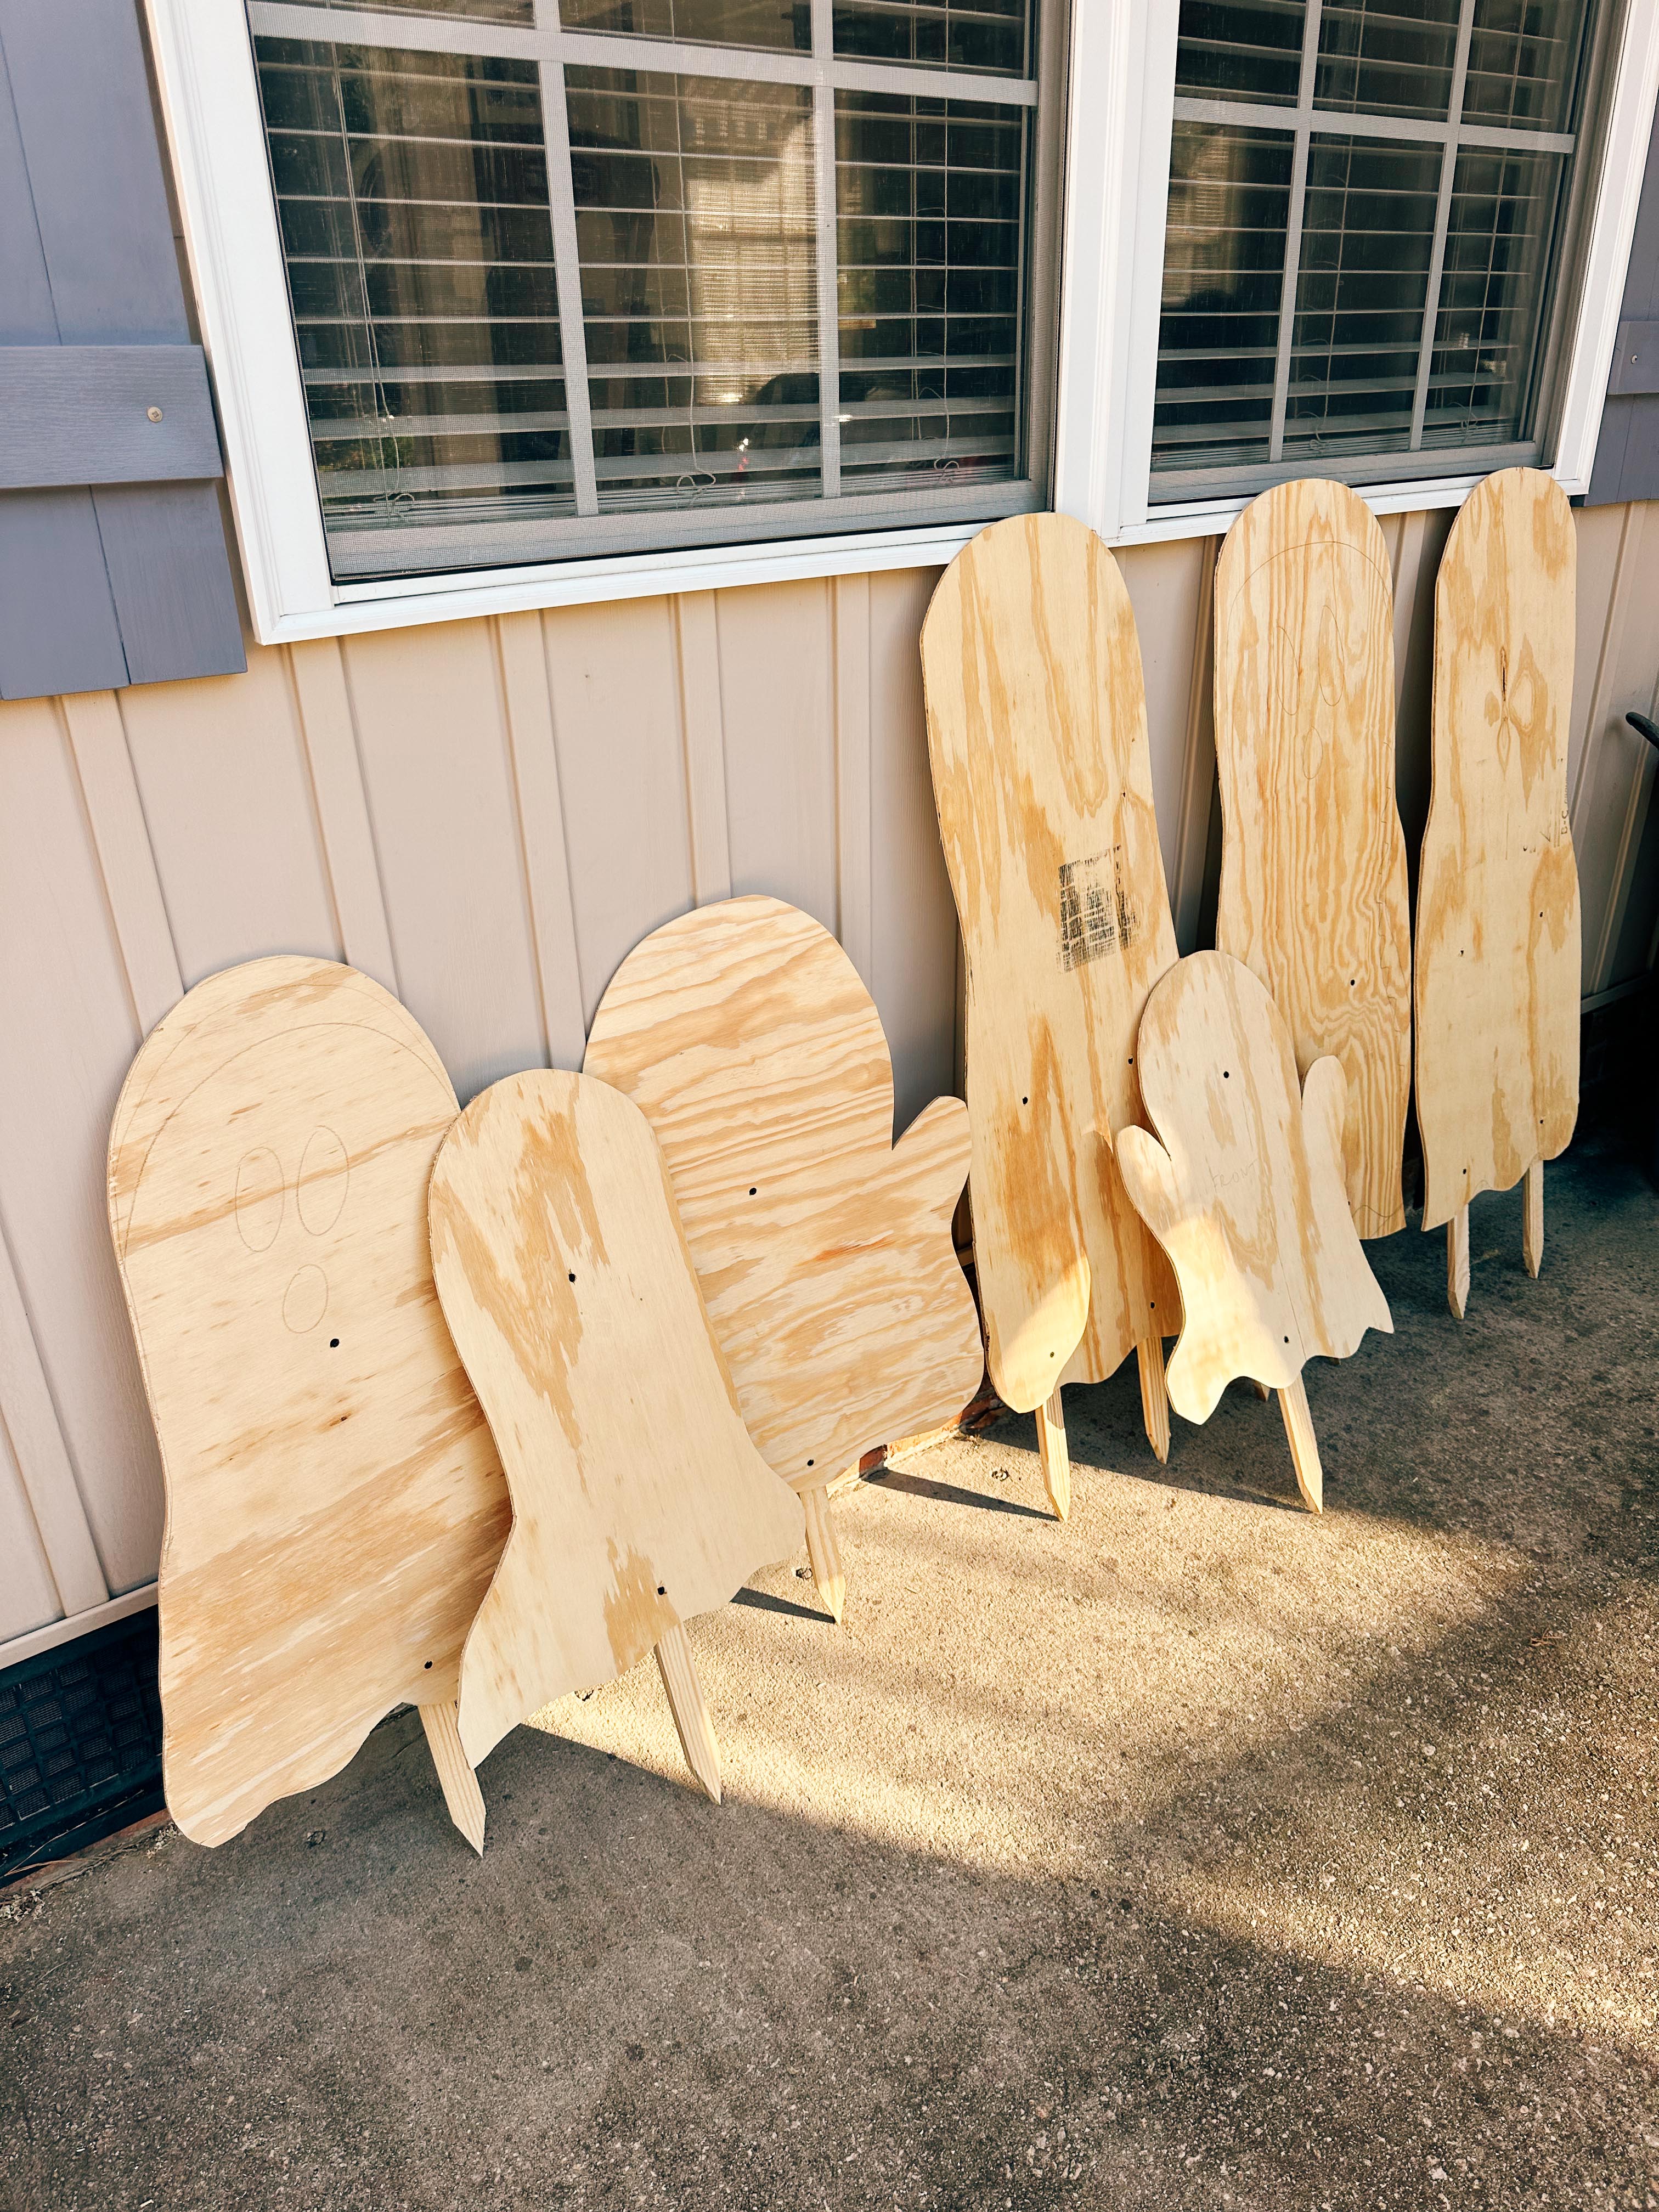
5. Add Wooden Stakes
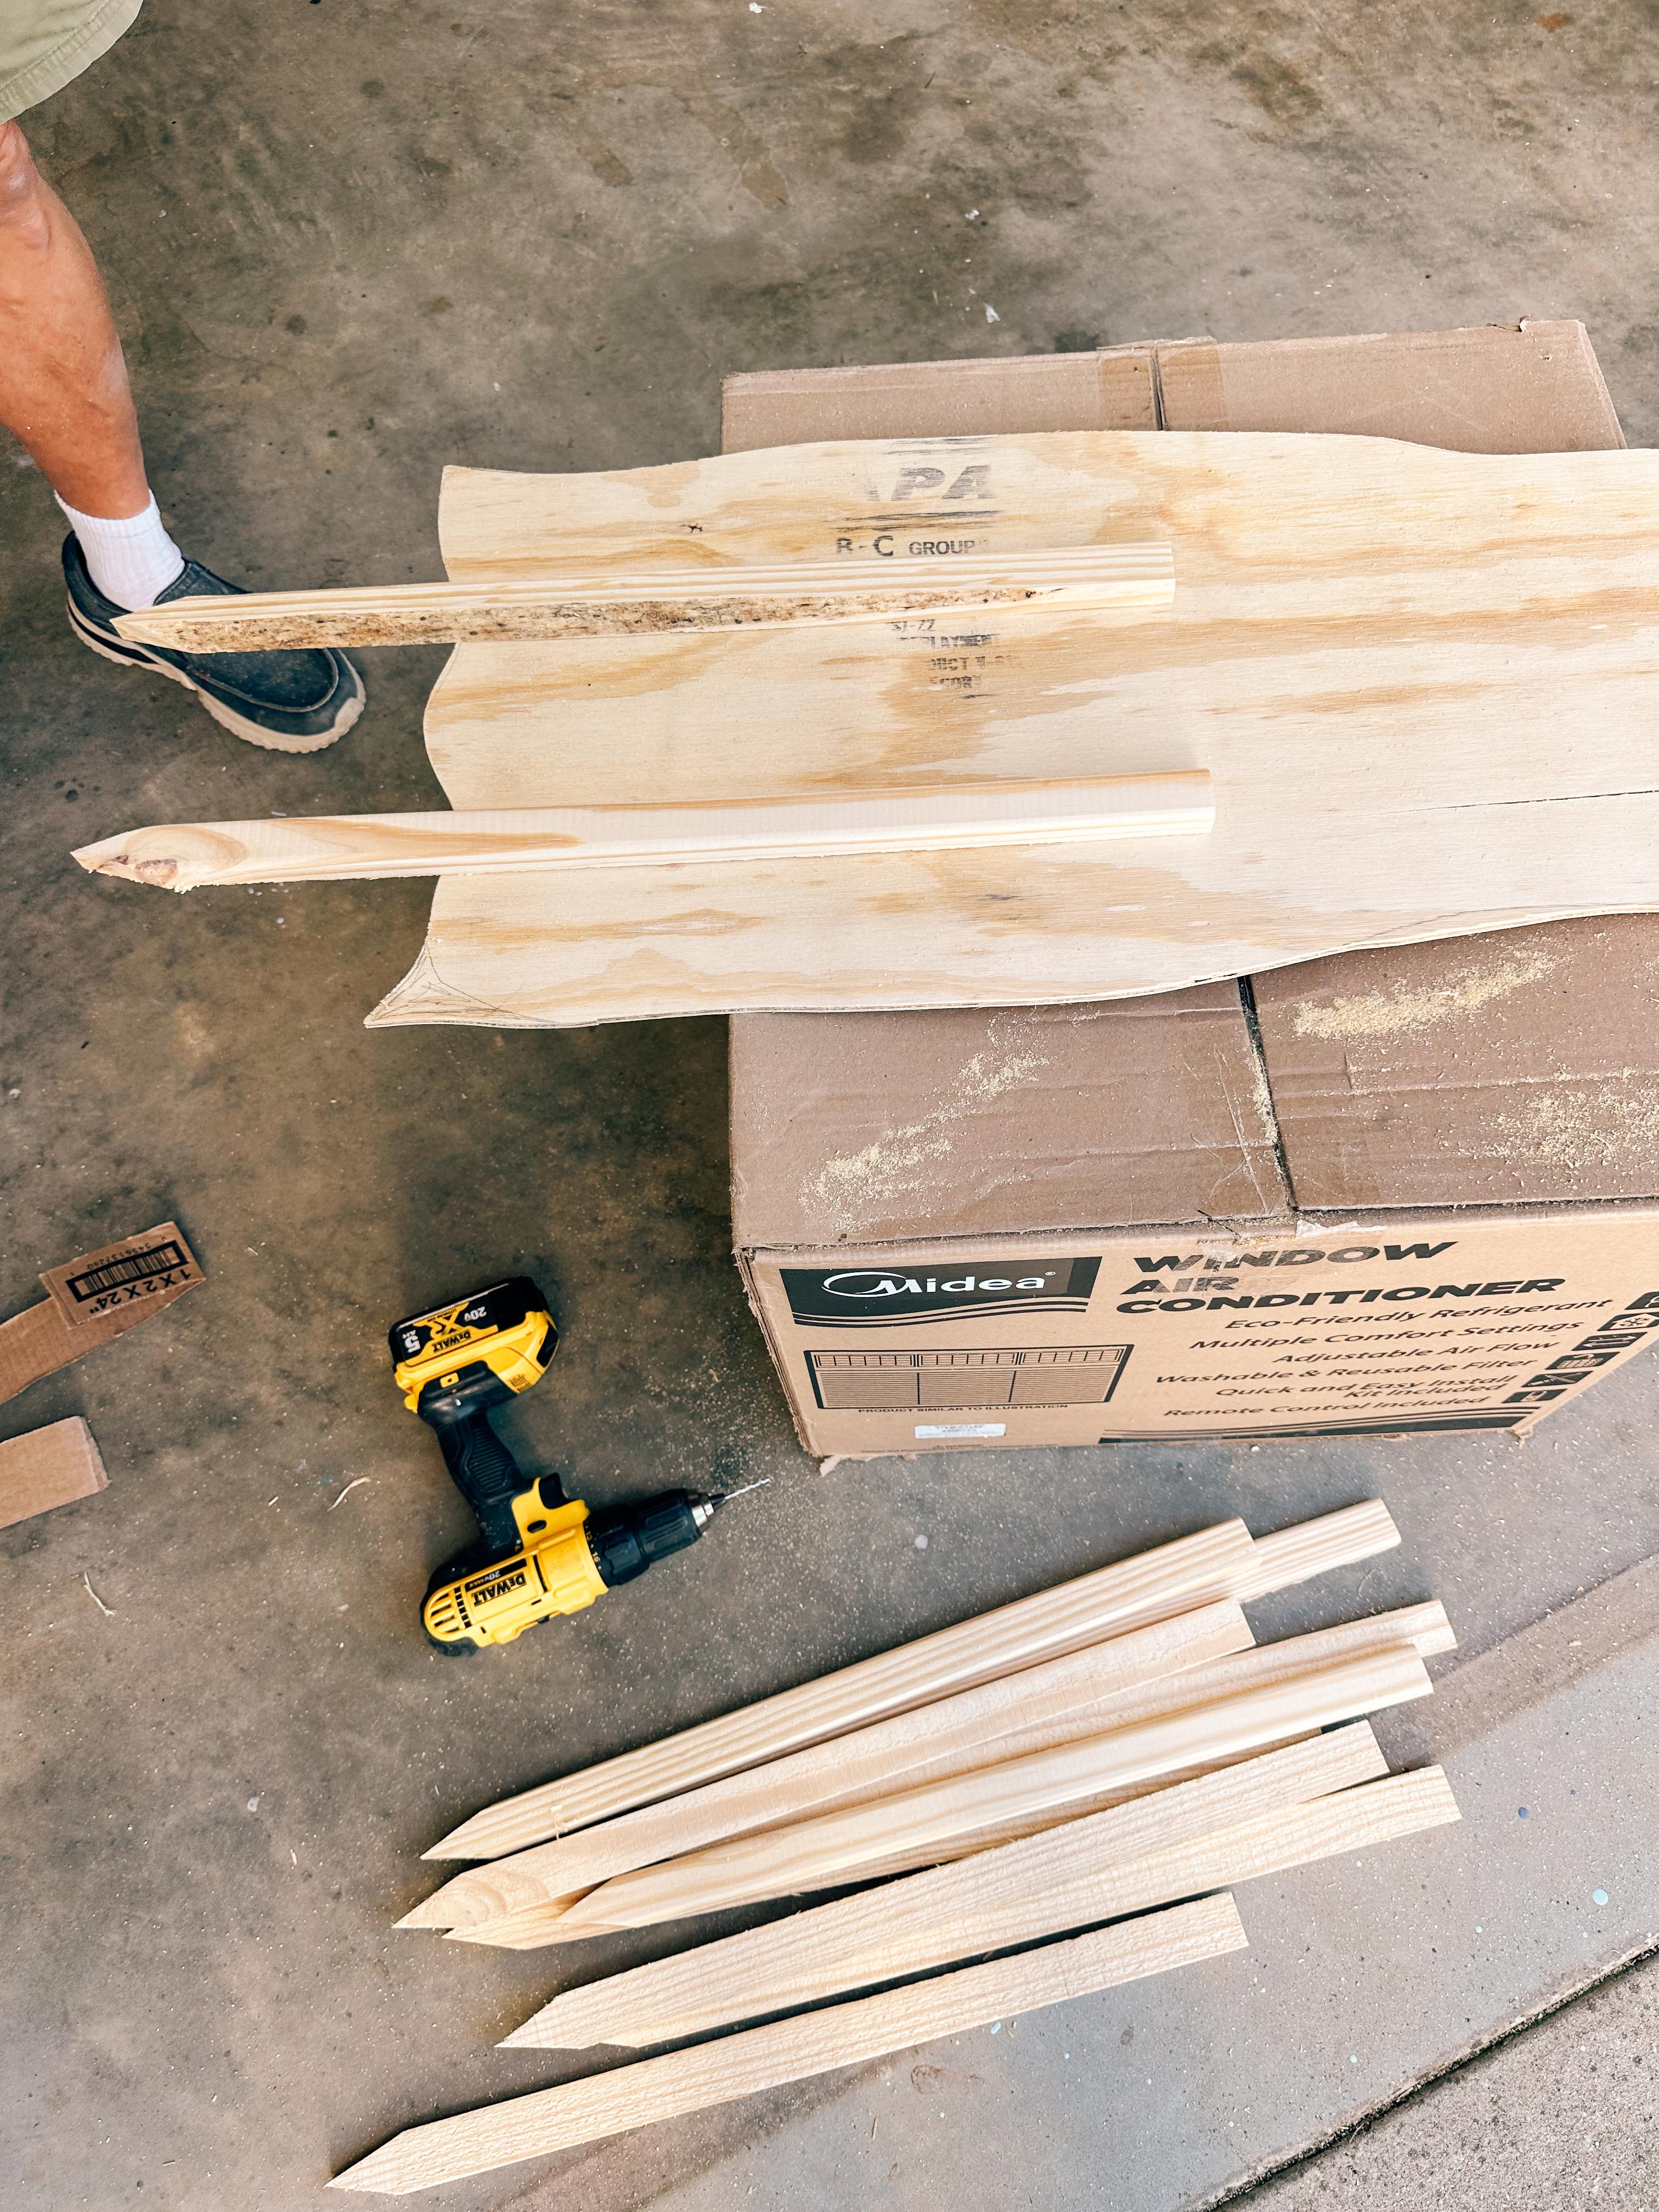
Attach a wooden stake vertically to the back of each ghost.
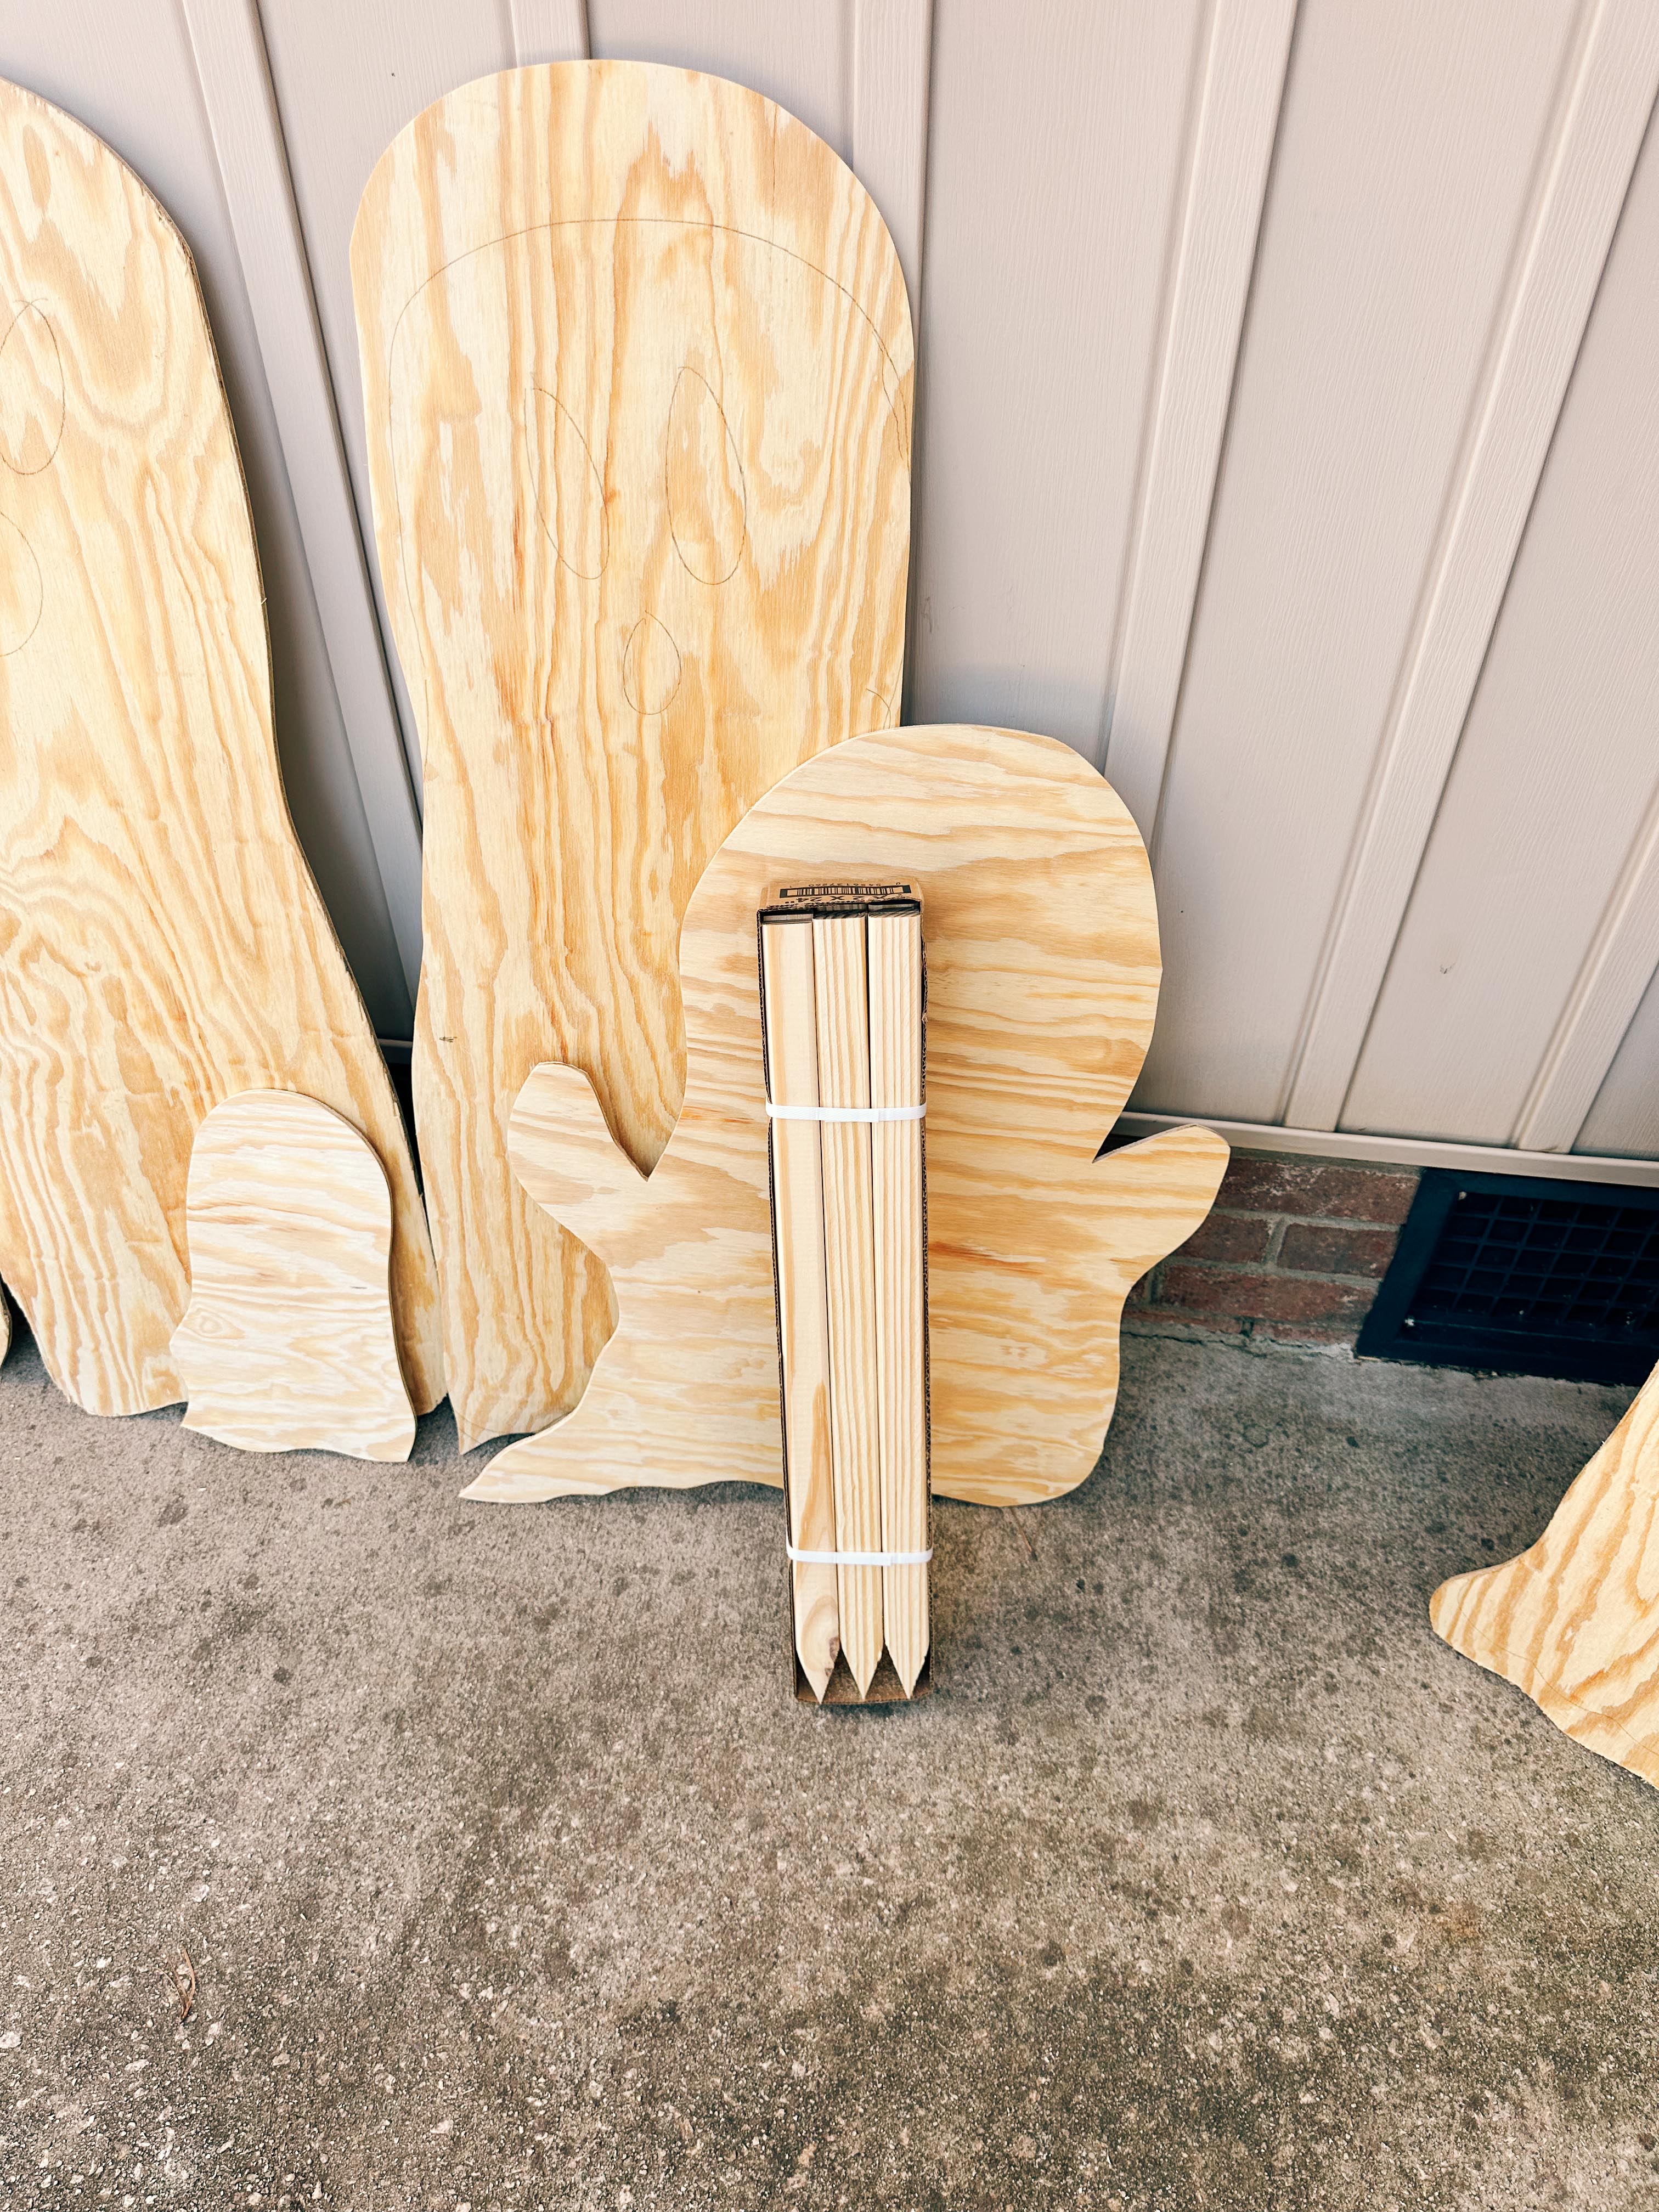
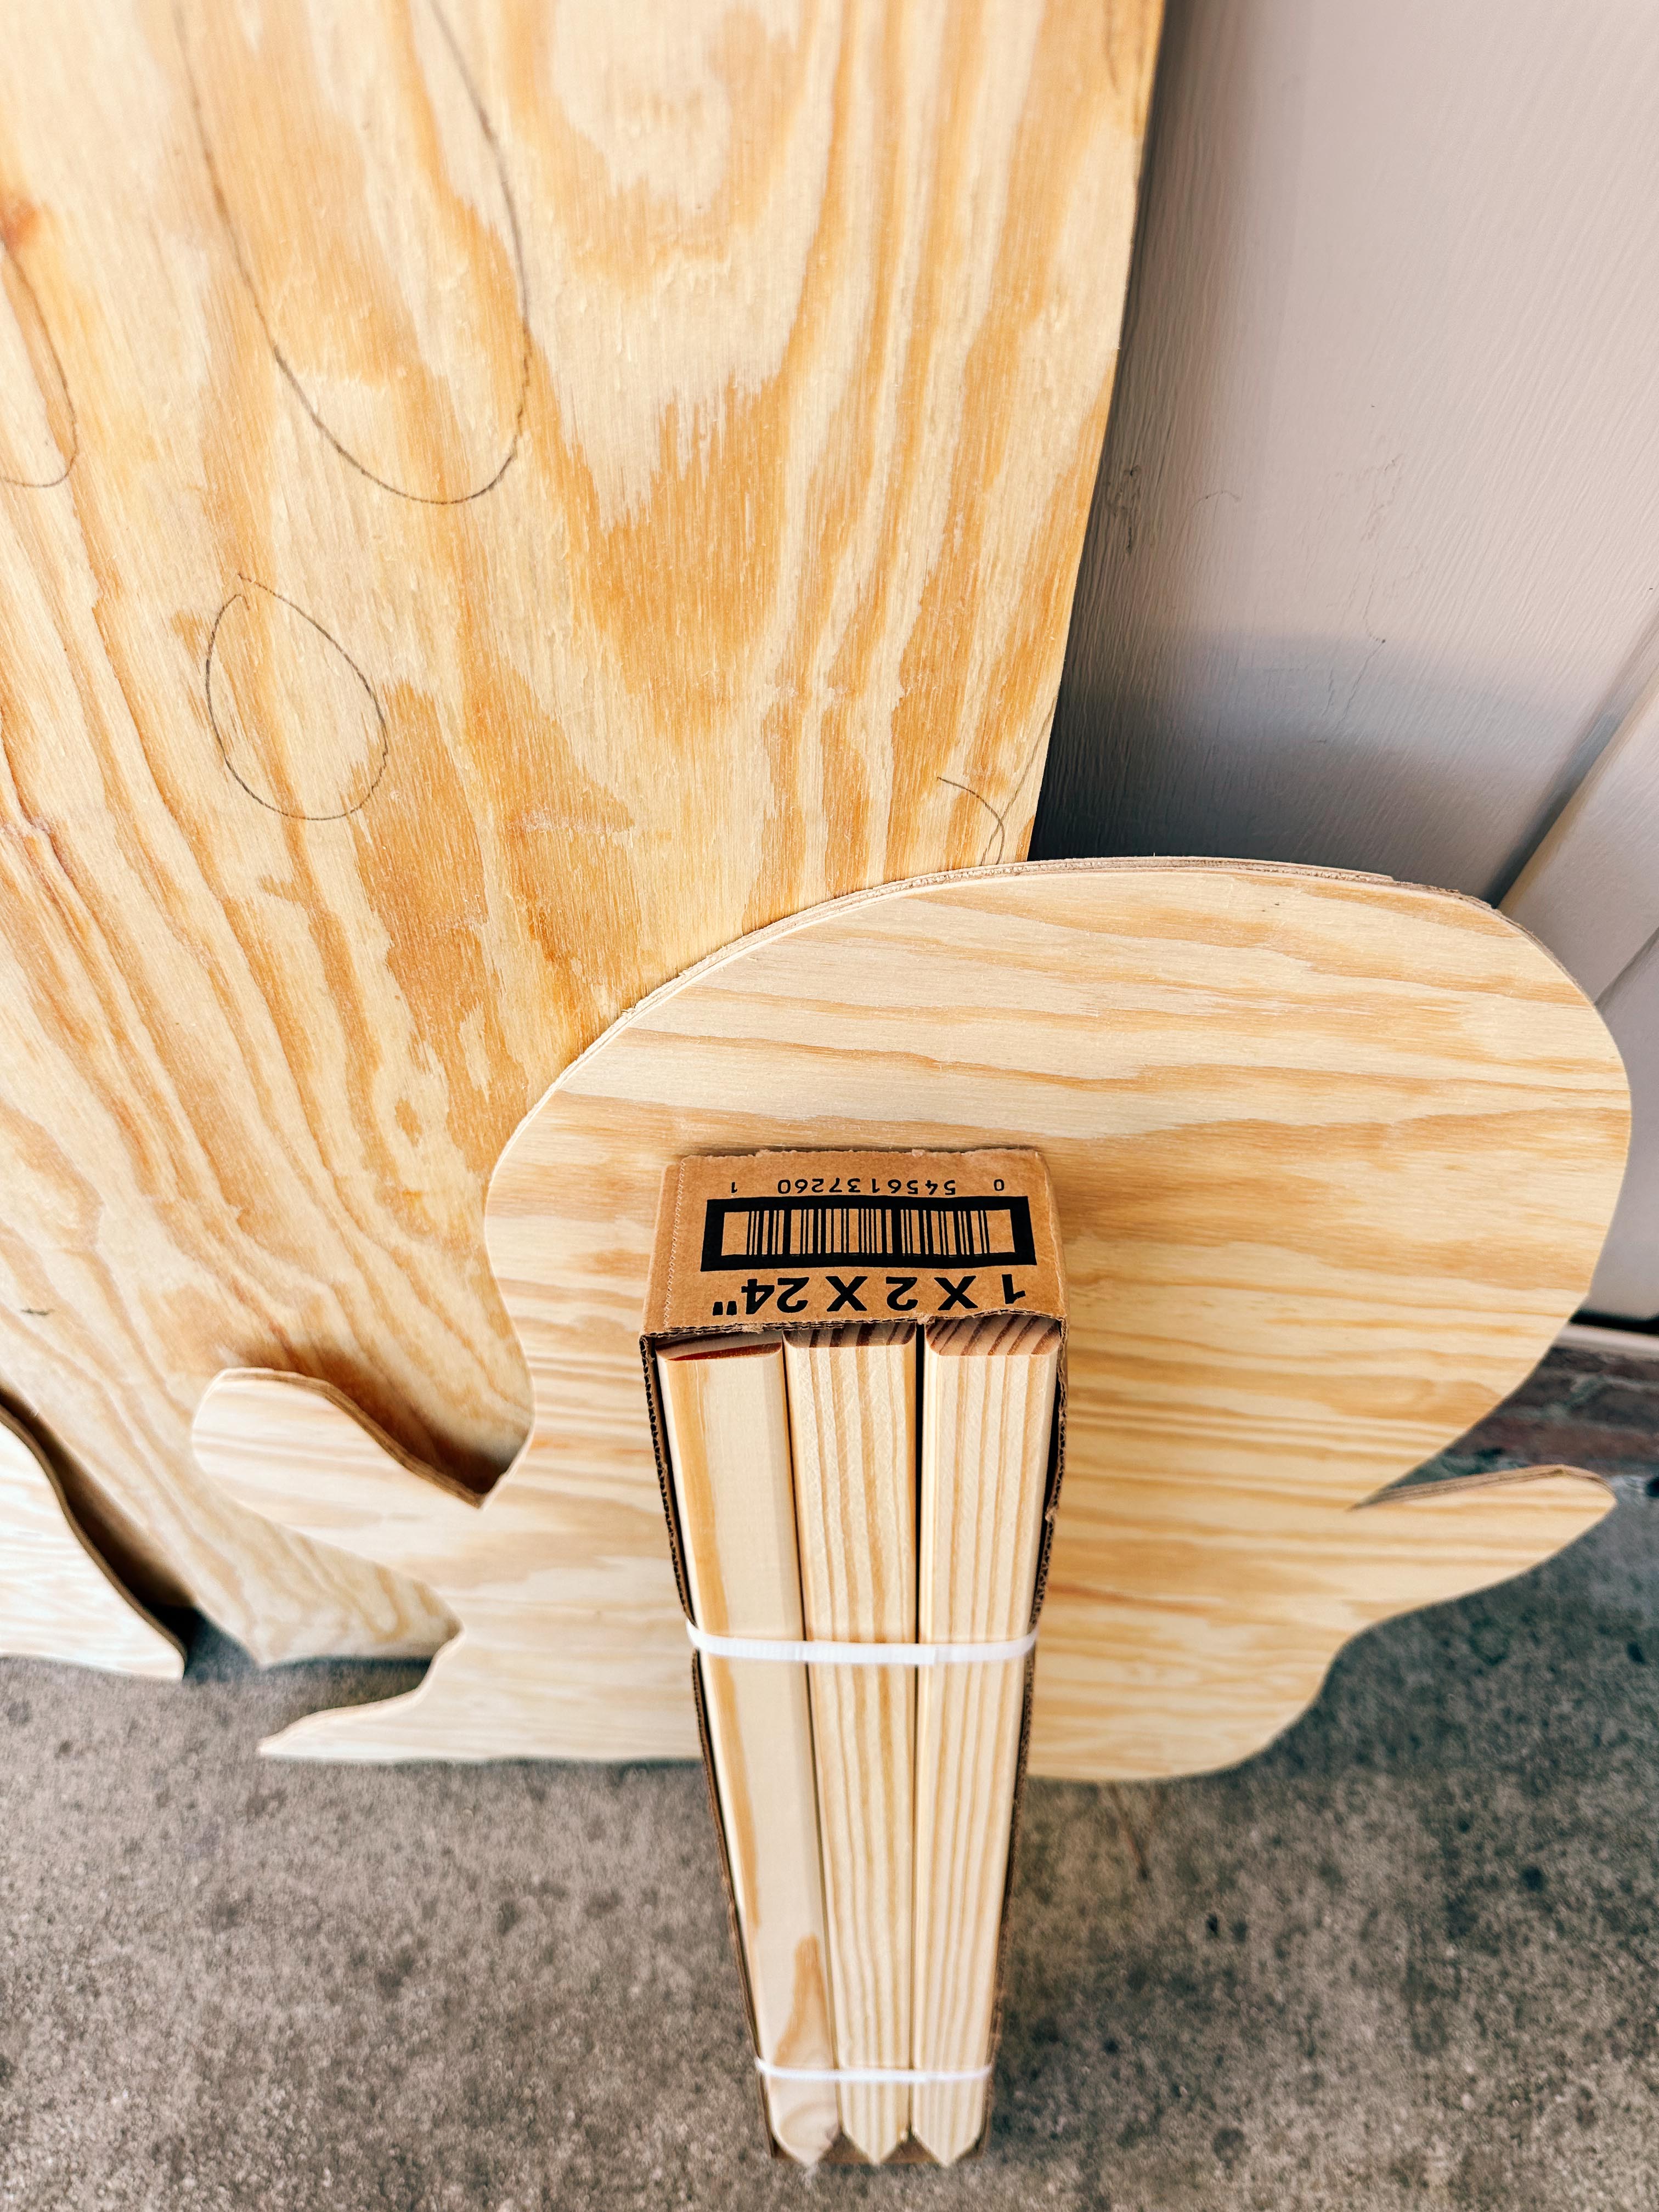
We used 1 x 2-inch wood pieces so there was enough length below the ghost to push the decoration securely into the ground.
Important: Use screws that are long enough to securely attach the support without coming through the front of your plywood.
6. Paint the Ghosts White
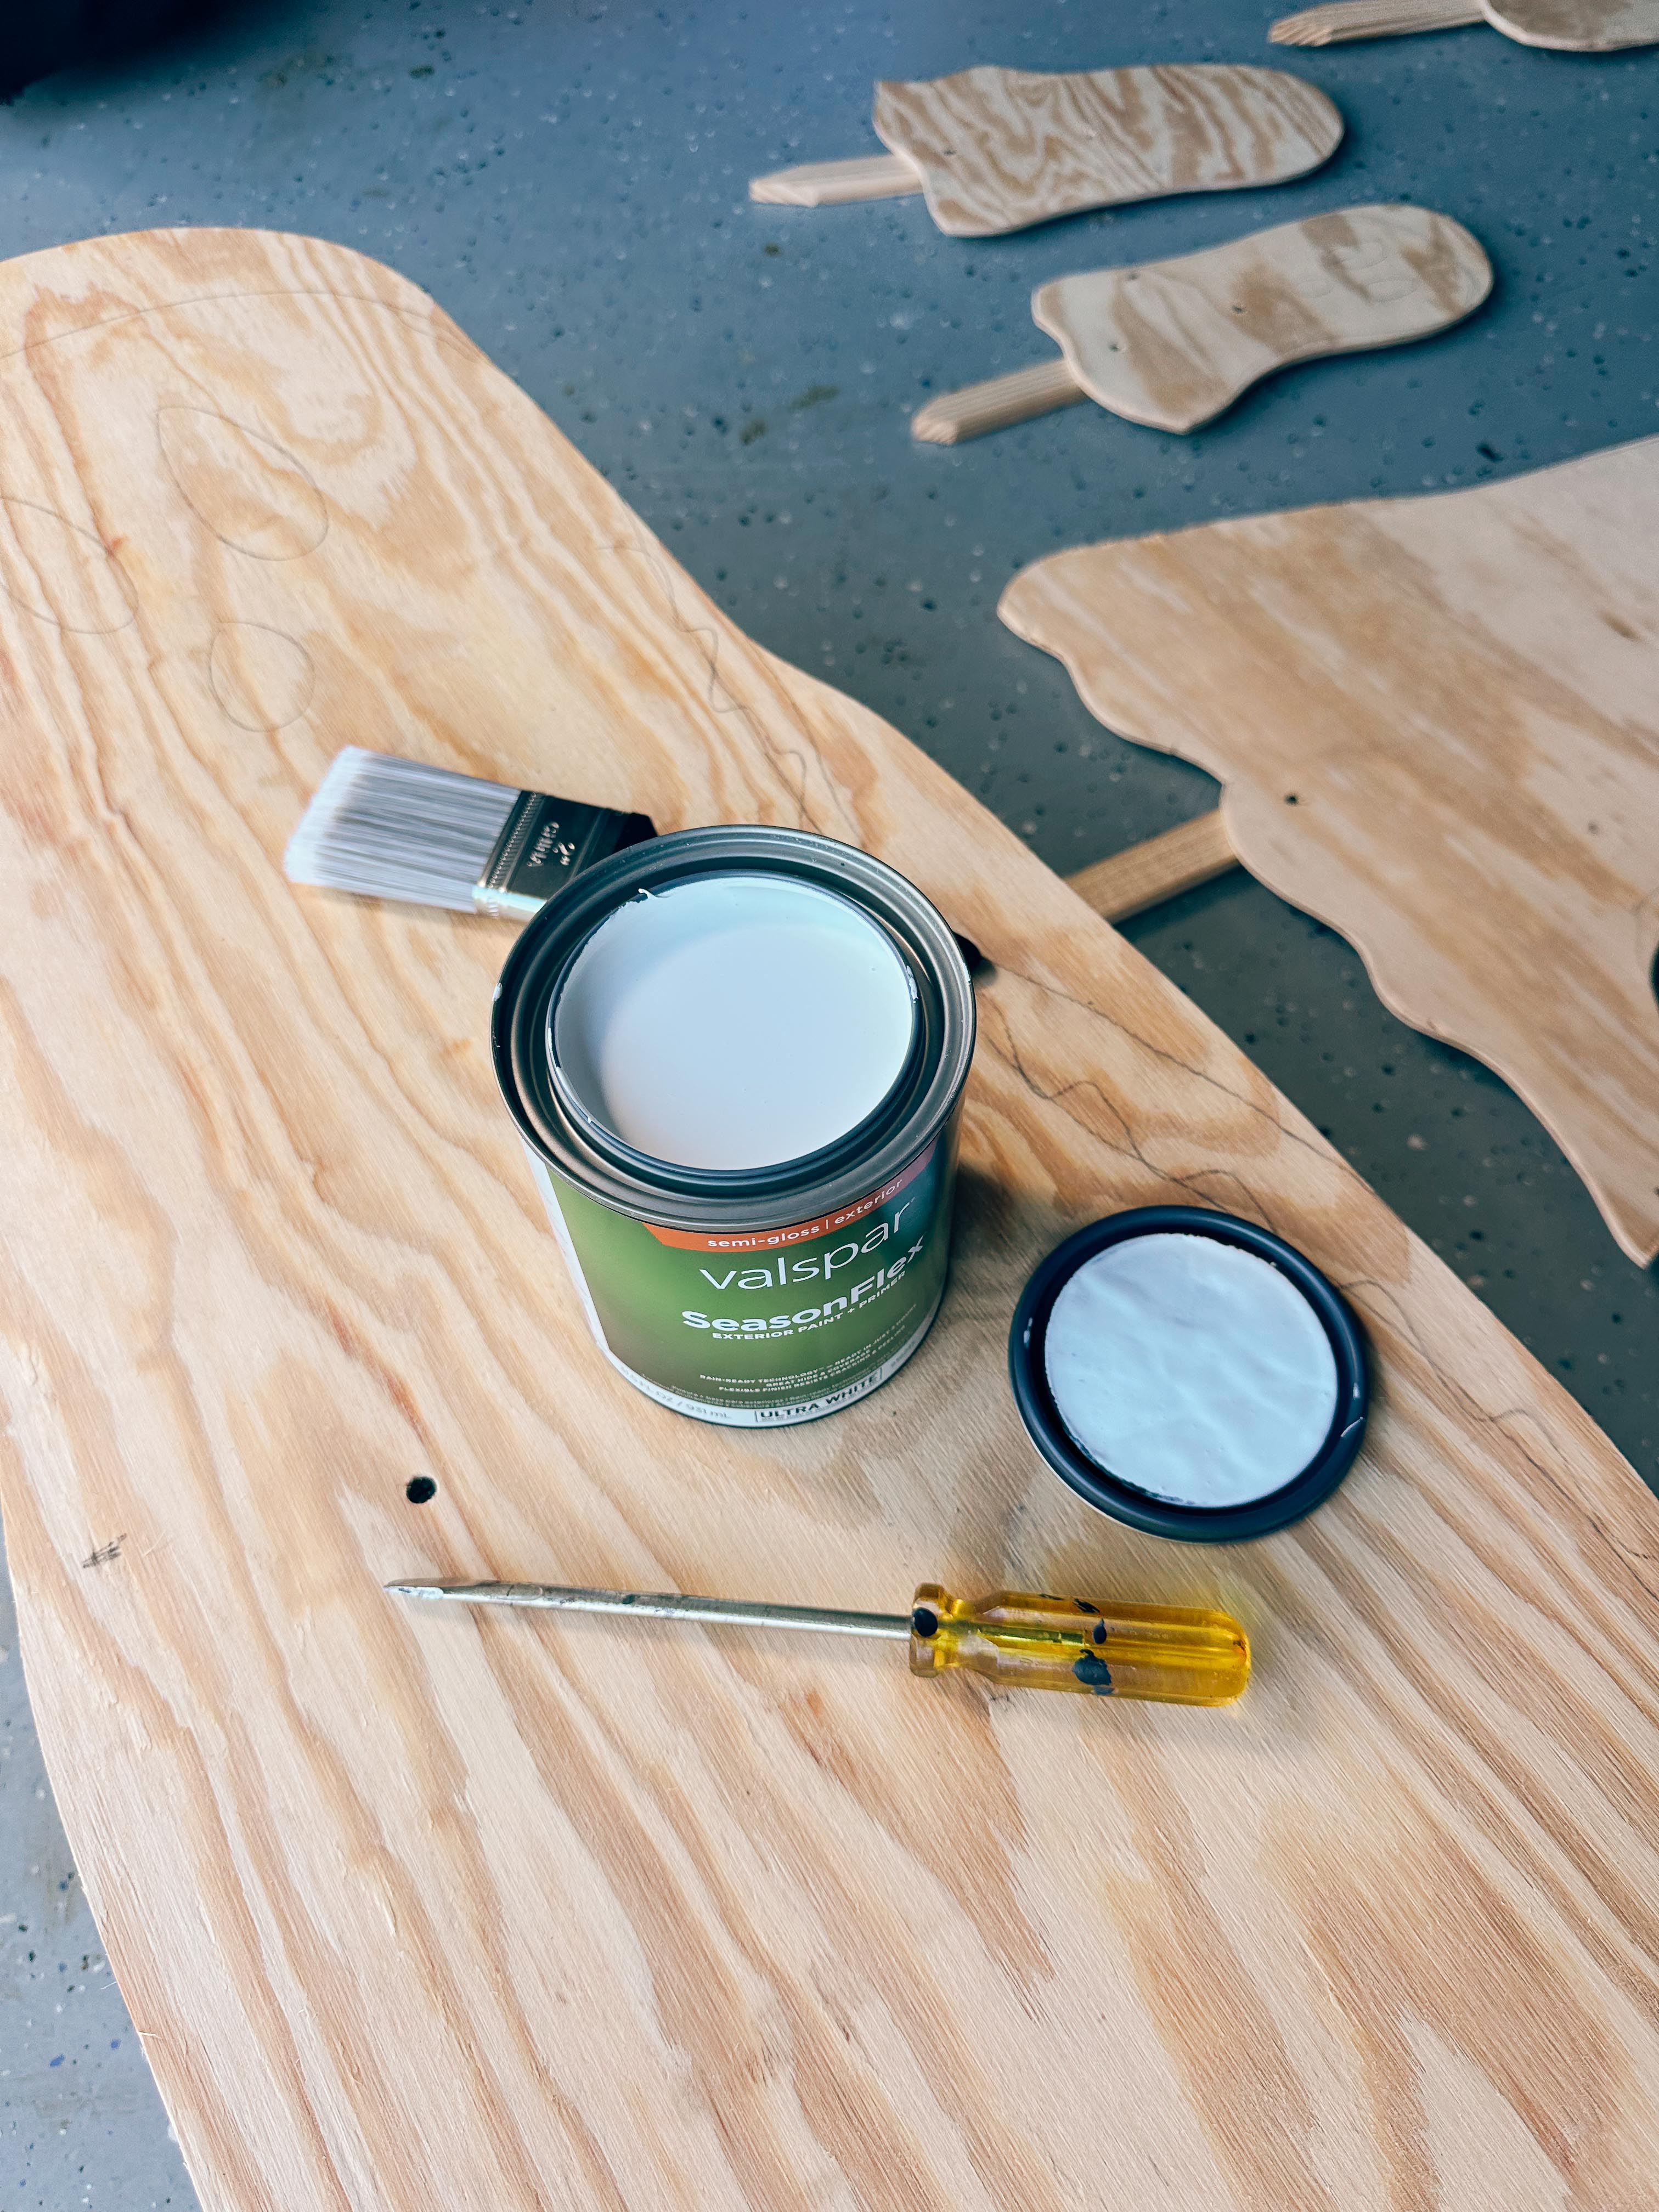
Once everything was cut, sanded and assembled, we painted the ghosts with white exterior paint.
We used Valspar SeasonFlex Exterior Paint + Primer in Ultra White, semi-gloss.
Since these are going outside, I definitely recommend exterior paint rather than leftover interior wall paint. Pay attention to the edges of the plywood while painting, too, since exposed plywood edges can absorb moisture.
Let the first coat dry and add another coat if necessary.
7. Paint the Ghost Faces
Now for the best part!
Once the white paint is completely dry, use black exterior paint and a small brush to give each ghost a face.
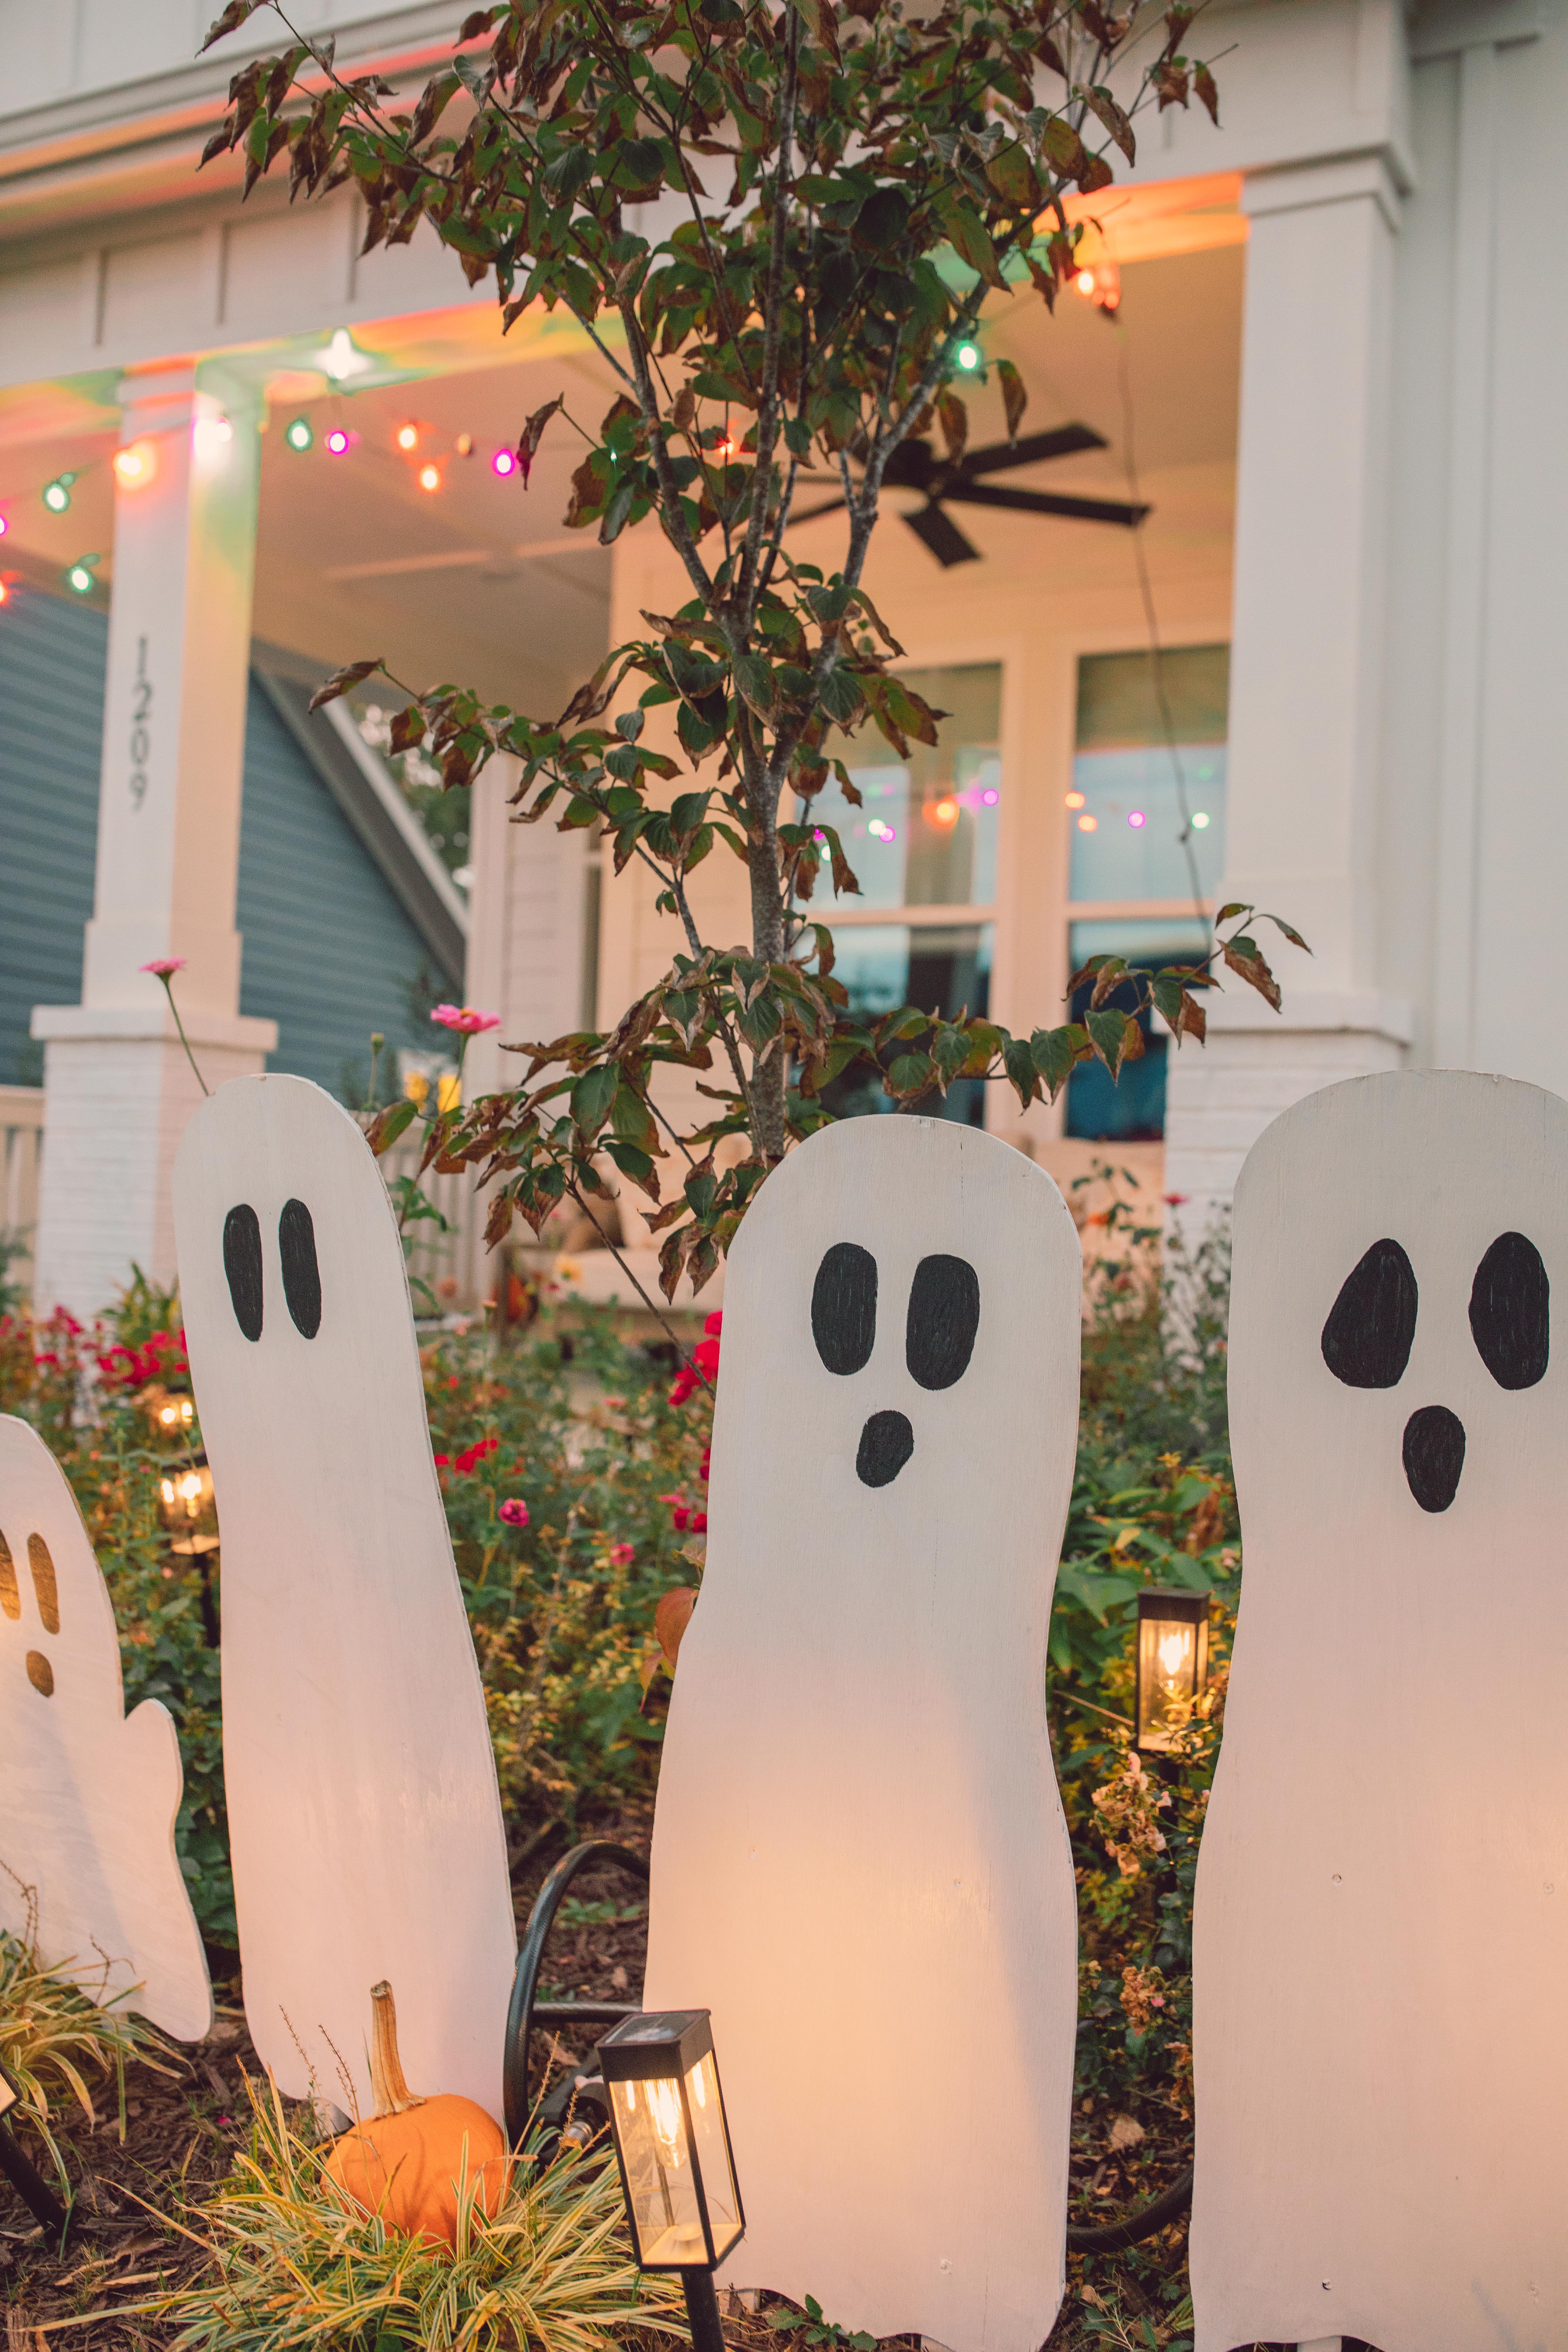
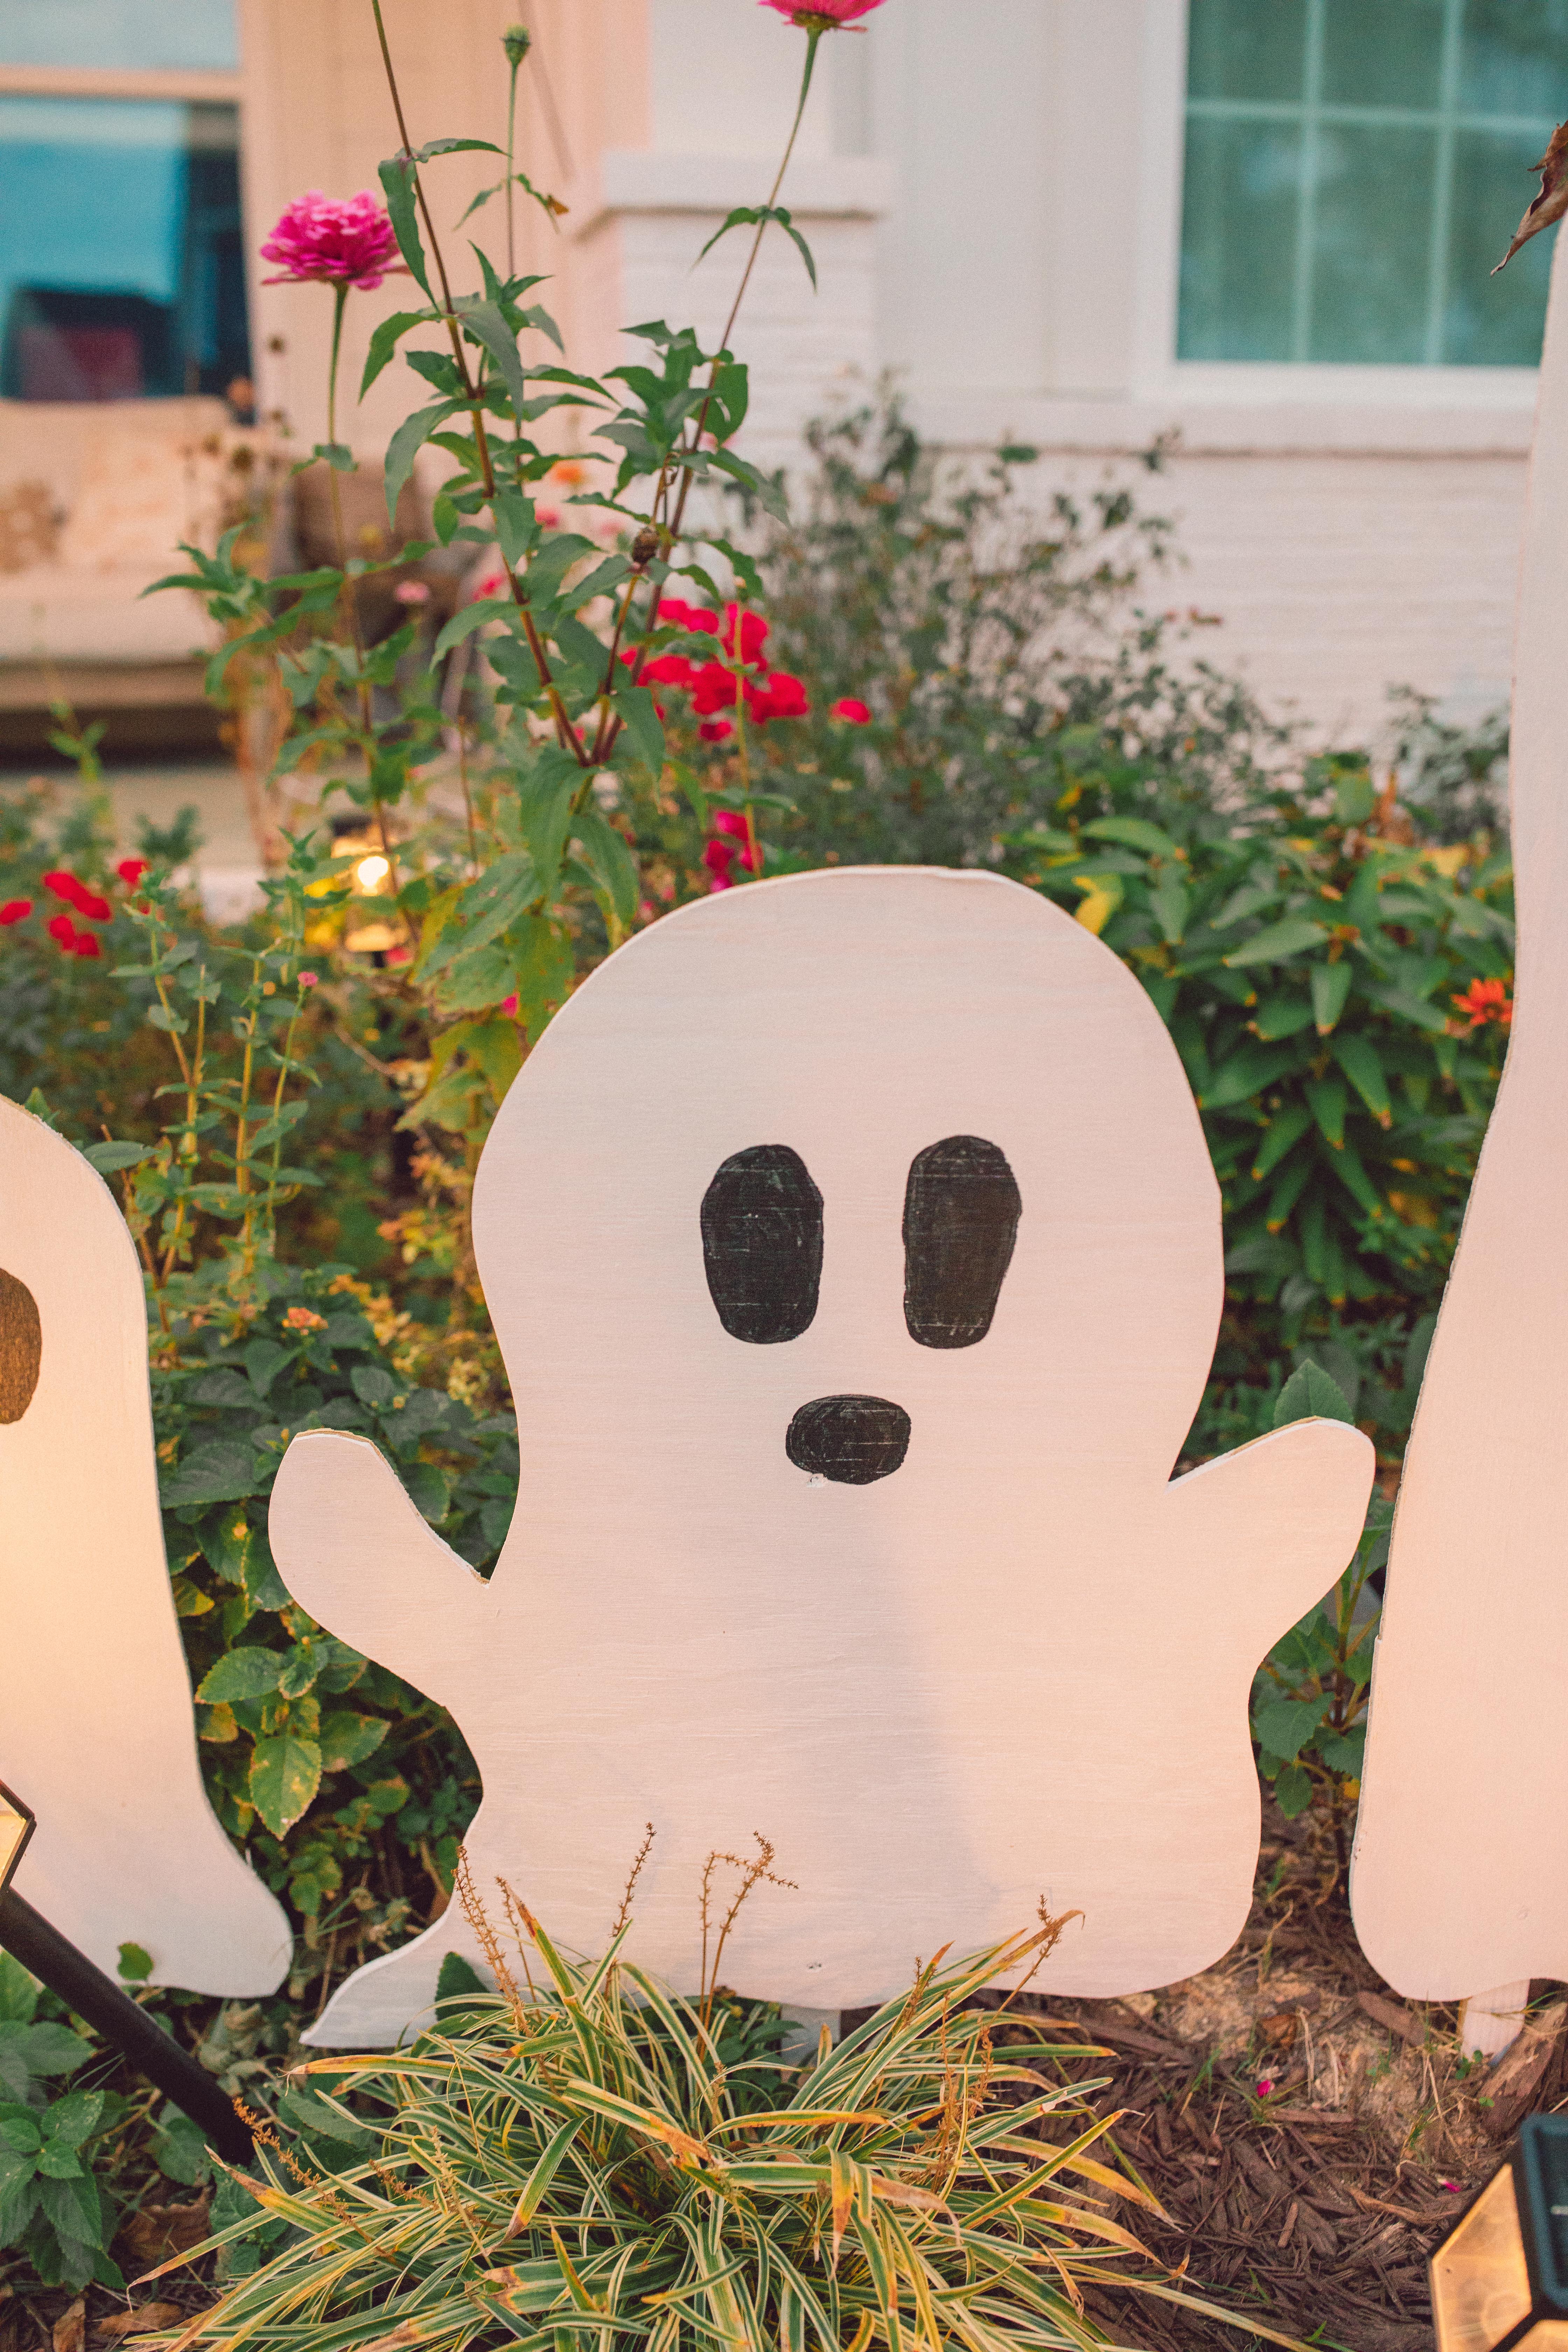
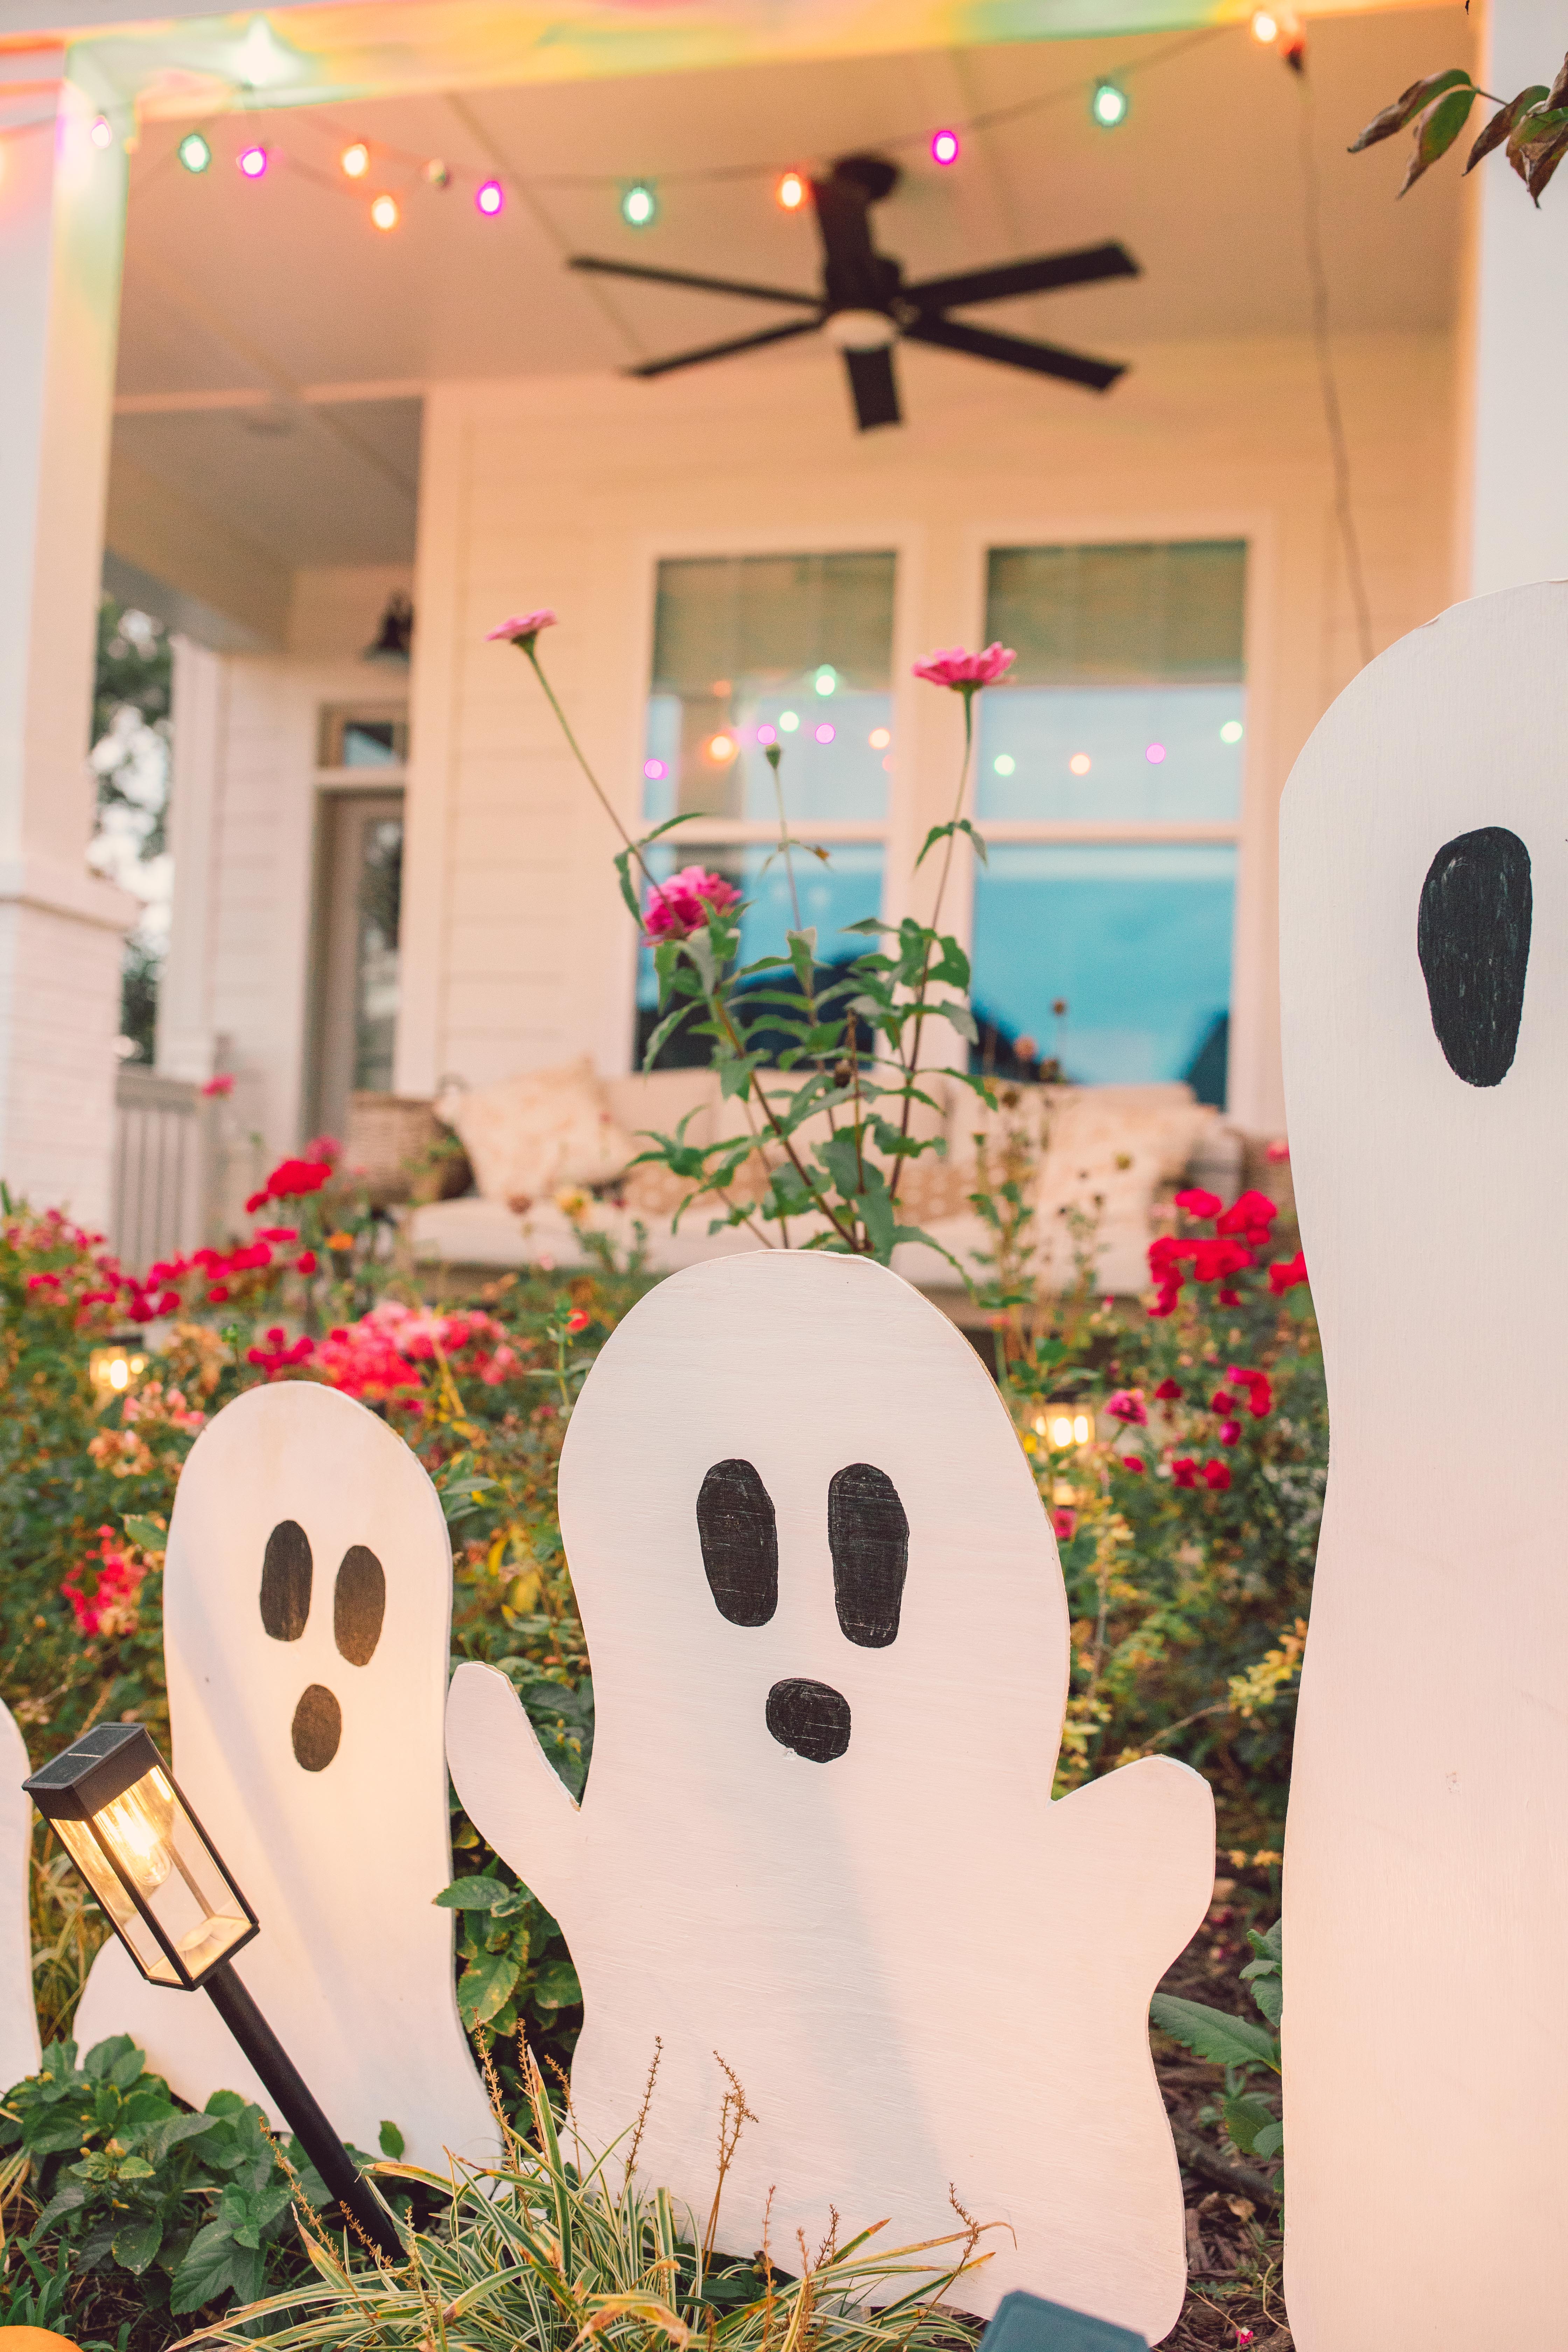
We kept ours very simple with two black oval eyes and, on some ghosts, a little open mouth.
Varying the eyes and mouths made each one look slightly different.
Another cute idea: Let your kids help design the faces on paper first and choose which face goes on each ghost.
8. Place Them Around the Yard
Once everything is completely dry, push the wooden stakes into the soil and arrange your ghosts throughout your landscaping.
Instead of lining ours up perfectly, I staggered them at different depths throughout the garden. The different heights make it look like a little gathering of ghosts floating around the flowers.
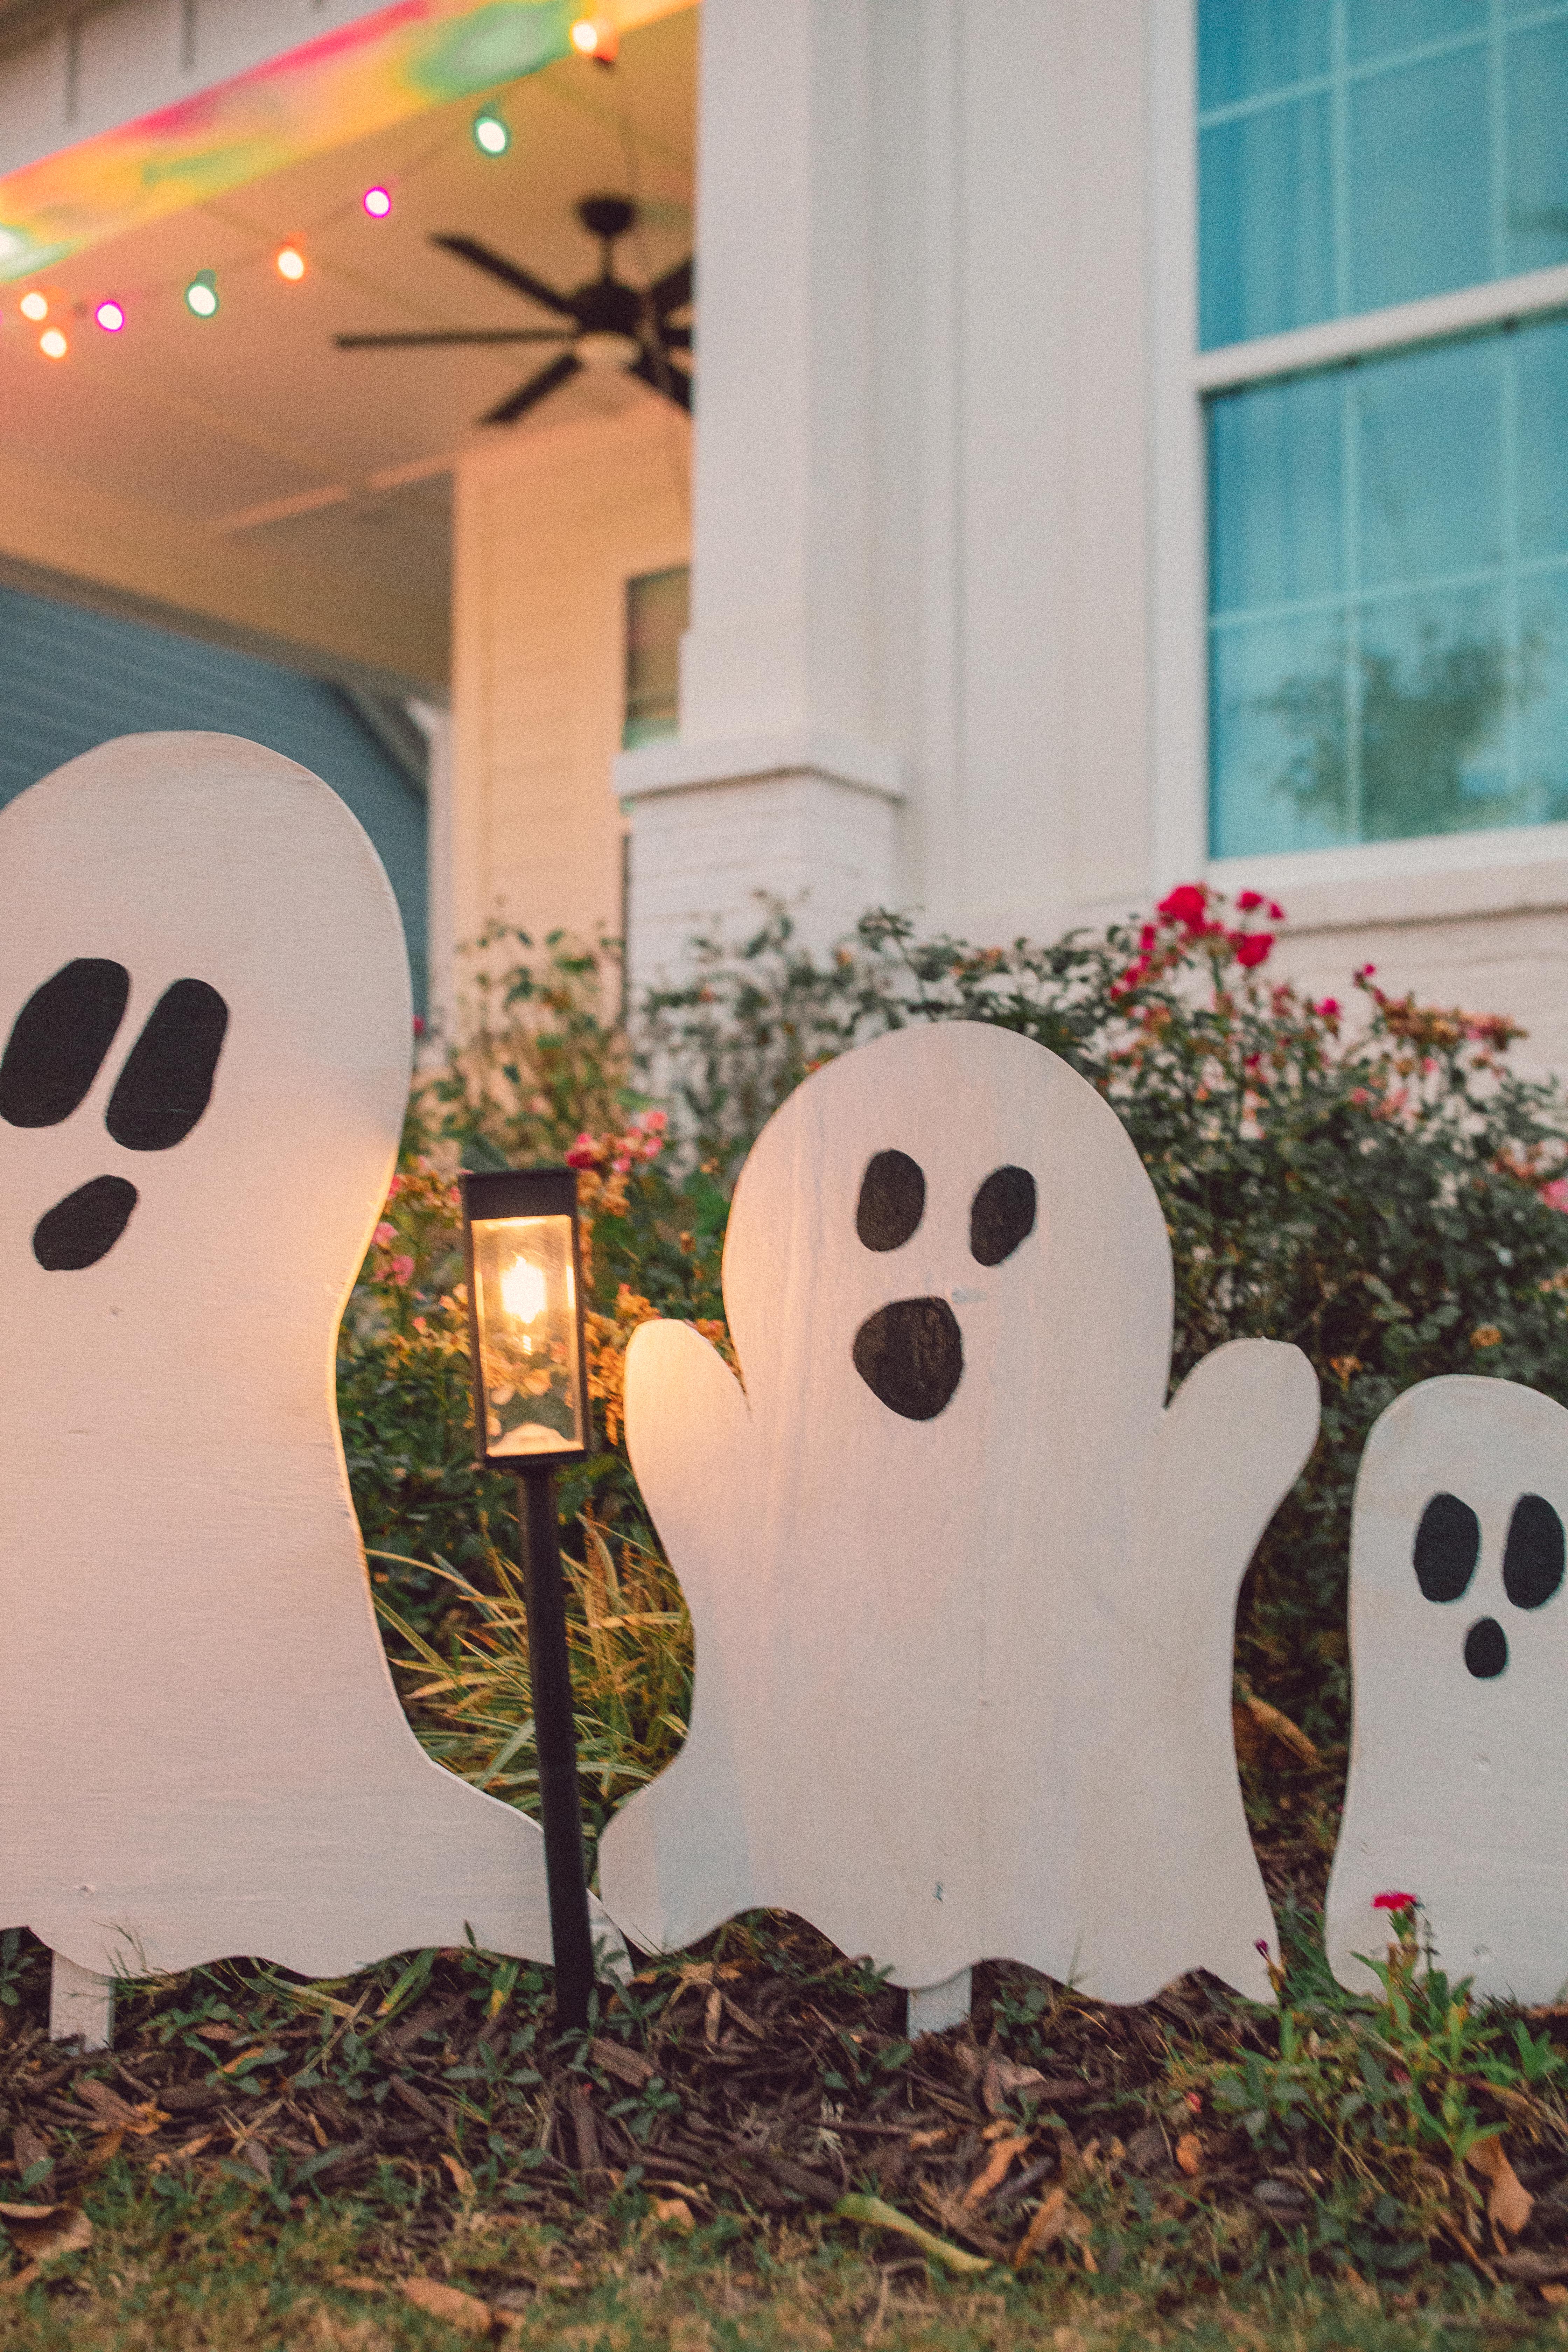
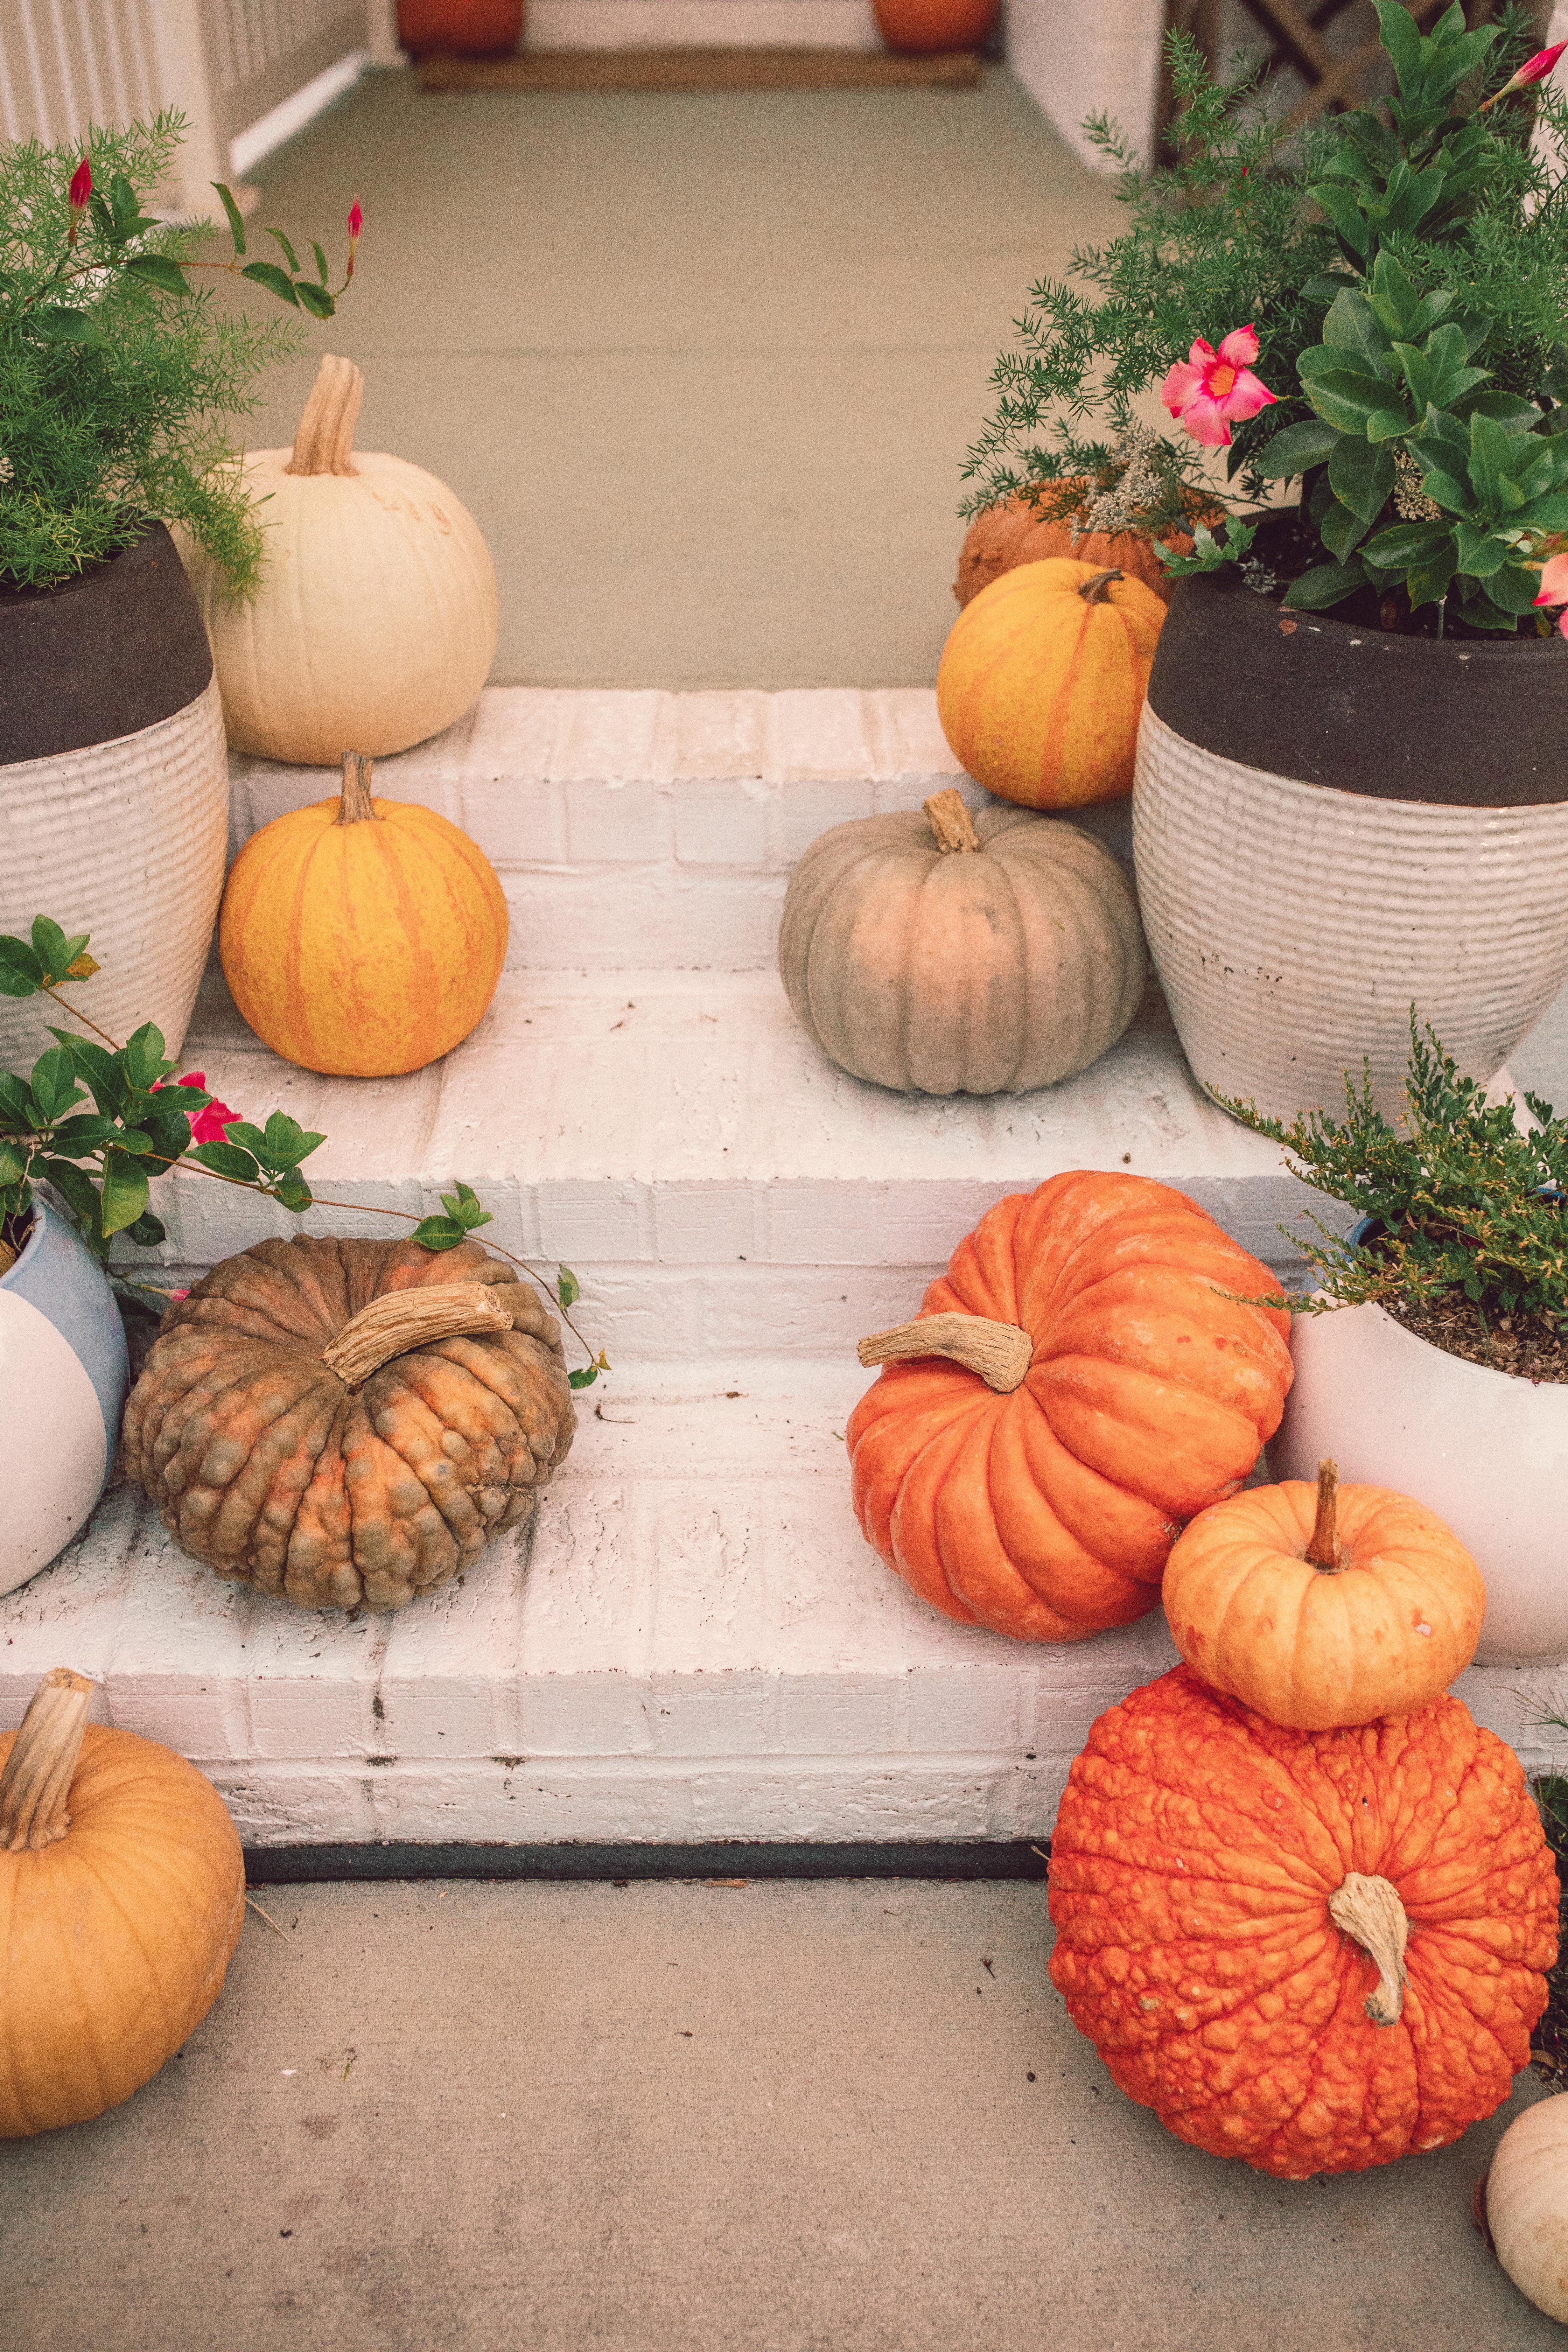
We tucked pumpkins around them and let the landscape lights illuminate them at night.
How We Styled Our Ghost Yard
I didn’t want our Halloween decorations to completely cover the garden, so I worked the ghosts into what was already growing.
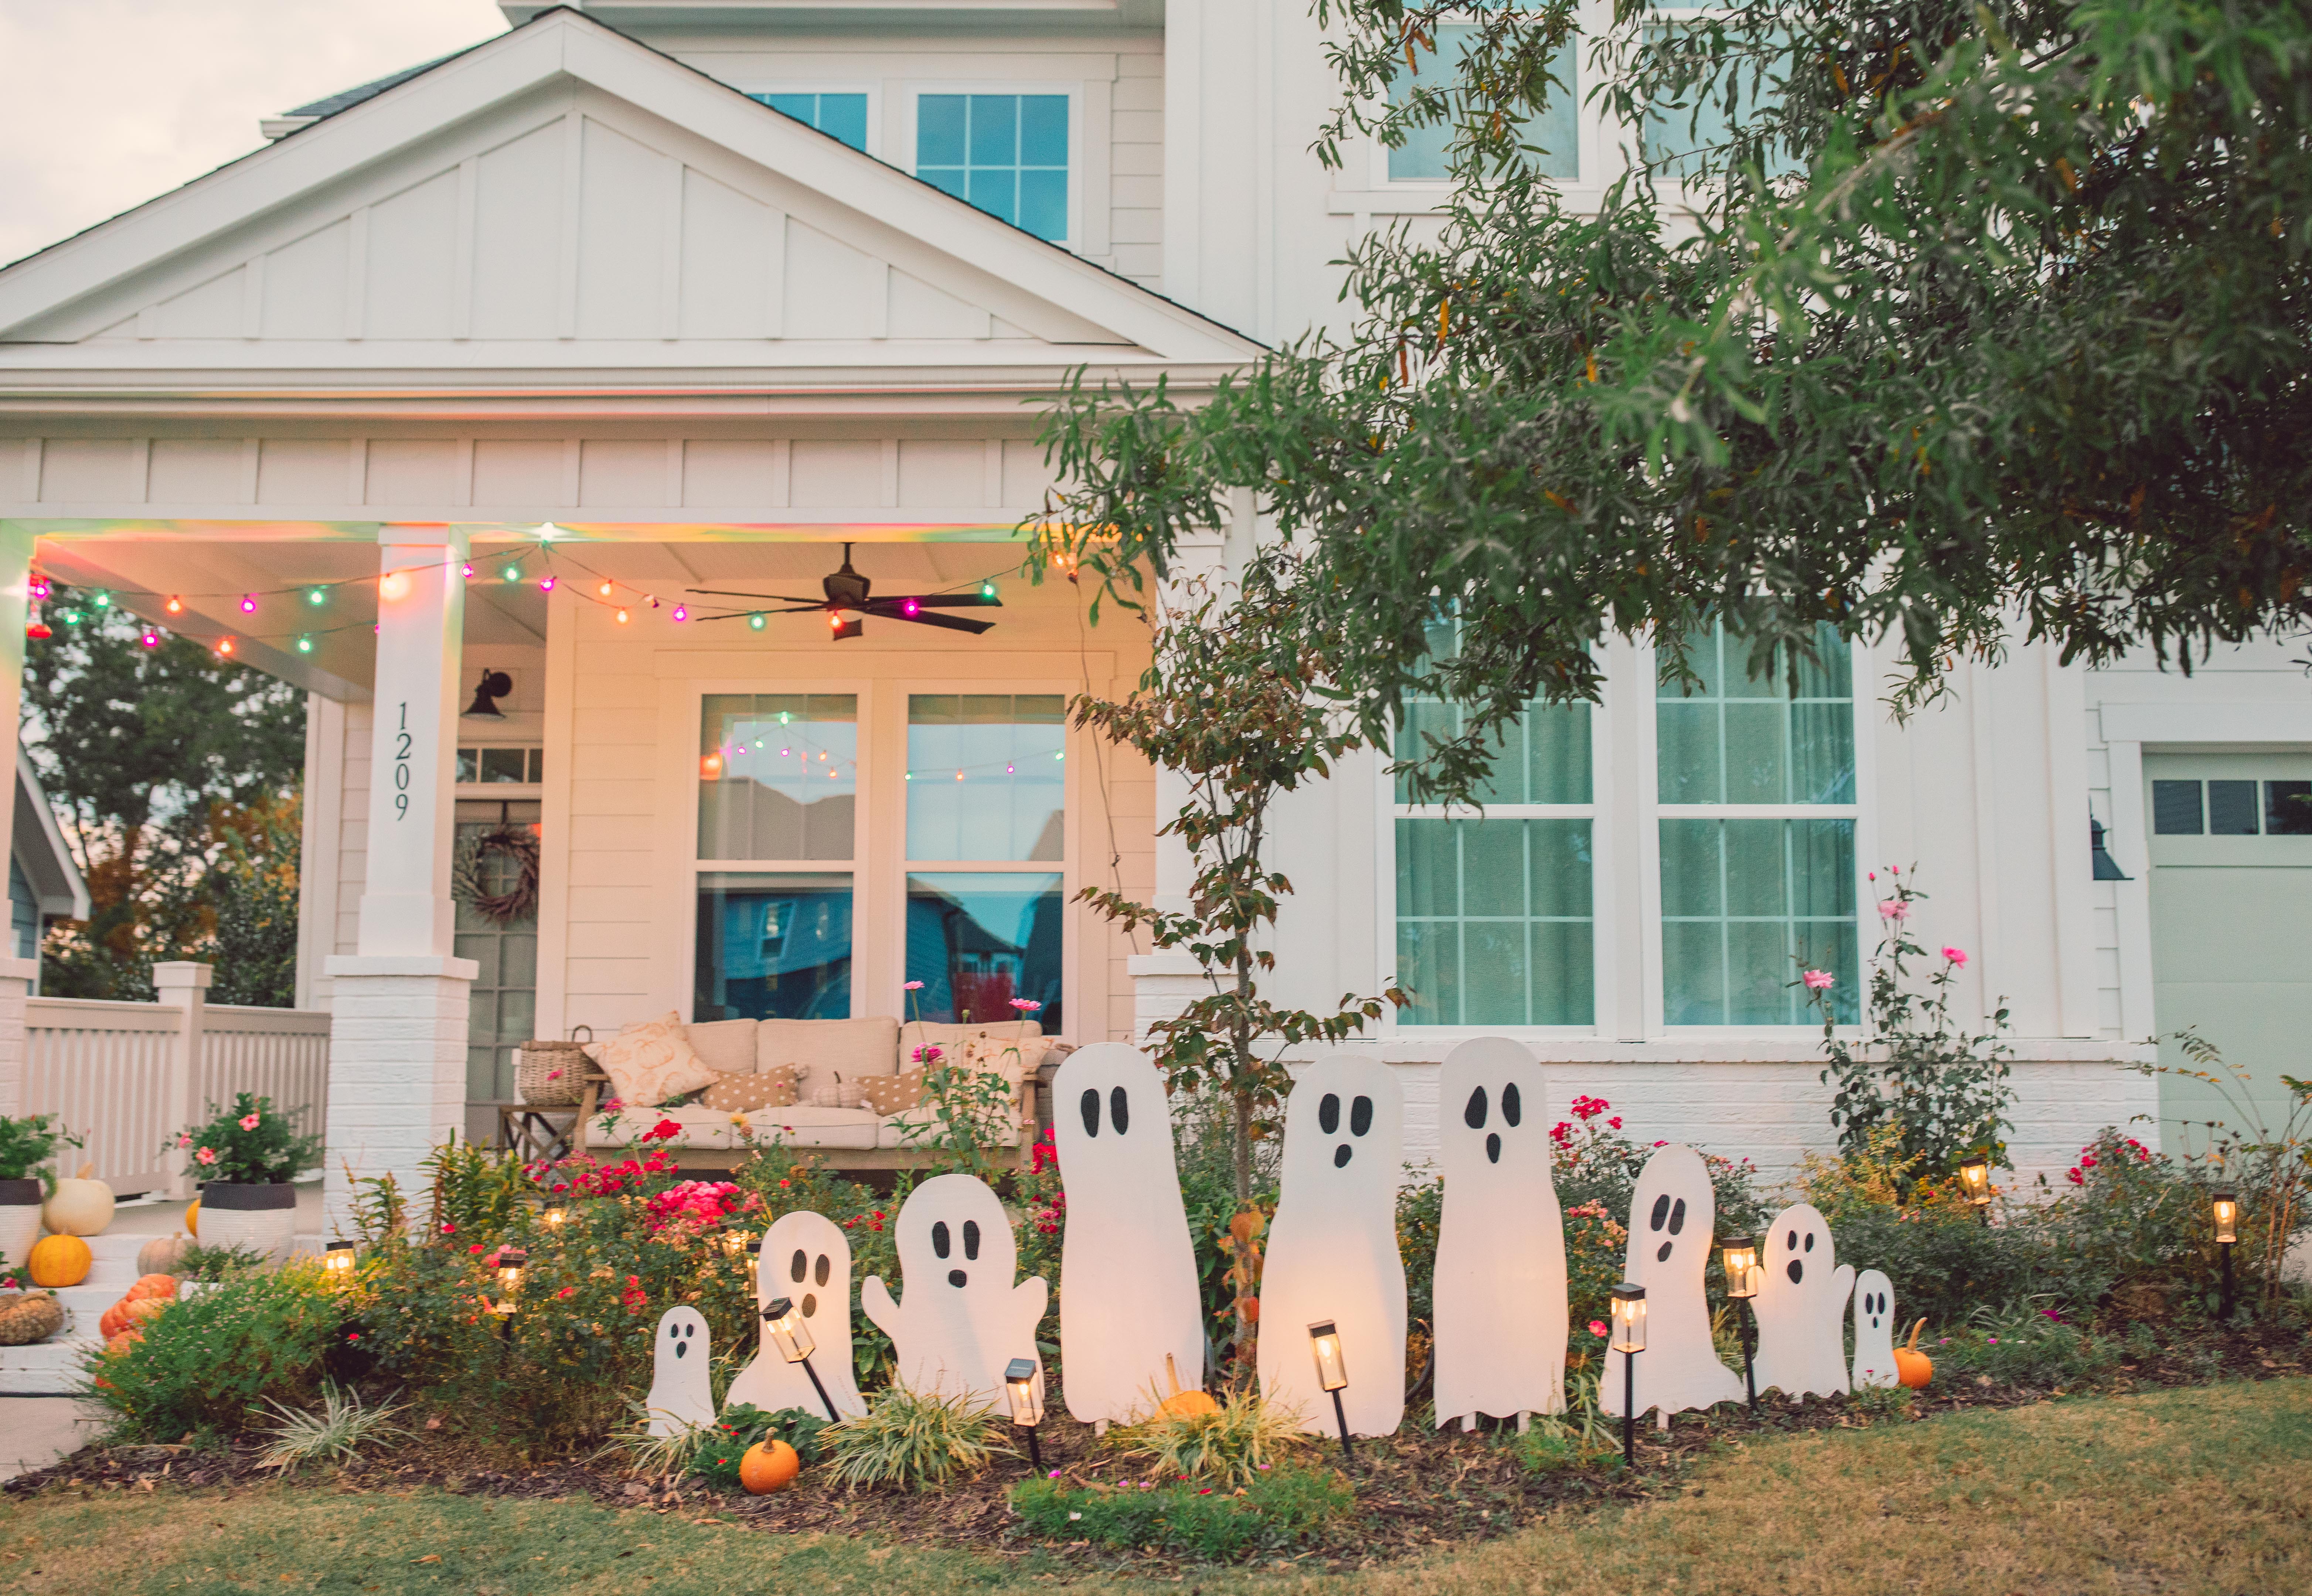
We mixed tall and short ghosts throughout the flower beds and added little orange and white pumpkins around them. Our existing landscape lights shine up around the ghosts in the evening, and colorful Halloween lights on the porch finish everything off.
During the day they’re sweet and whimsical, and at night they have just enough spooky glow without being scary.
Tips for Making Outdoor Plywood Ghosts Last
Because plywood and water aren’t exactly best friends, taking a few extra steps will help these decorations last for more than one Halloween.
Paint the front, back and especially the cut edges with exterior paint. Don’t leave raw plywood sitting directly against wet soil, and let the ghosts dry completely before storing them at the end of the season.
I’d also store them somewhere dry like a garage, attic or shed where they aren’t exposed to rain.
Since they’re flat, one of the biggest advantages of this project is that a whole ghost family can stack together without taking up much storage space.
Can I Make These Without a Jigsaw?
A jigsaw is by far the easiest tool for getting those rounded ghost shapes.
If you don’t own one, you could ask your home improvement store about cutting options, borrow one, or use simpler ghost silhouettes with fewer curves.
What Kind of Wood Should I Use?
Plywood works really well because it’s relatively inexpensive and easy to cut.
For outdoor use, choose a sturdy sheet that won’t flex excessively, and make sure you protect it thoroughly with exterior paint.
How Many Ghosts Can You Make From One Sheet of Plywood?
This will depend entirely on your ghost sizes.
The easiest way to get the most out of a sheet is to sketch your largest ghosts first and then fill the leftover spaces with smaller ghosts. Rotate the shapes in different directions almost like puzzle pieces.
That’s also how you end up with all those adorable little baby ghosts!
I absolutely love how our little ghost family turned out! They’re simple, whimsical and make such a big impact in the front yard without feeling like over-the-top Halloween decorations.
I especially love that we made them ourselves. There is something so much more fun about pulling out decorations every year when you remember making them together.
If you make your own DIY wooden ghosts, don’t feel like you need to copy ours exactly. Make them tall, short, skinny, round, happy, surprised or whatever fits your yard. I think a whole mismatched family is what makes them so cute.