

The Best Golden Sourdough Bread Recipe | Easy for Beginners
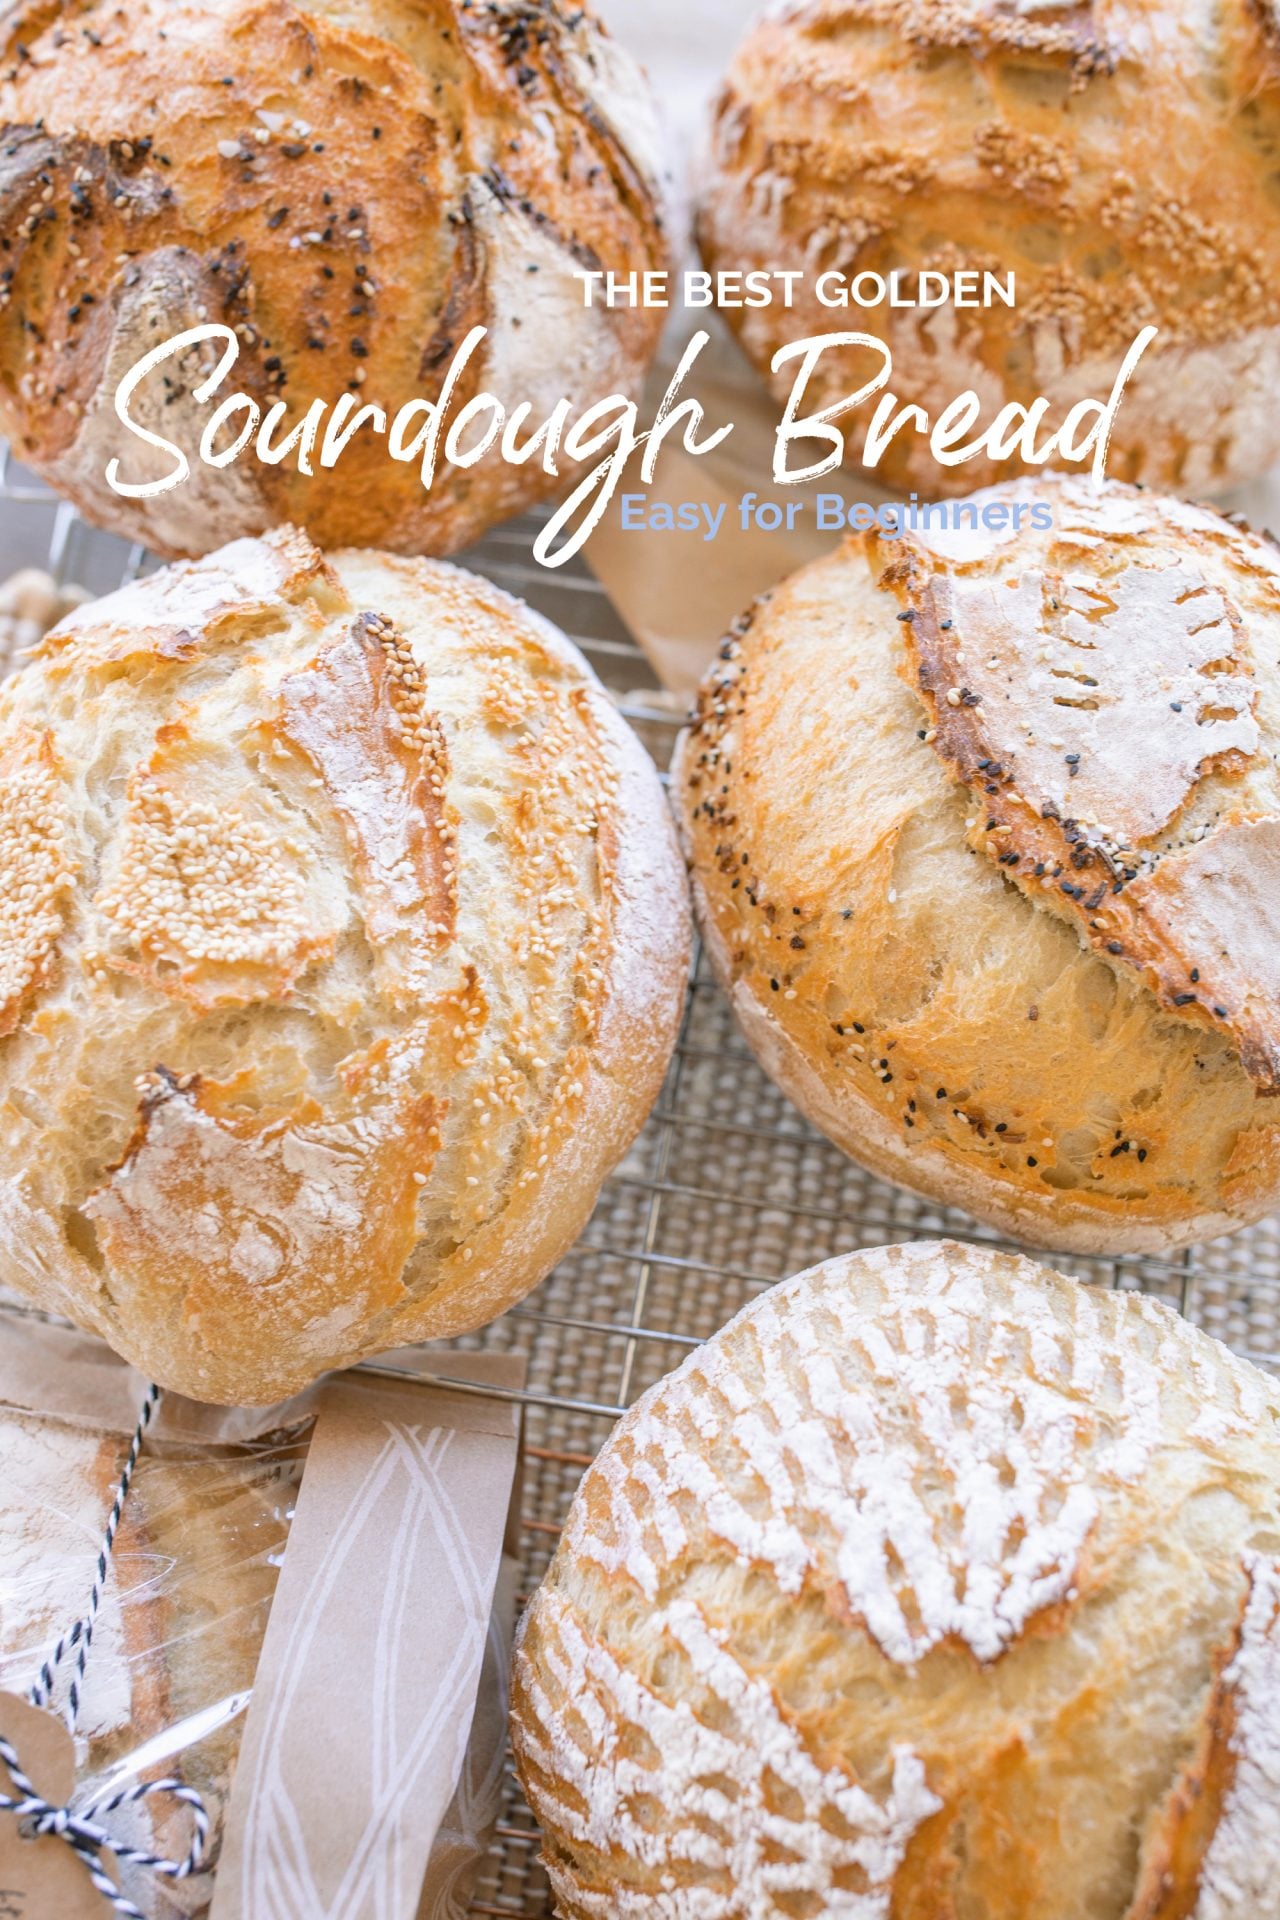
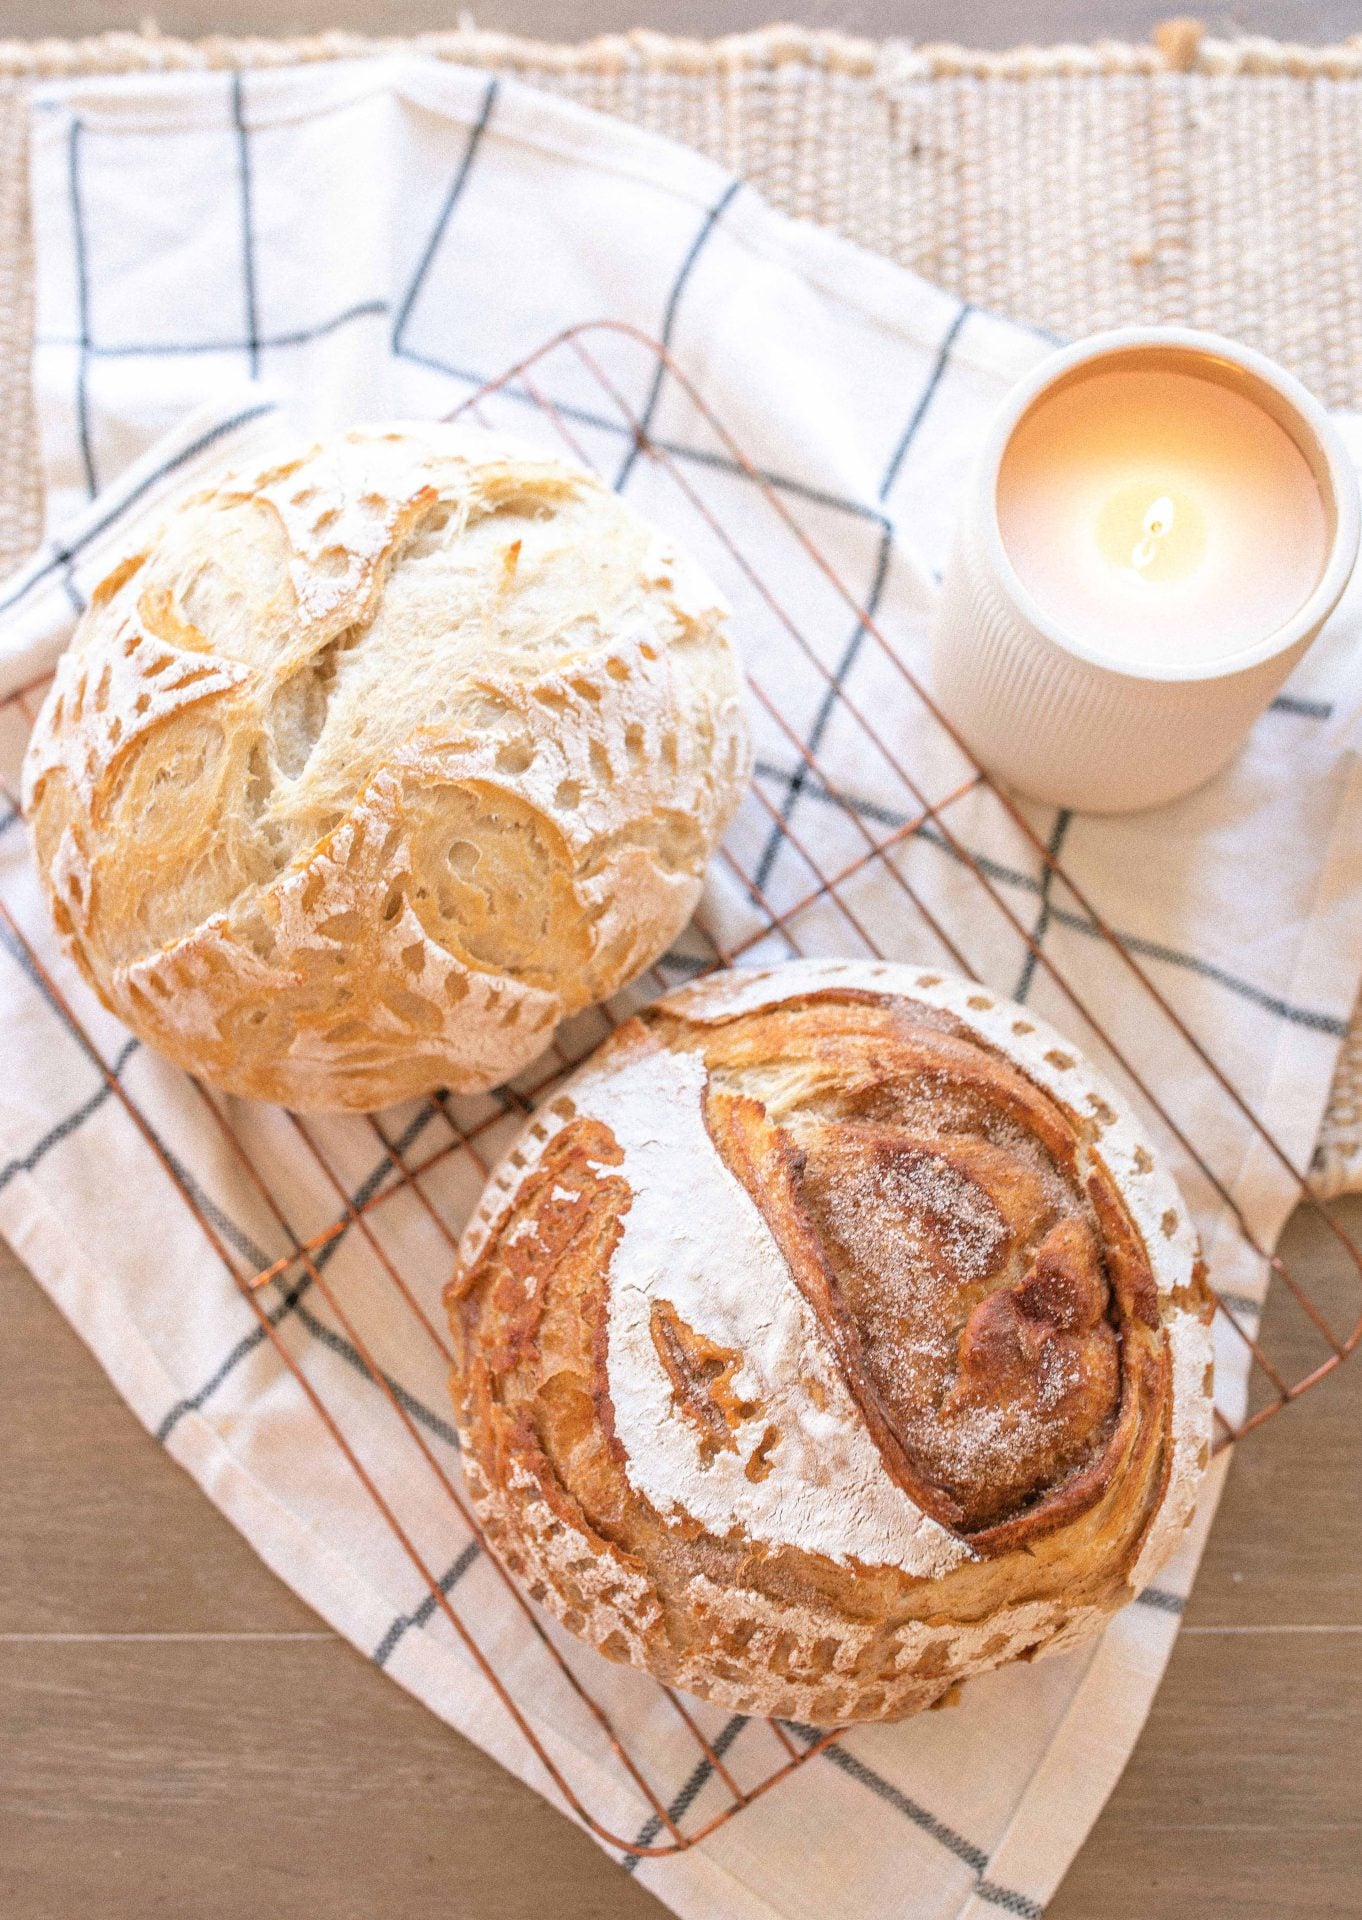
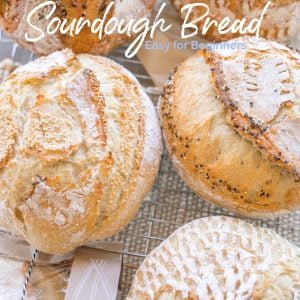
This easy sourdough bread recipe is perfect for beginners! Made with just four simple ingredients, it creates a beautiful loaf with a golden, crispy crust and a soft, airy, chewy interior. After experimenting with countless loaves, different baking temperatures, and proofing methods, this has become my favorite homemade sourdough bread recipe.

Unlike many traditional sourdough recipes that produce a darker crust, I prefer baking my bread a little longer at a slightly lower temperature to achieve that gorgeous golden finish. My family loves using this bread for sandwiches, grilled cheese, French toast, or simply toasted with butter and raspberry jam.
Making sourdough bread takes approximately 24 hours from feeding your starter to baking, but don’t let that intimidate you! Most of that time is hands-off while your starter activates and your dough rises. I’ll walk you through the entire process, share my favorite beginner tips, and show you how to make a beautiful loaf of sourdough bread at home.
New to sourdough? You’ll need an active starter before beginning. If you don’t have one yet, follow my sourdough starter tutorial first.




Why You’ll Love This Sourdough Bread Recipe:
- Perfect for beginners: My step-by-step instructions and baking timeline make homemade sourdough bread feel much less intimidating, even if it’s your first loaf.
- Just four simple ingredients: All you need is active sourdough starter, bread flour, water and salt. No commercial yeast required!
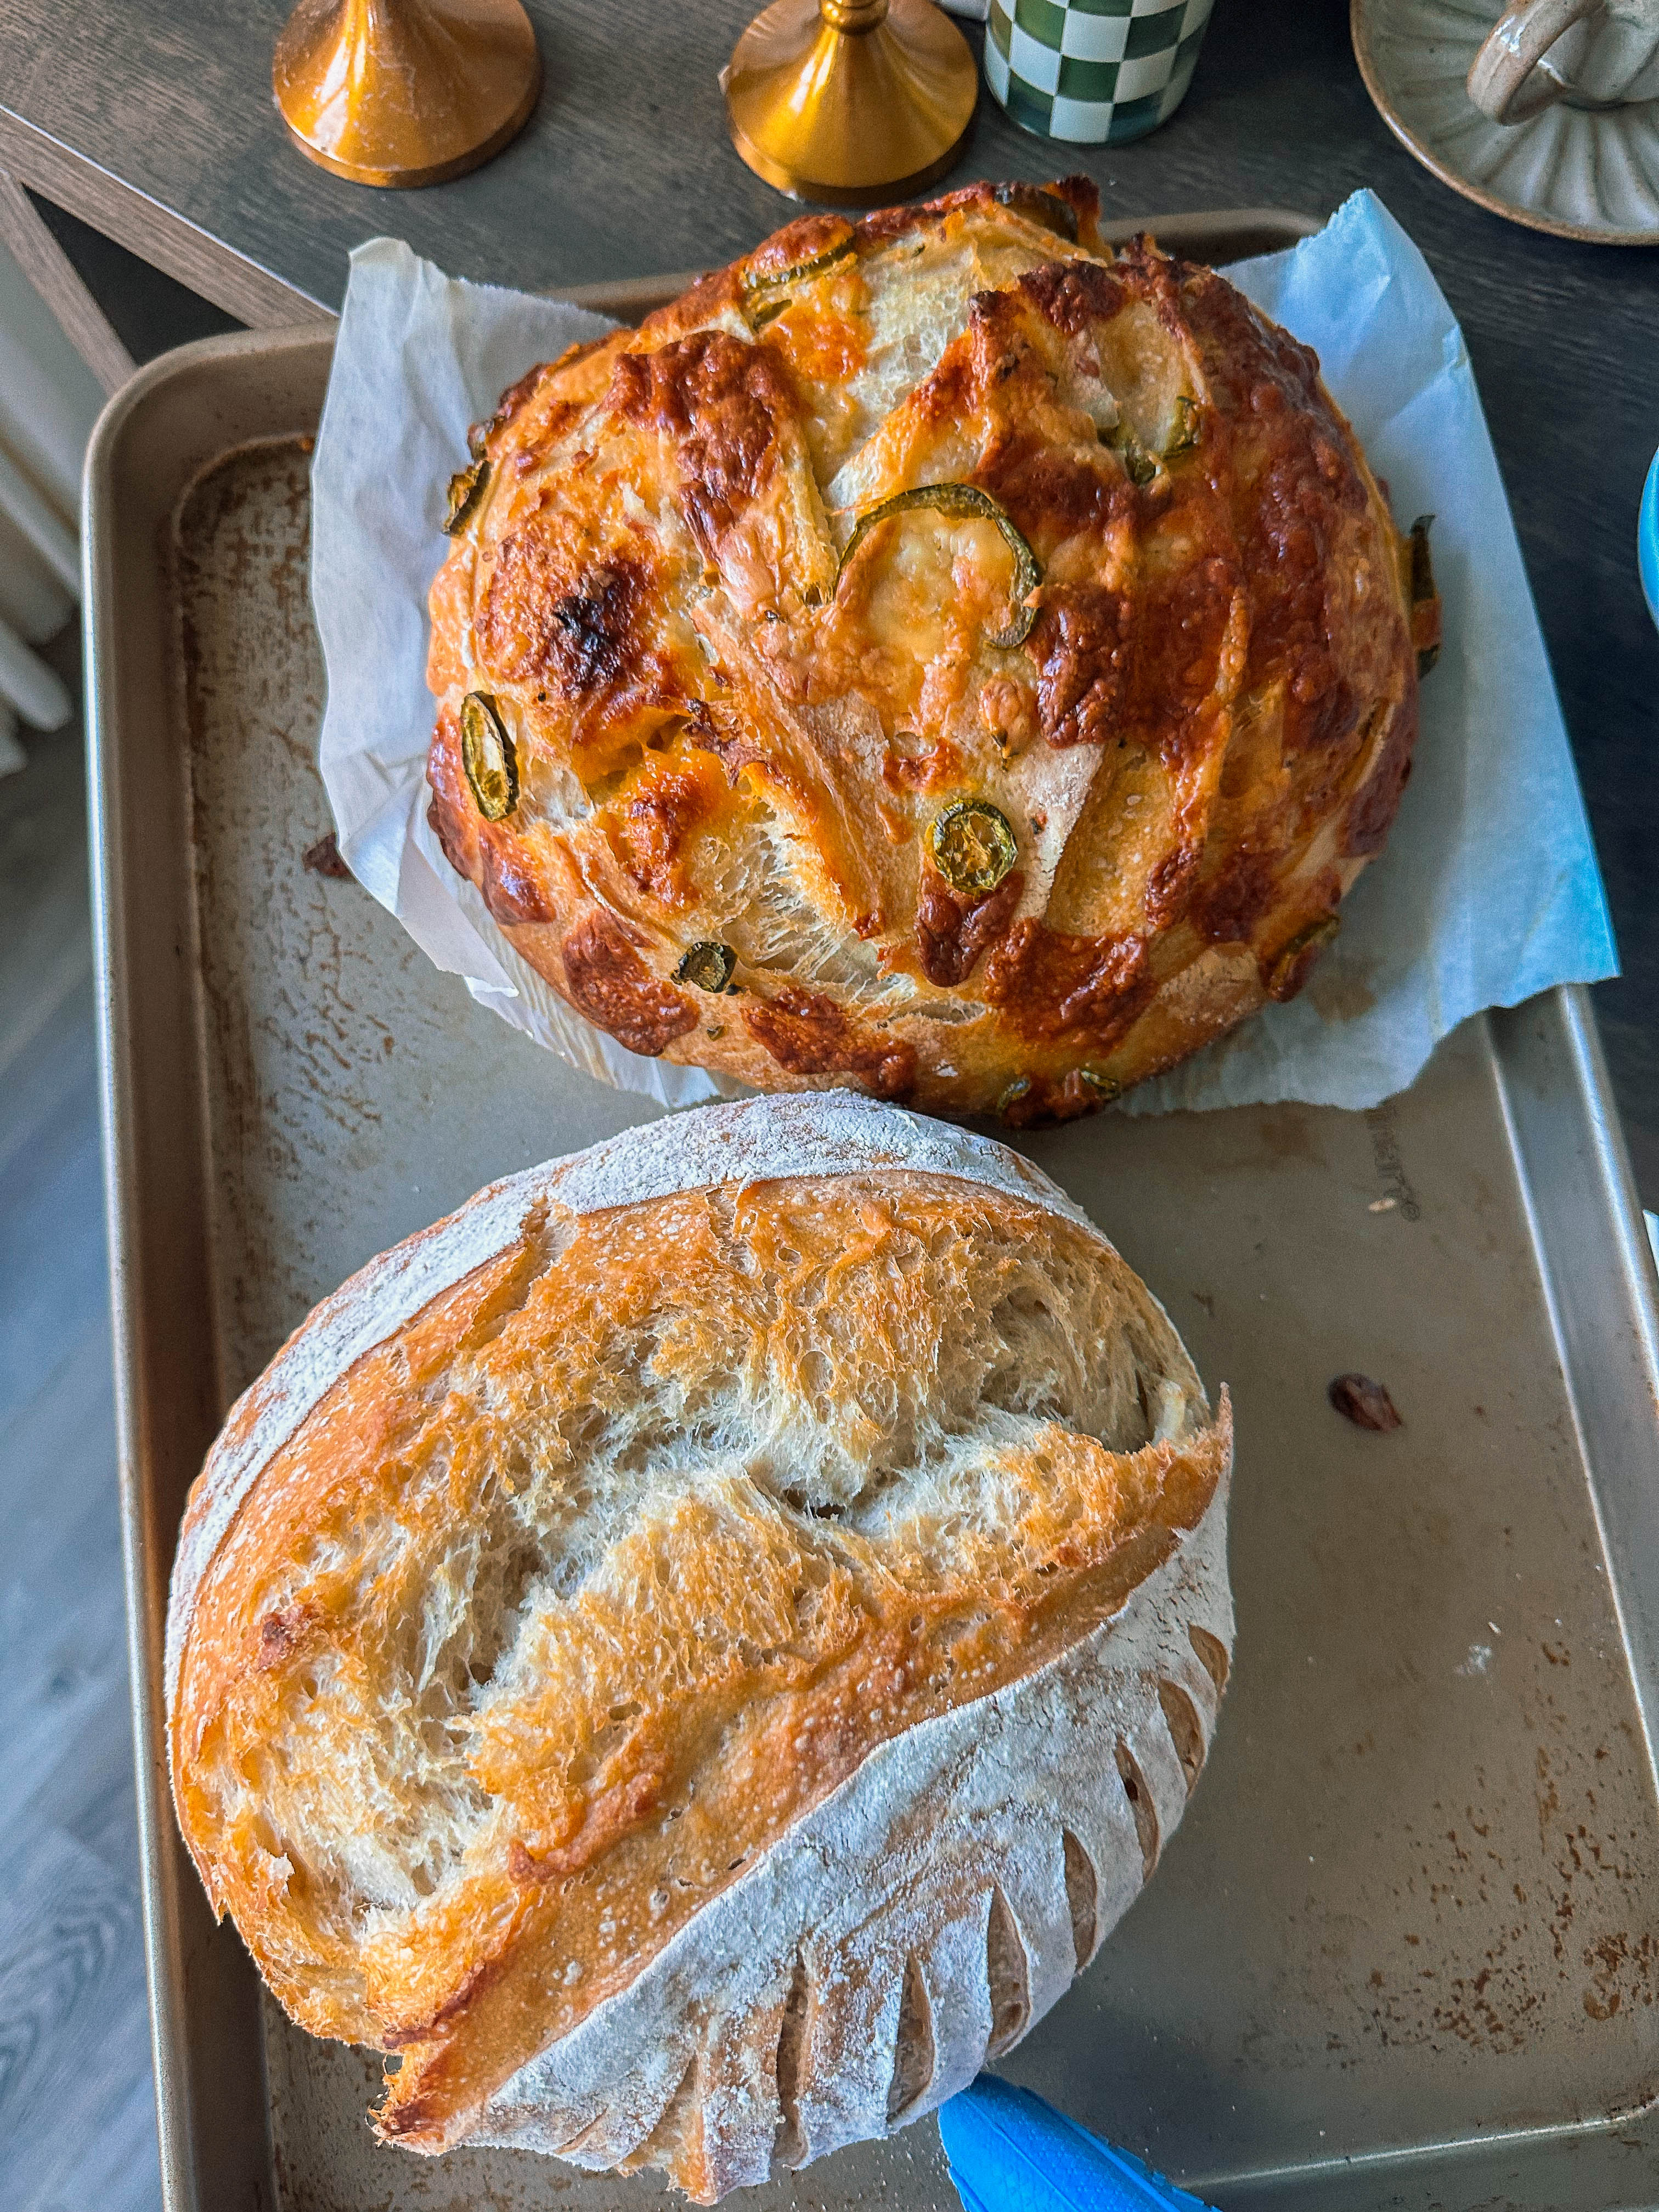
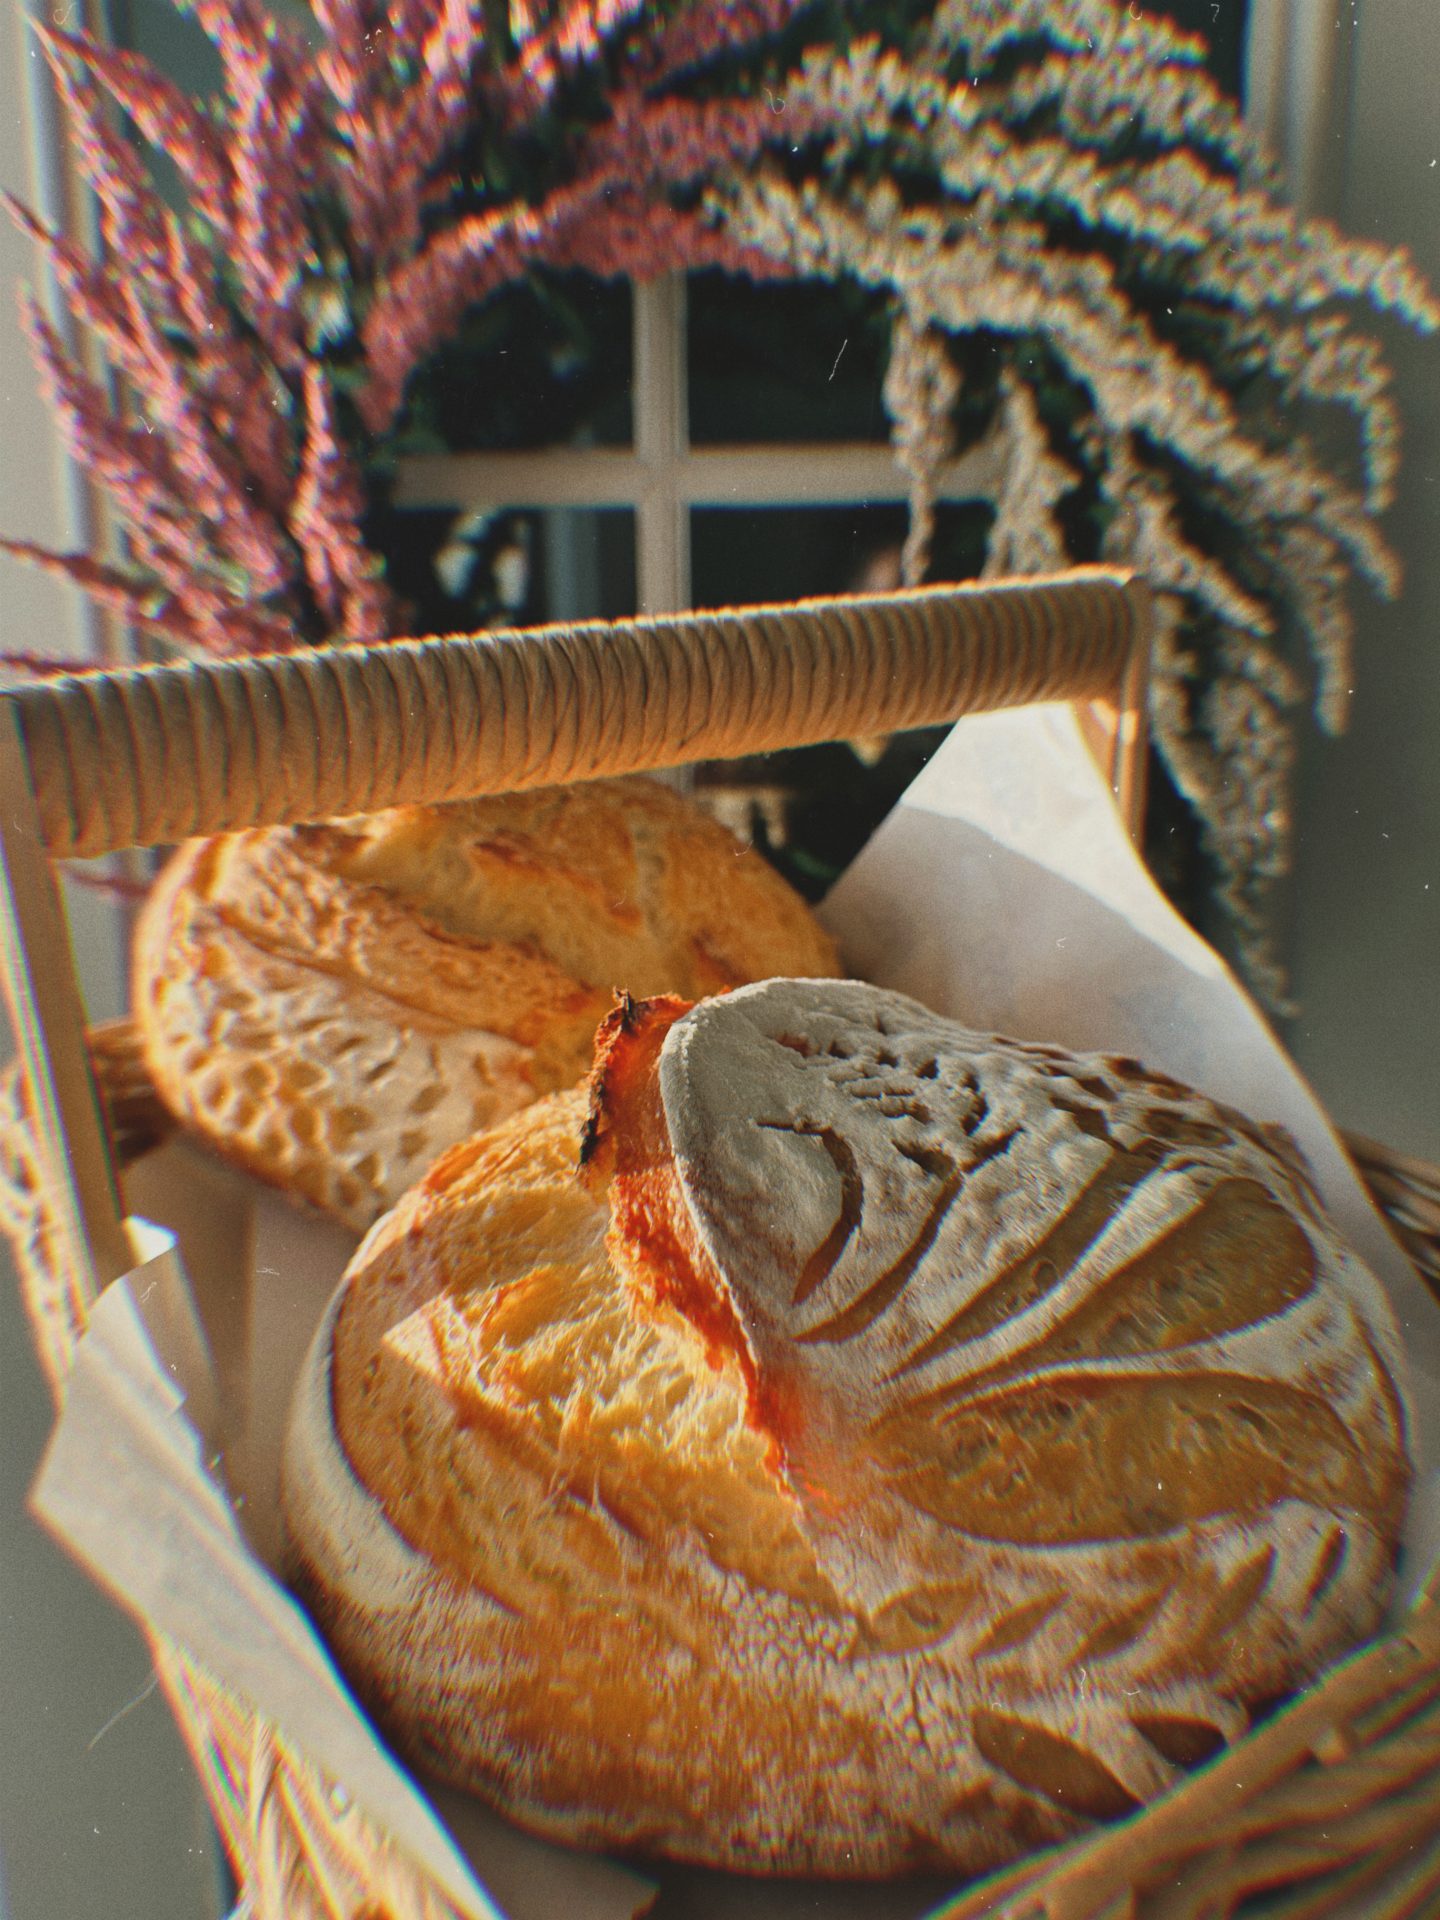
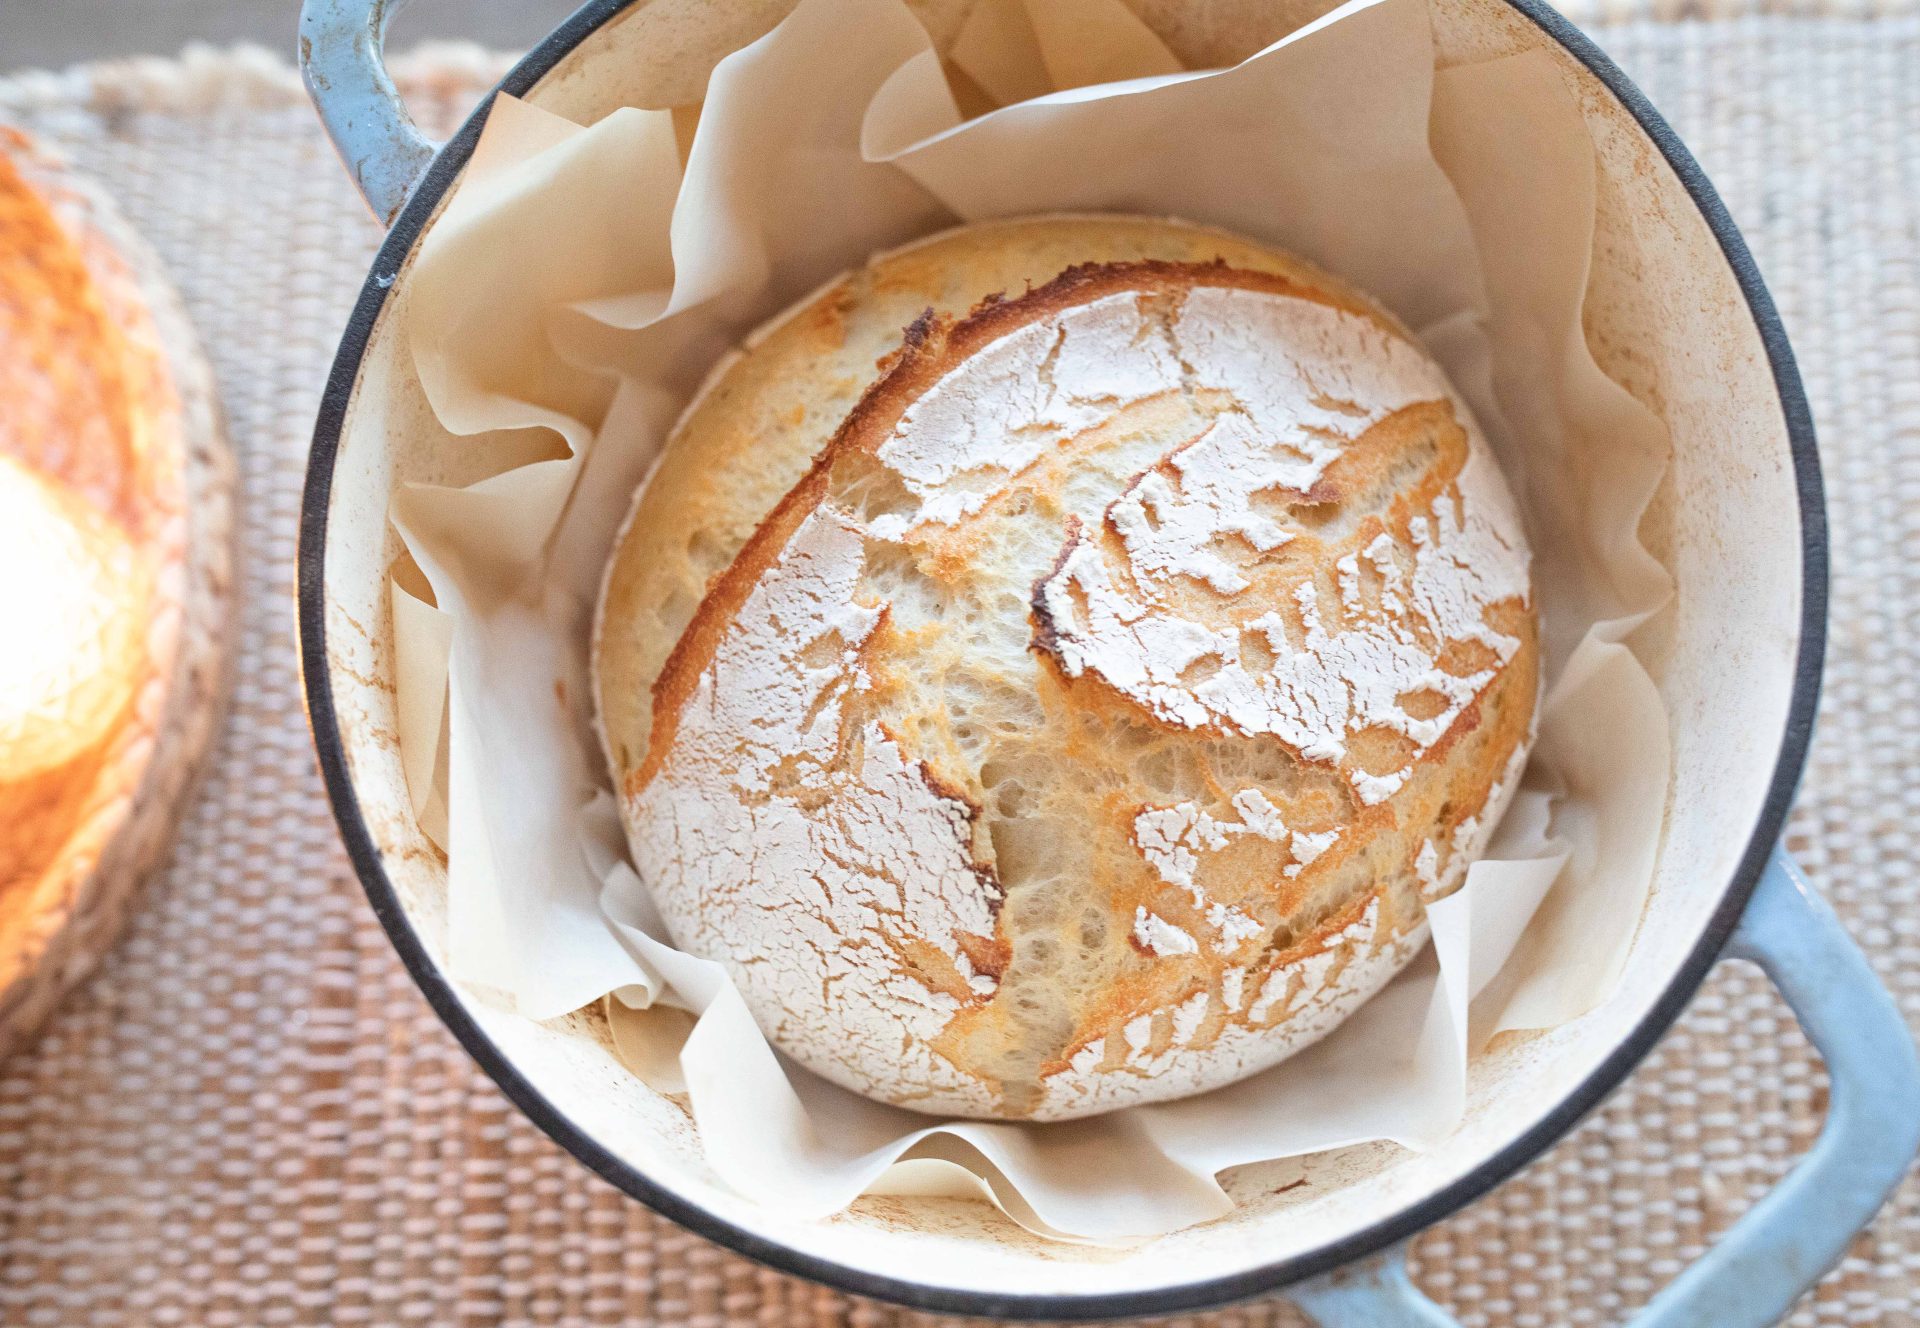
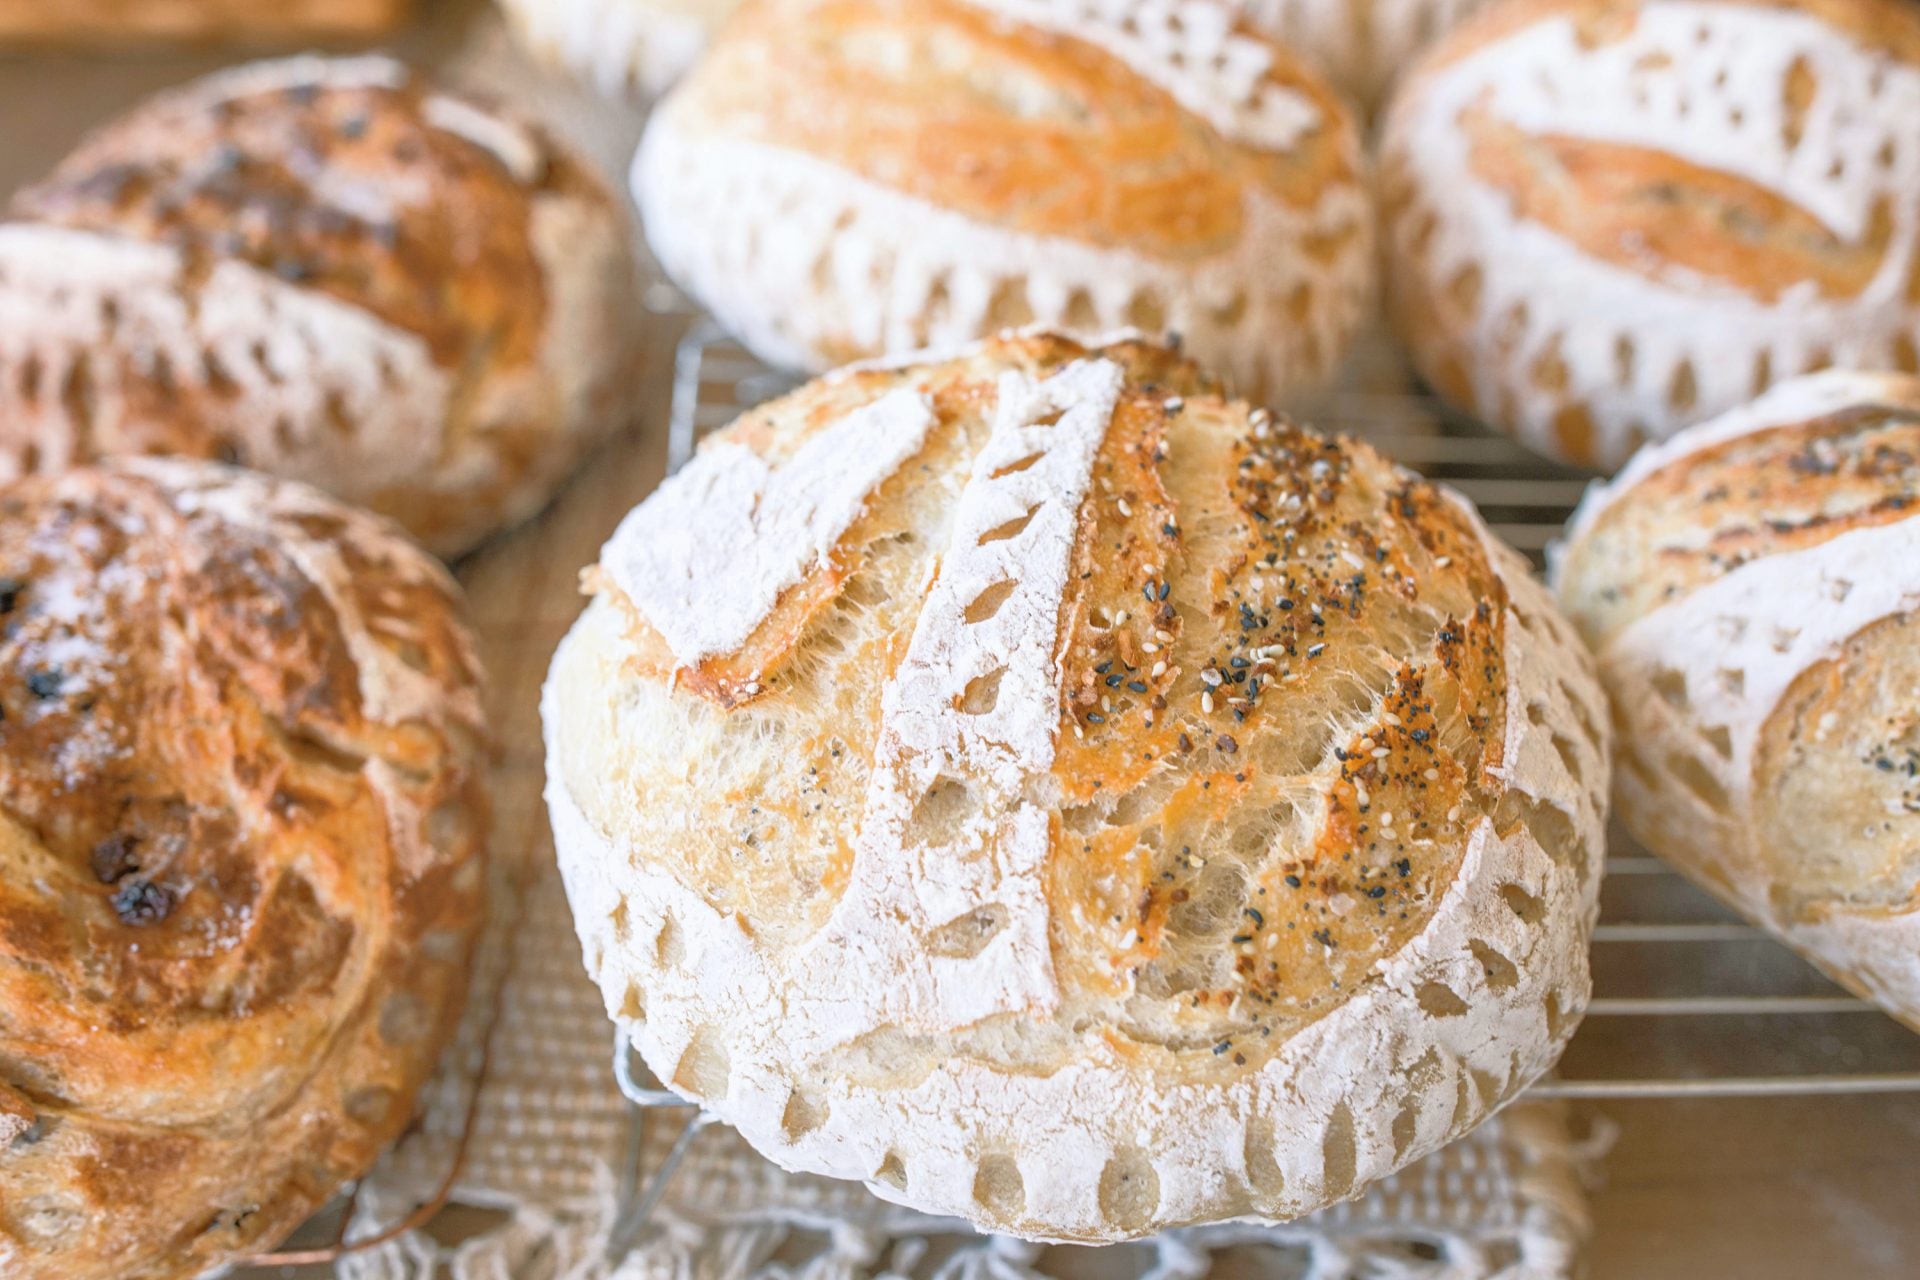
- Beautiful golden crust: My baking method produces a crispy, golden exterior with a soft, airy and chewy center.
- Mostly hands-off: Although sourdough takes time, much of the process involves letting your starter activate and your dough ferment. You don’t need to spend an entire day working in the kitchen.
- Easy to customize: Once you’ve mastered the basic loaf, experiment with your favorite additions, including jalapeño cheddar, roasted garlic, cinnamon or fresh herbs.
Before You Begin: Make Sure Your Sourdough Starter Is Active
Before making this sourdough bread recipe, you’ll need an active, bubbly starter. If you don’t have one yet, follow my sourdough starter tutorial to learn how to make, feed and maintain your own.
How do I know when my starter is ready?
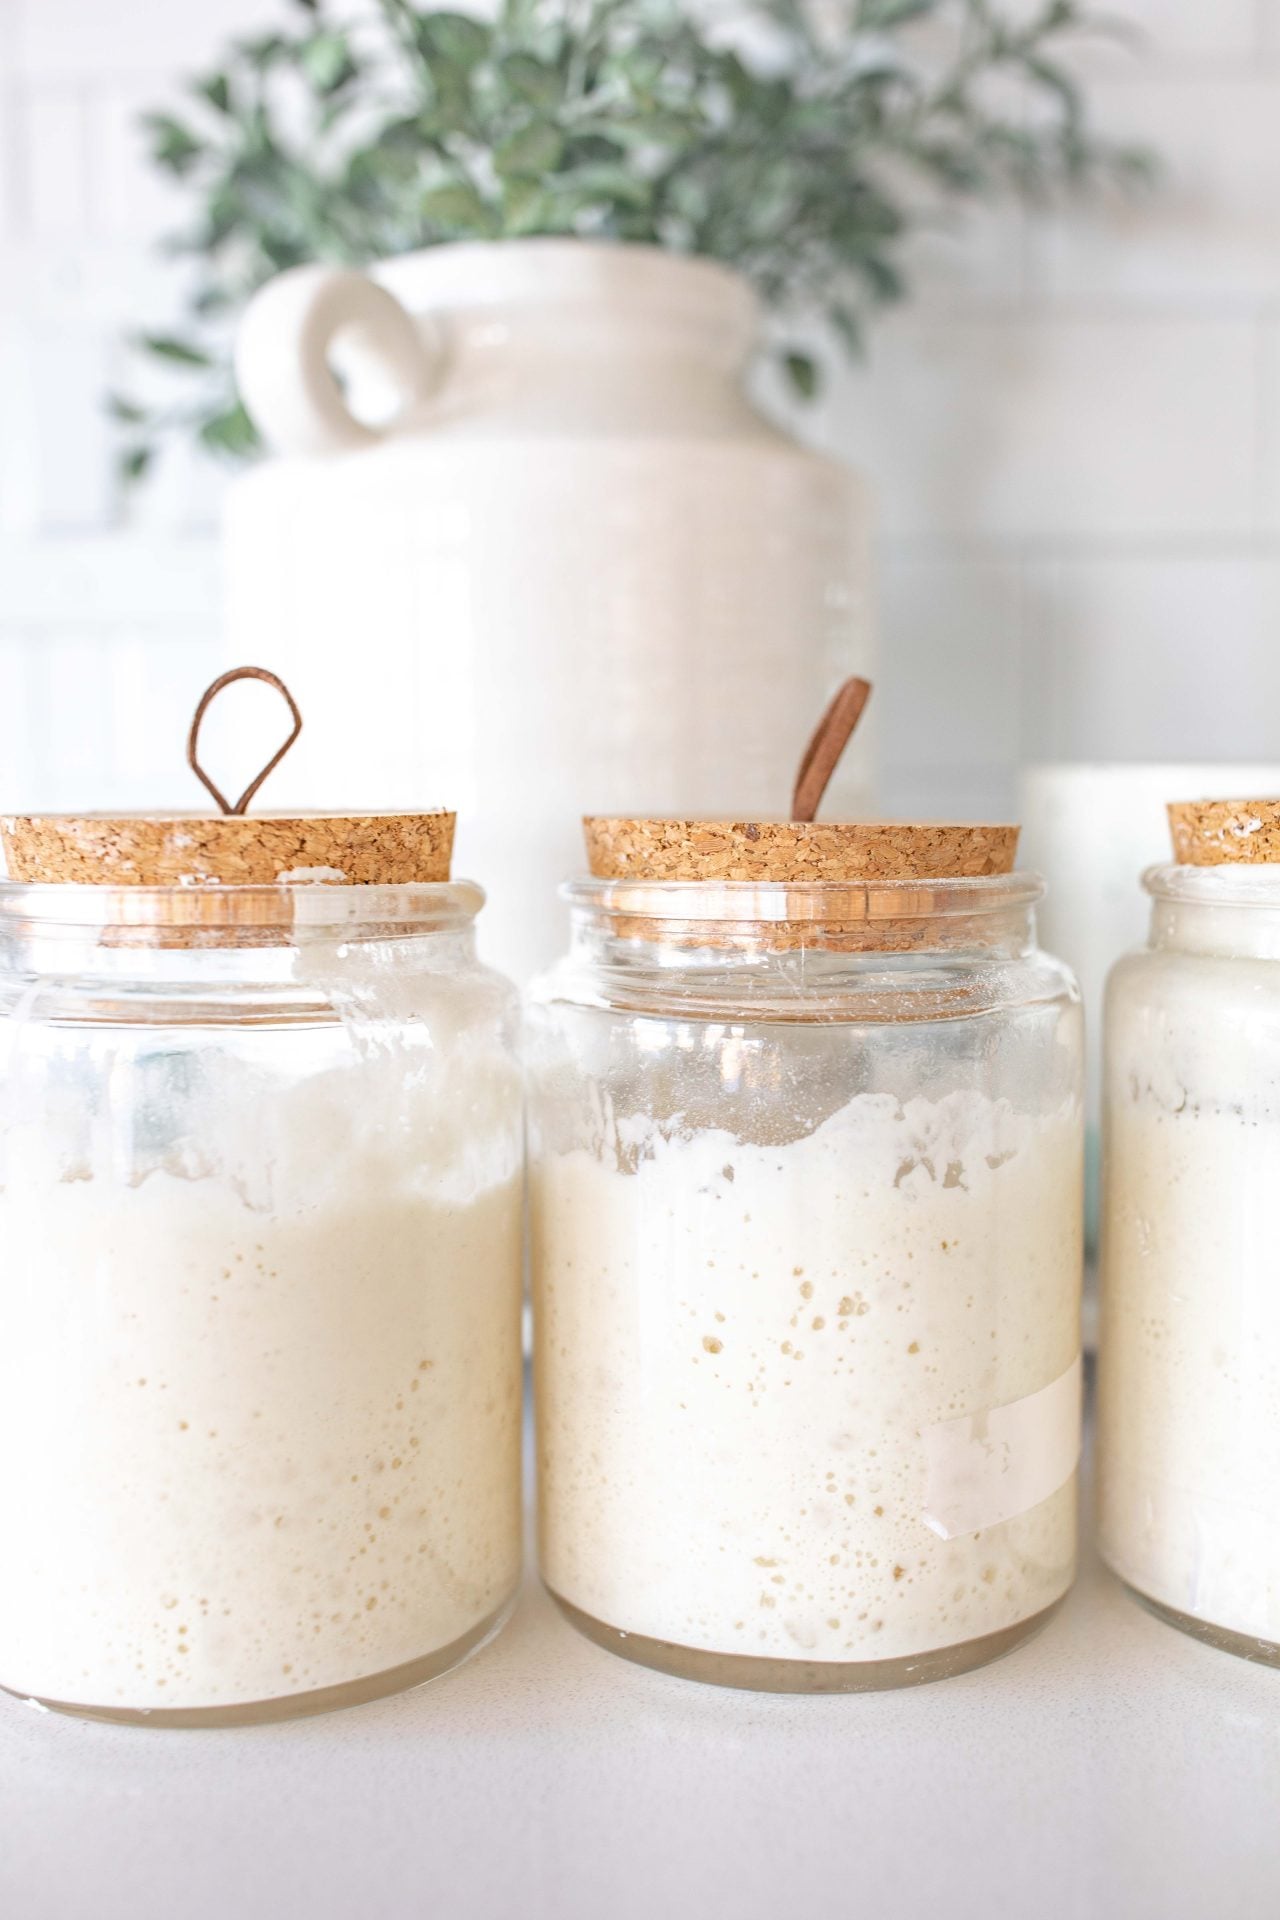
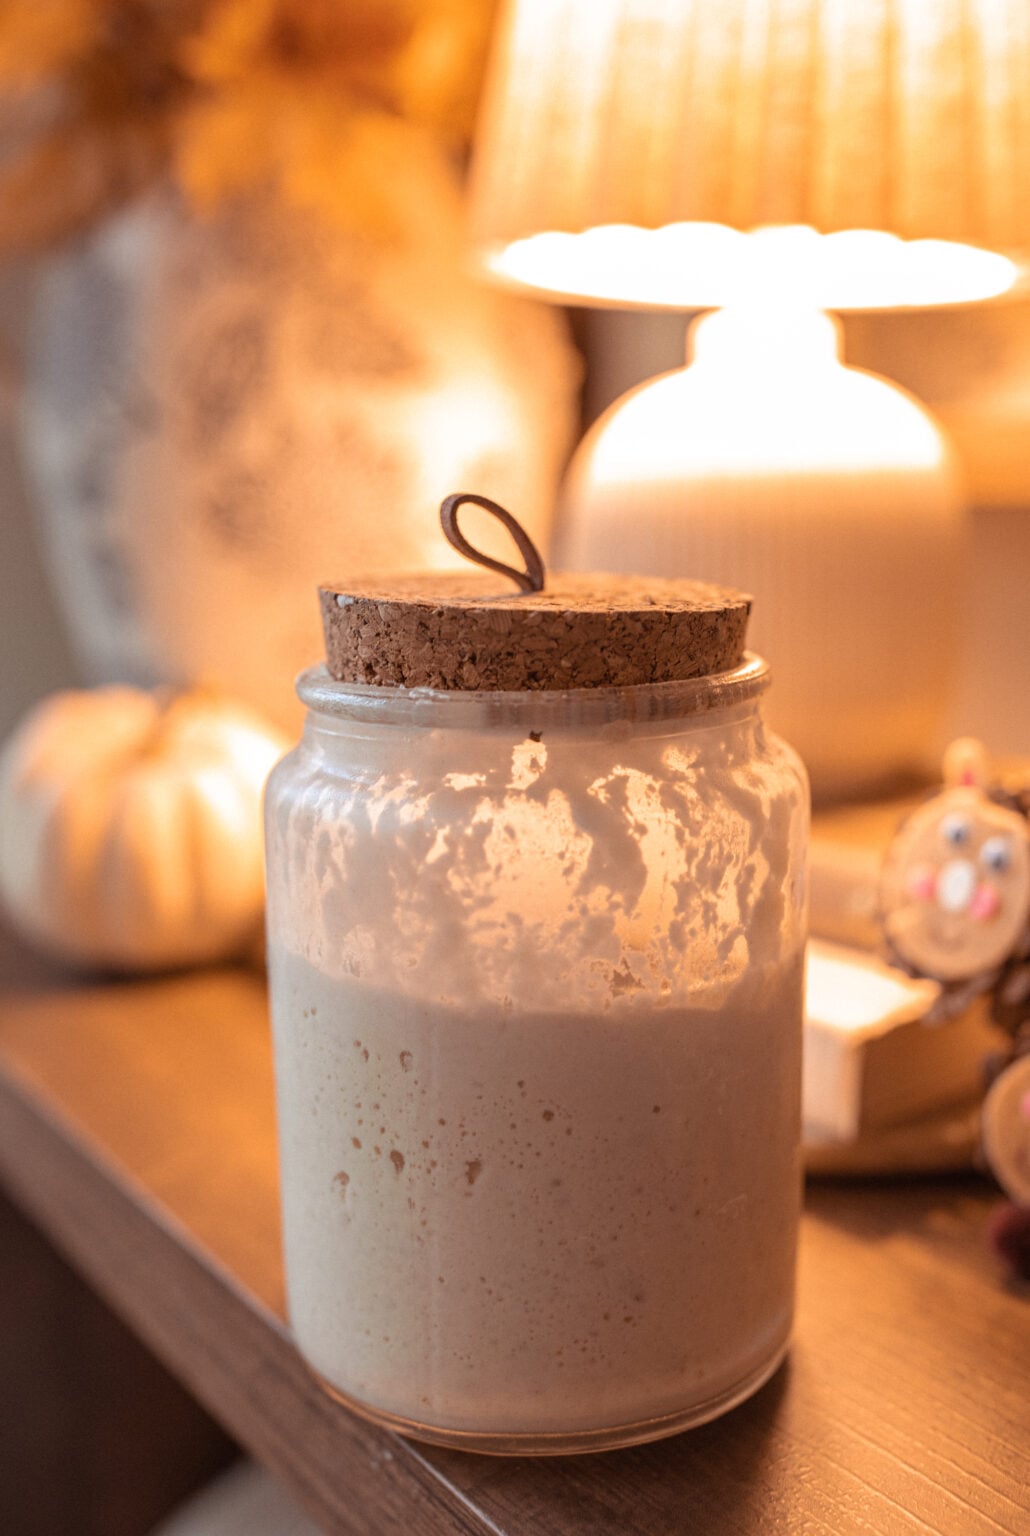
After feeding your starter, place it somewhere warm and mark its starting level with a rubber band or piece of tape. Mine typically takes 6–12 hours to become active, depending on the temperature and how recently it was fed.
Your starter is ready to use when it has doubled in size, has plenty of visible bubbles and looks airy and slightly domed. I like to use mine when it’s near its peak, before it begins to collapse.
My biggest beginner tip: Don’t stress if your starter takes longer than expected. A cooler kitchen can slow things down considerably, so pay attention to how your starter looks rather than following the clock exactly.
WATCH THE VIDEO TUTORIAL BELOW

The Four Ingredients You’ll Need for Sourdough Bread
Active sourdough starter: Your starter should be bubbly, active and approximately doubled in size before you begin. I typically feed mine 6–12 hours before mixing the dough.
Bread flour: I love using King Arthur organic bread flour, but you don’t need to buy organic flour to make this recipe. Bread flour gives the dough structure and helps create that wonderfully chewy texture.
Room-temperature water: I use filtered water from my refrigerator and allow it to come to room temperature before mixing my dough.
Fine sea salt: Salt adds flavor and helps strengthen the dough. I prefer fine sea salt because it’s easy to incorporate evenly.
Ingredients for One Loaf of Sourdough Bread
- 95 g active starter
- 530 g bread flour
- 390 g room-temperature water
- 2 tsp fine sea salt
A Little Encouragement for Beginner Sourdough Bakers
When I first started making sourdough, I Googled everything, watched countless videos, and somehow still felt confused! But the more loaves I made, the more everything started to click. Eventually, you find your rhythm and learn what works best for your starter, your kitchen, and your schedule.
That’s one of my favorite things about sourdough. Once you master a basic loaf, you can start experimenting with different techniques, scoring designs, and flavors. I’m kind of obsessed with it at this point, and I hope this recipe helps make your first few loaves feel a little less intimidating.
I really like keeping that. It establishes that you weren’t magically an expert—you learned through actually baking loaf after loaf, which is exactly the kind of reassurance someone searching “beginner sourdough recipe” needs.

How I Started Making Sourdough Bread
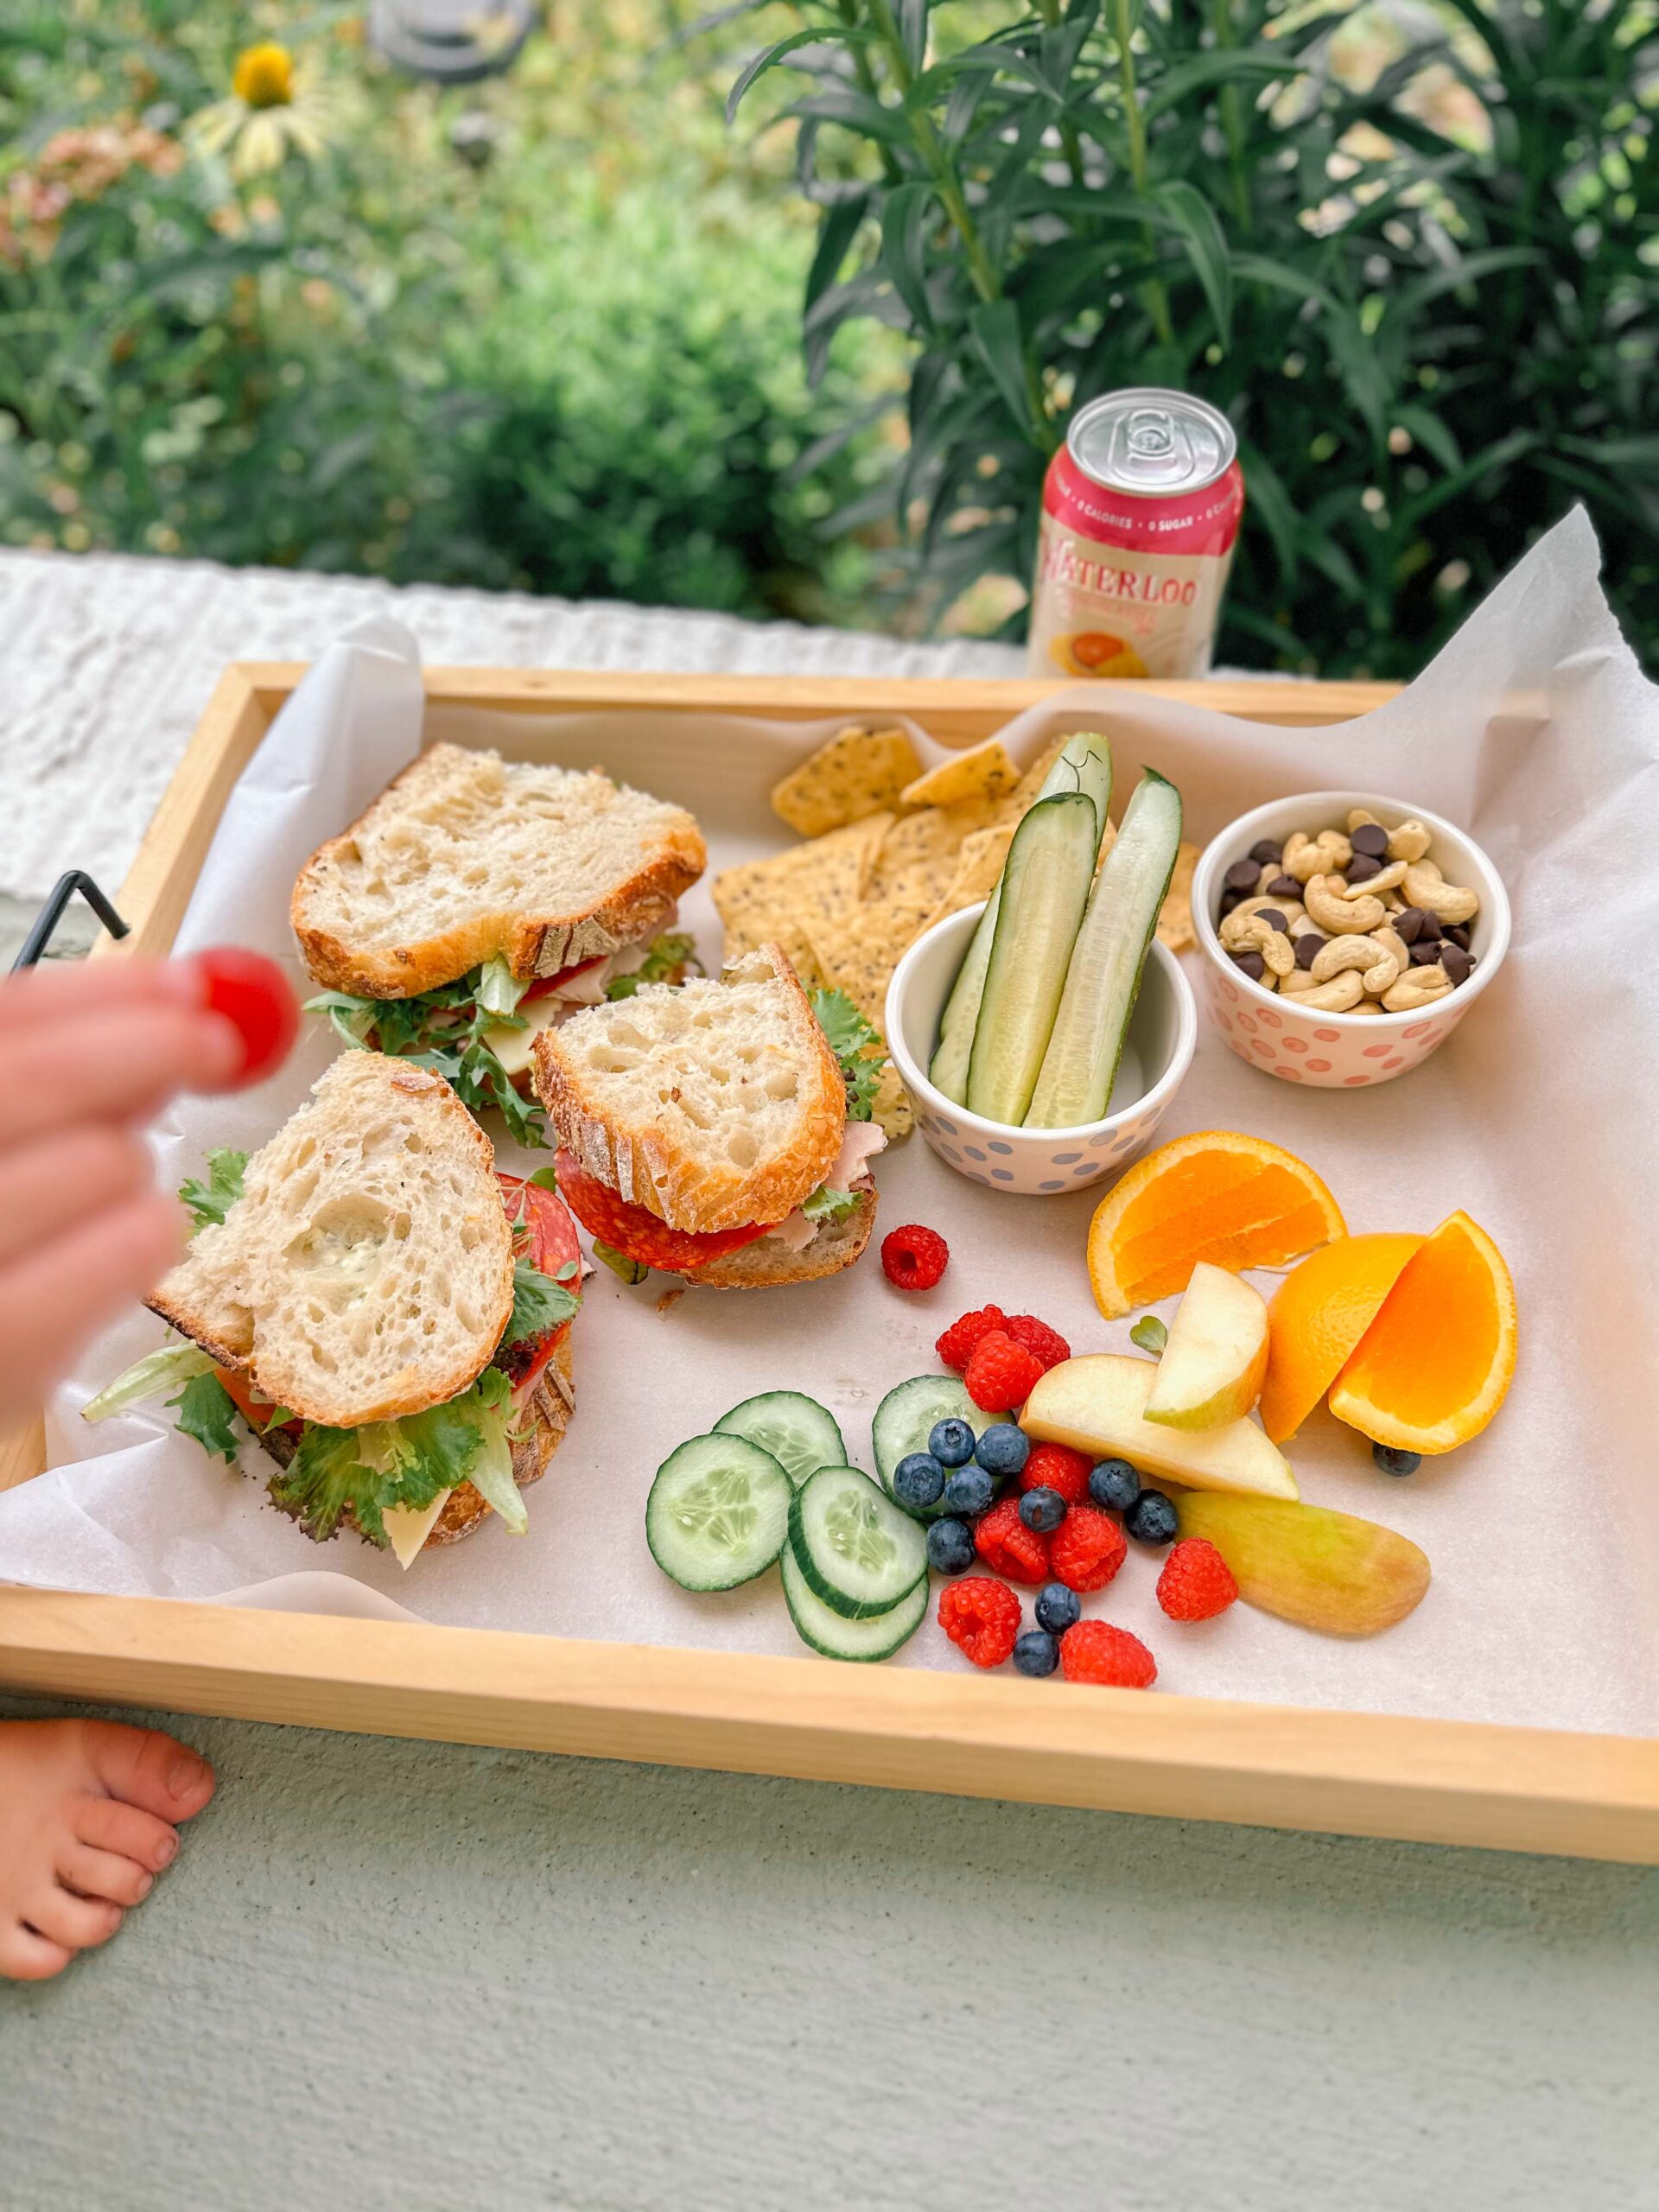
I’ve always admired bakers making beautiful sourdough bread, but what finally convinced me to make my own was a trip to the grocery store. I was looking for a loaf of sourdough for sandwiches and found a tiny, dry-looking loaf for $15! I remember looking at it and thinking, I could learn how to make this myself.
So I went home, started Googling sourdough bread recipes, watched countless videos, and quickly fell down the #sourdoughlife rabbit hole. At first, I was still so confused! But the more loaves I made, the more everything started to click and now making sourdough is one of my favorite hobbies.
I love that sourdough is both a recipe and an art. Every loaf teaches you something, and once you get comfortable with the basic process, you can experiment with different flavors, techniques, and scoring designs.
And homemade sourdough makes the best sandwiches.
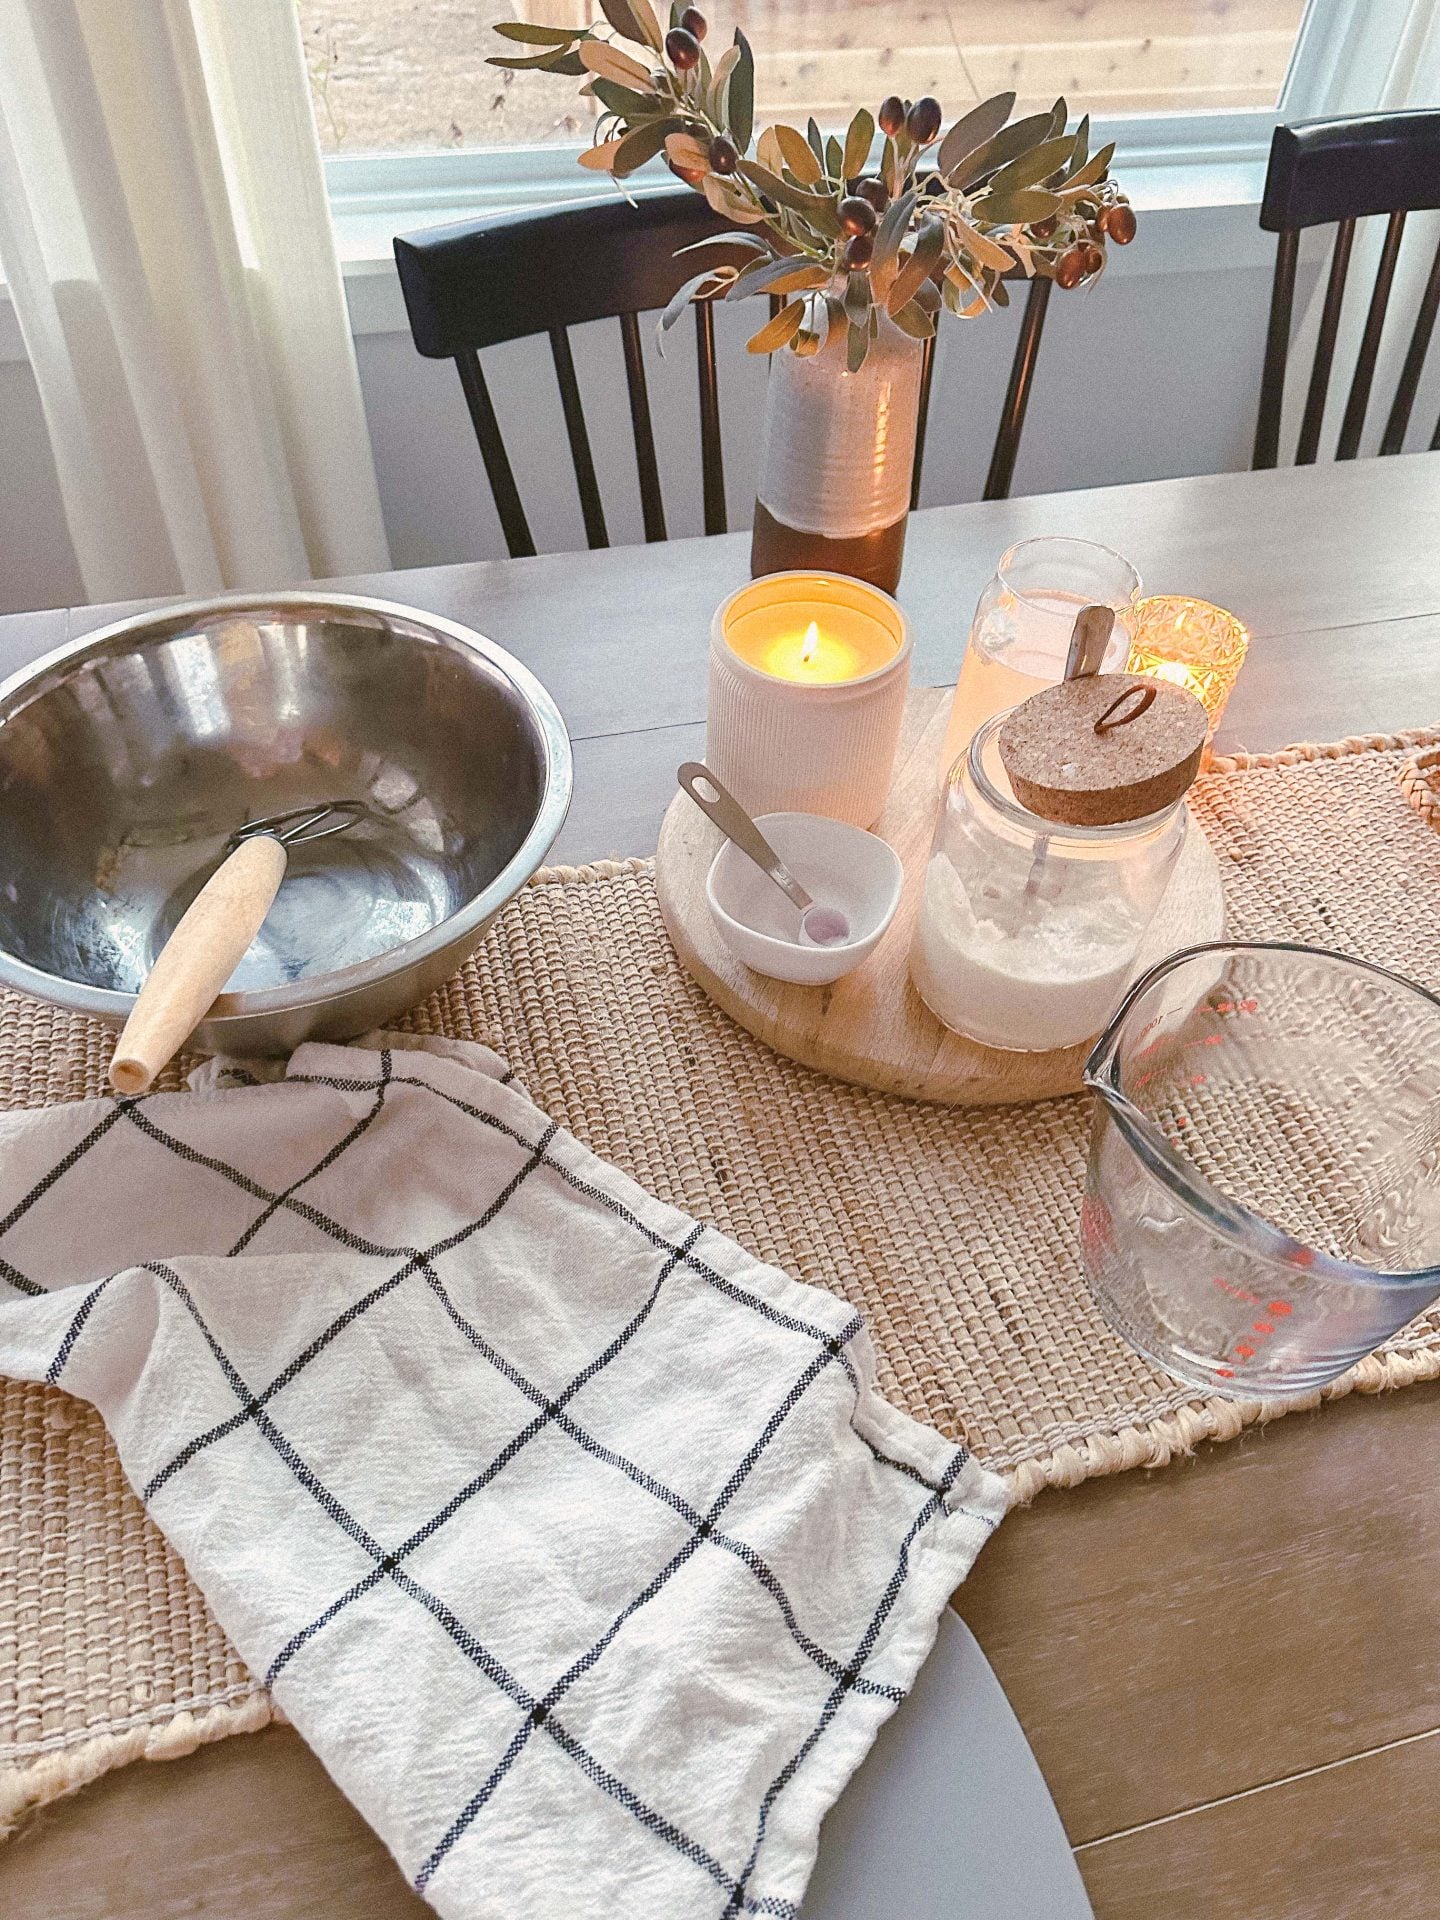
How I Make My Sourdough Bread
There are many different ways to make sourdough, and every baker eventually finds a routine that works best for them. Below is the timeline I use to get a beautiful loaf with a golden crust and soft, airy interior.
Use this timeline as a guide and adjust it to fit your schedule. I’m an early riser, so I often start around 5 or 7 a.m., but you absolutely do not have to! Sourdough timing can vary depending on your starter, room temperature, and how quickly your dough ferments.

Easy Sourdough Bread Timeline
Use these times as a guide and adjust them to fit your schedule. Fermentation times can vary, so pay attention to your starter and dough rather than relying only on the clock.
5:30 AM — Feed Your Starter
Feed ¼ cup starter with ¼ cup room-temperature purified water and ¼ cup all-purpose flour. Place a piece of tape or rubber band at the starter line so you can easily track its growth. Set it in a warm area and allow it to become active and bubbly.
12:00–1:00 PM — Make the Dough
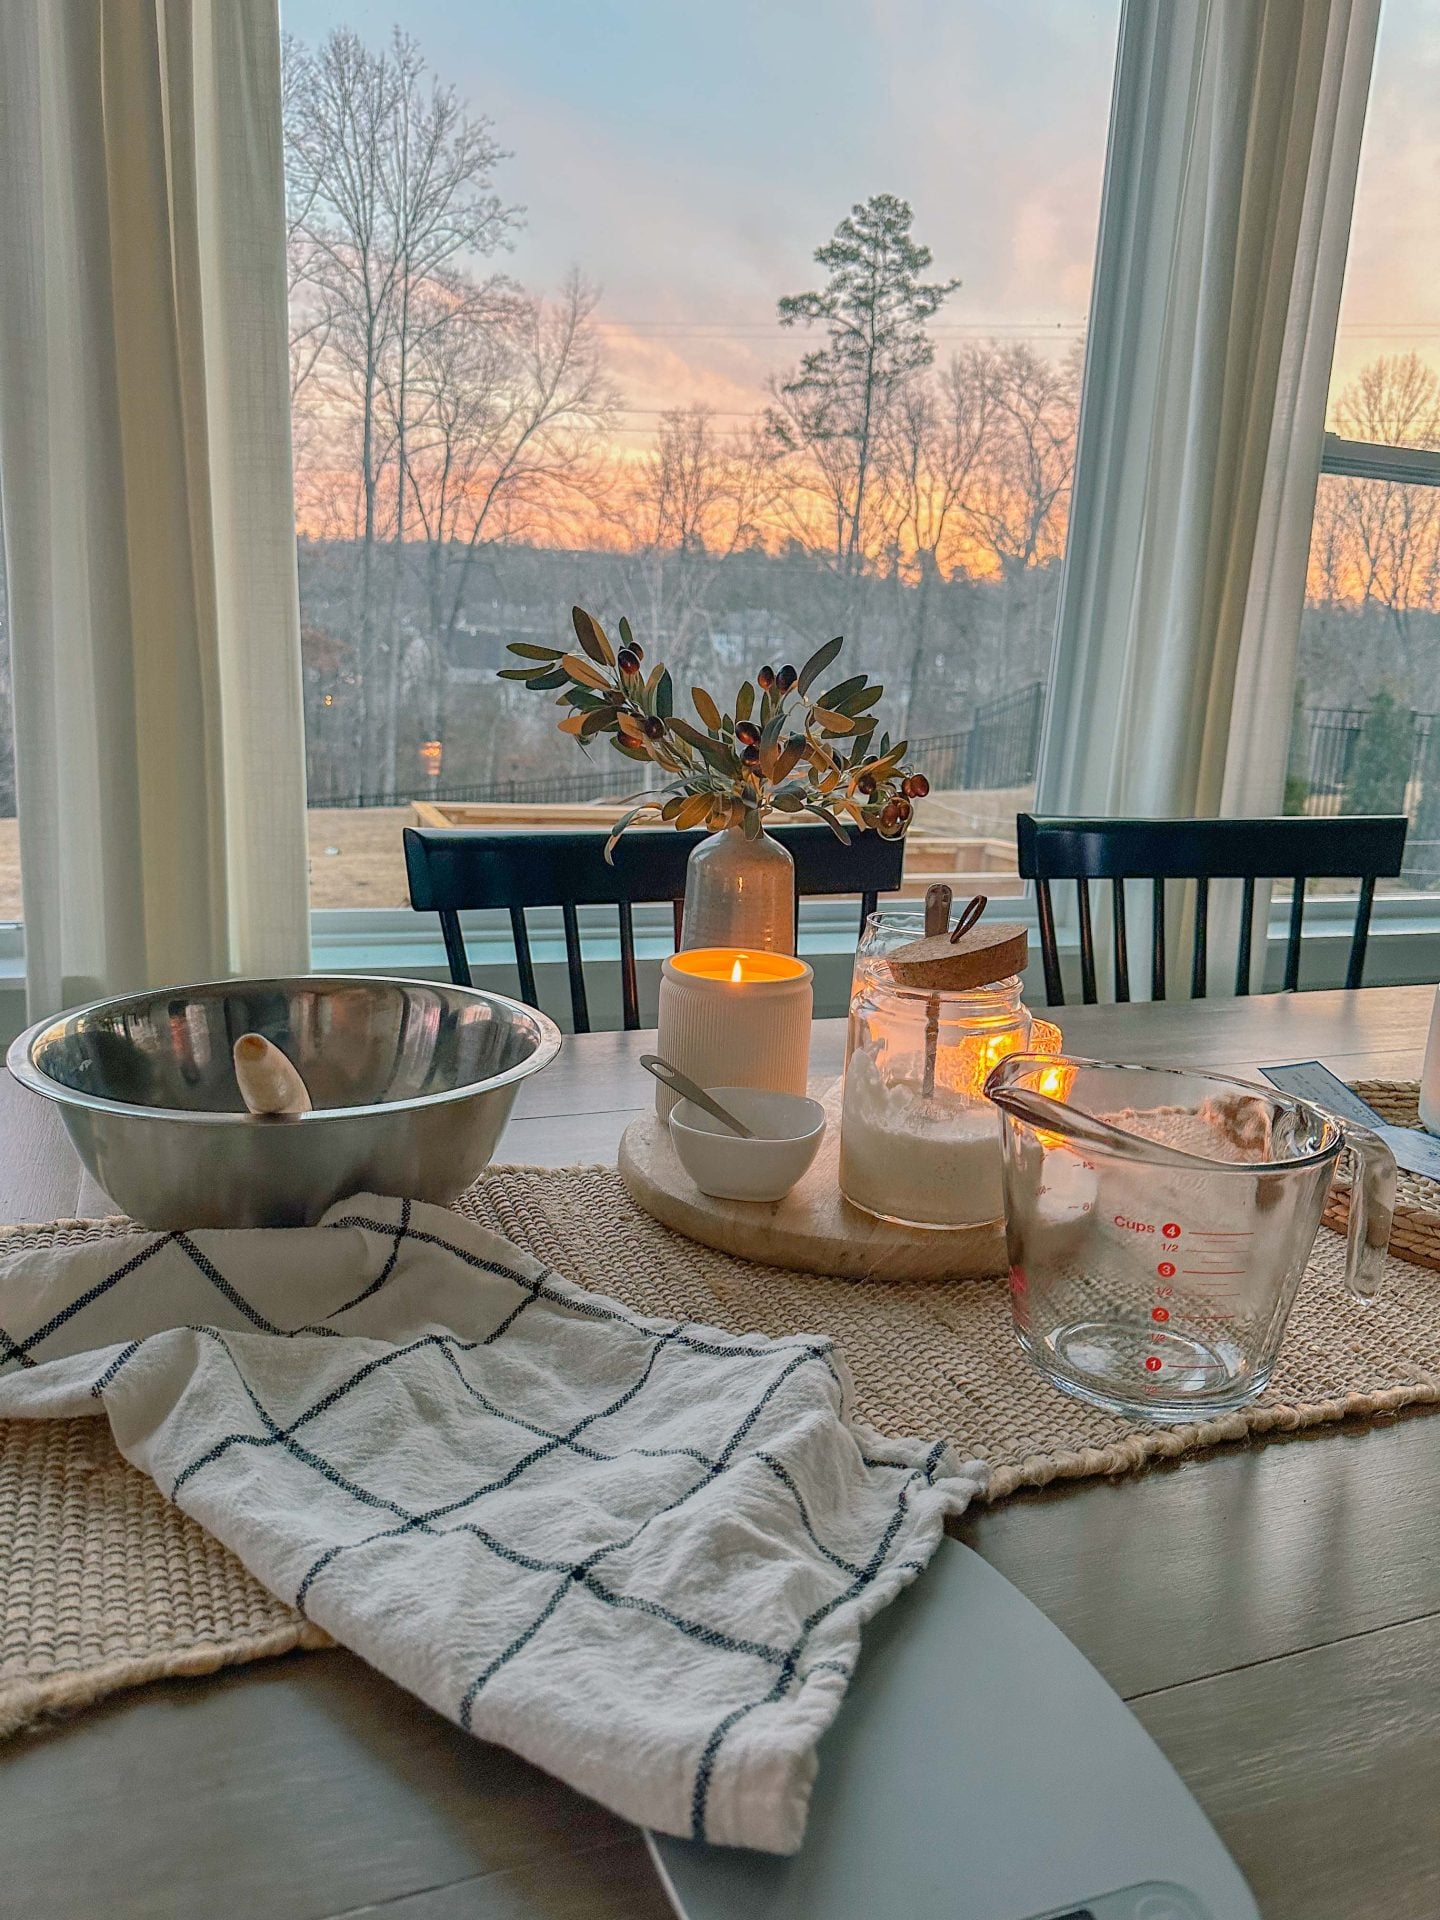
Add the weighed active starter and water to a large bowl and mix well. Add the bread flour and combine. You may need to use your hands as the dough comes together.
Add the salt last and continue mixing. At this point, the dough will be sticky and won’t form a smooth ball yet—and that’s okay!
Cover the bowl with a damp towel and let the dough rest for 30 minutes.
1:00 PM — First Stretch & Fold
Perform your first stretch and fold. I do this directly in the bowl, so there’s no need to transfer the dough to the countertop.
Cover the bowl and let the dough rest for about 30 minutes.
1:30 PM — Second Stretch & Fold
Perform your second stretch and fold, working your way around the dough.
Cover the bowl again and let the dough rest for another 30–60 minutes.
2:00–2:30 PM — Final Stretch & Fold + Bulk Ferment
Give the dough one final stretch and fold. Once finished, cover the bowl and allow the dough to bulk ferment for approximately 3–5 hours.
You’re looking for the dough to noticeably rise and become airy. I like to keep mine in a warm area of the house while it ferments.
6:00–8:00 PM — Shape the Dough
Turn the dough onto a lightly floured surface and divide it into two equal portions. I use a kitchen scale so the loaves are approximately the same size.
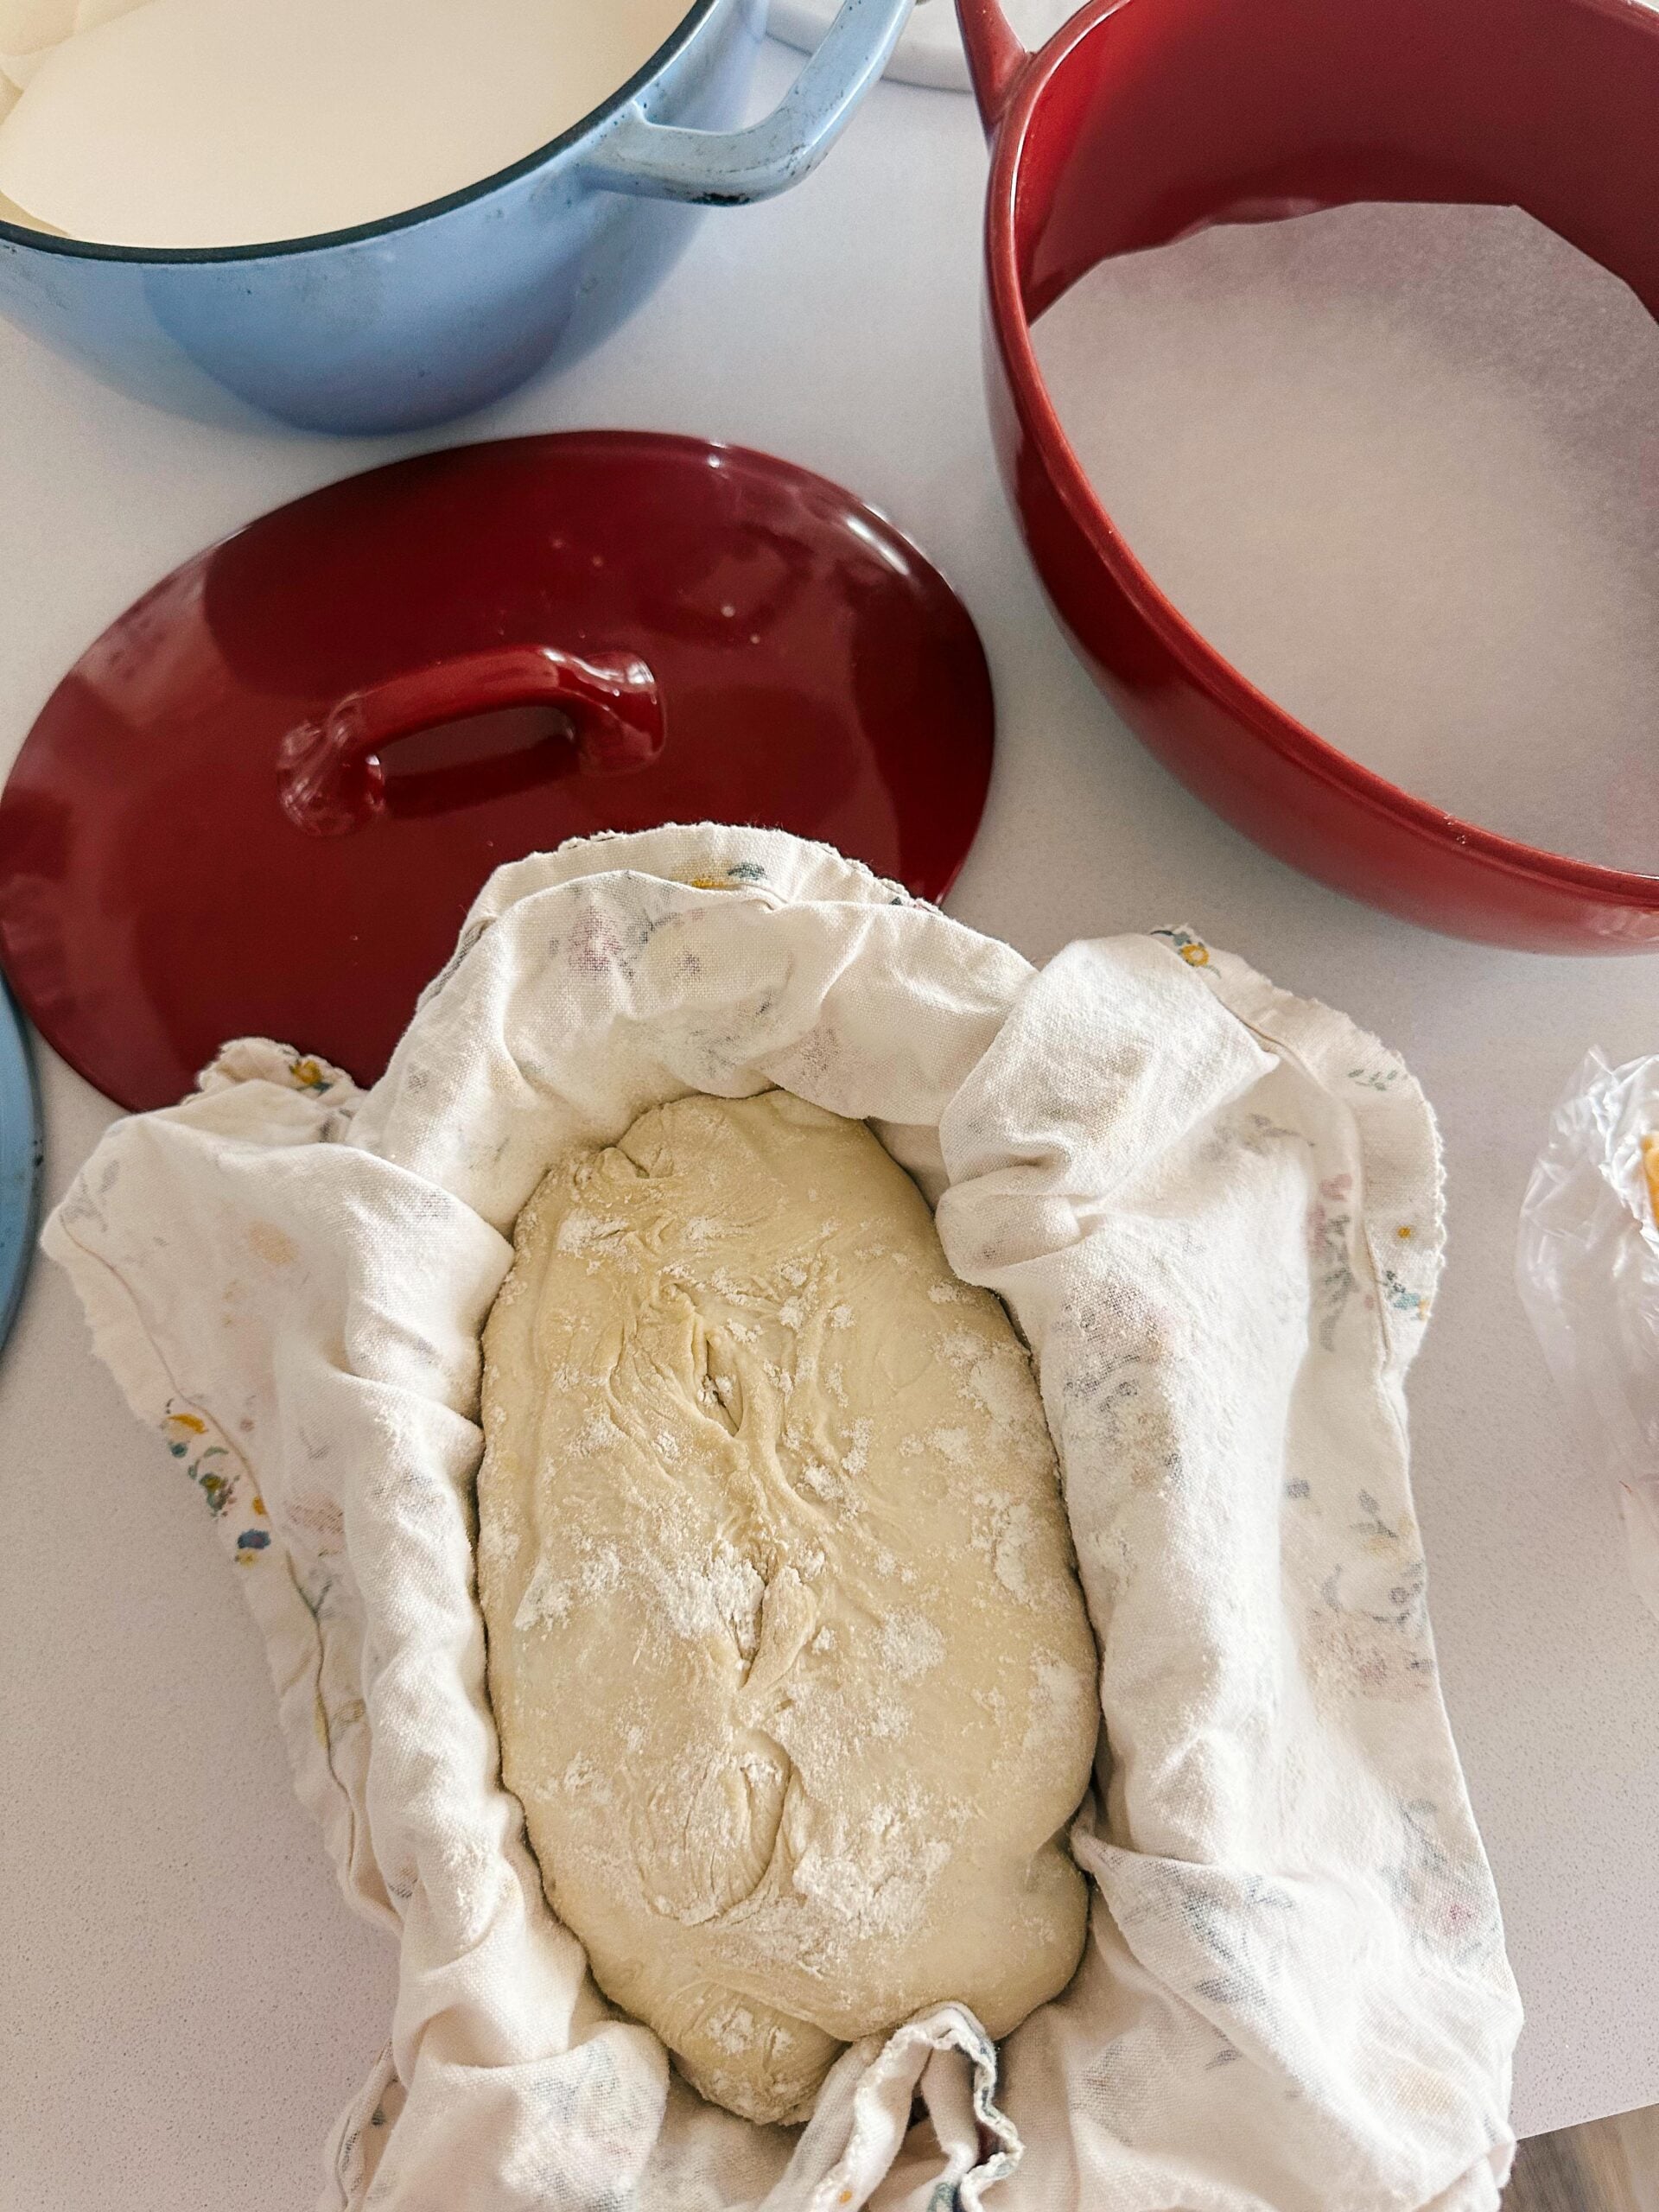
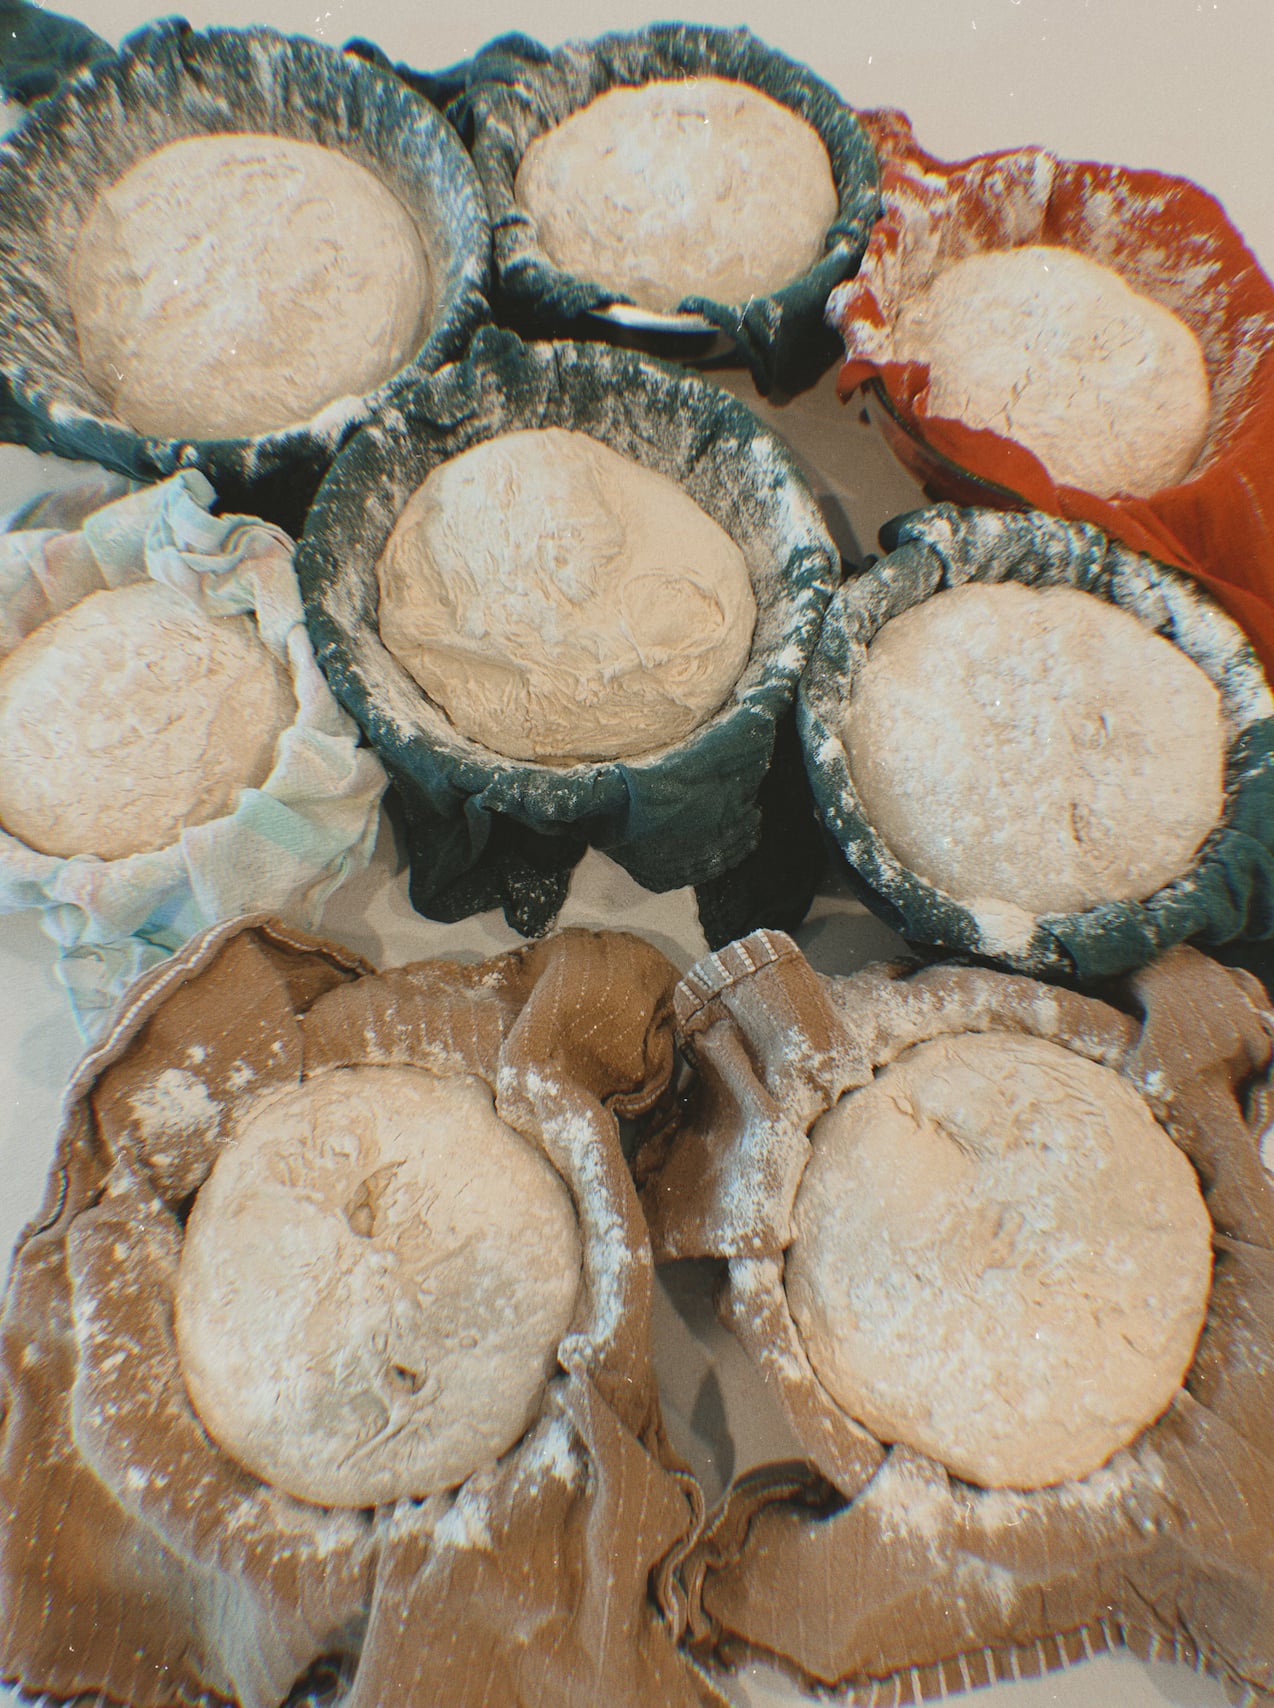
Shape each portion into a tight ball. Flour your bannetons, or use bowls lined with floured tea towels, and place the dough smooth-side down.
Cold Proof Overnight
Cover and refrigerate the shaped dough overnight.
I get my best results when I cold proof my sourdough. It also gives you flexibility if you aren’t ready to bake first thing the next morning.
If you’re adding cheese, cinnamon, raisins, or other fillings, add them during your final stretch and fold before shaping.
5:30 AM the Next Day — Preheat the Oven
Preheat your oven to 475°F.
Remove the sourdough from the refrigerator and turn it onto parchment paper or your silicone bread mat, smooth-side up.
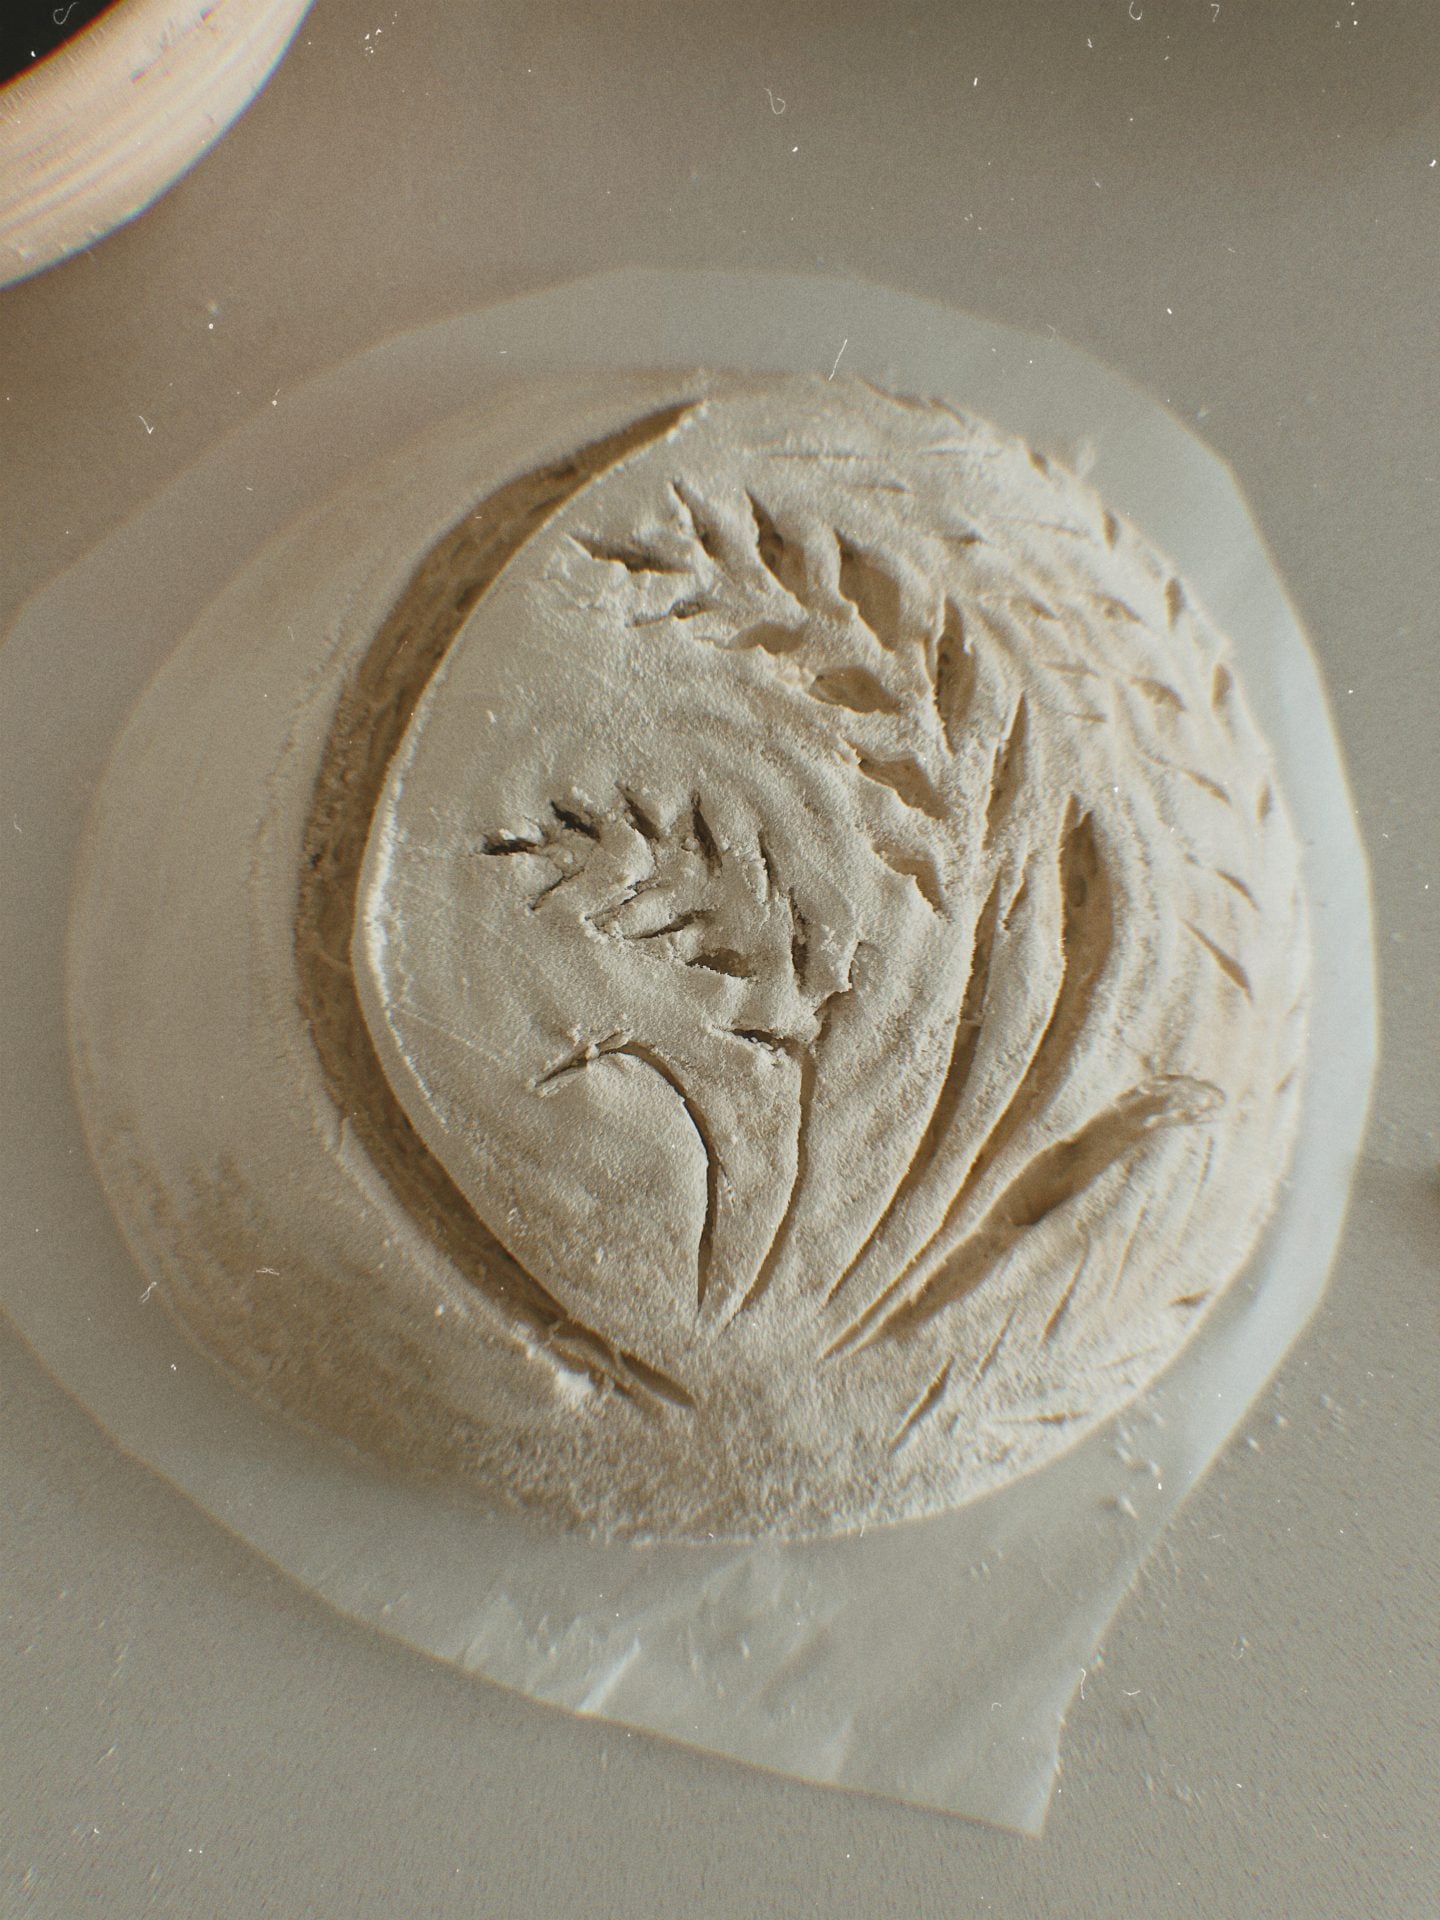
Dust the top lightly with flour and score the loaf with a bread lame or sharp knife. Make one deeper expansion score to give the loaf room to open as it bakes.
6:00 AM — Bake
Place the loaf into your Dutch oven and cover with the lid.
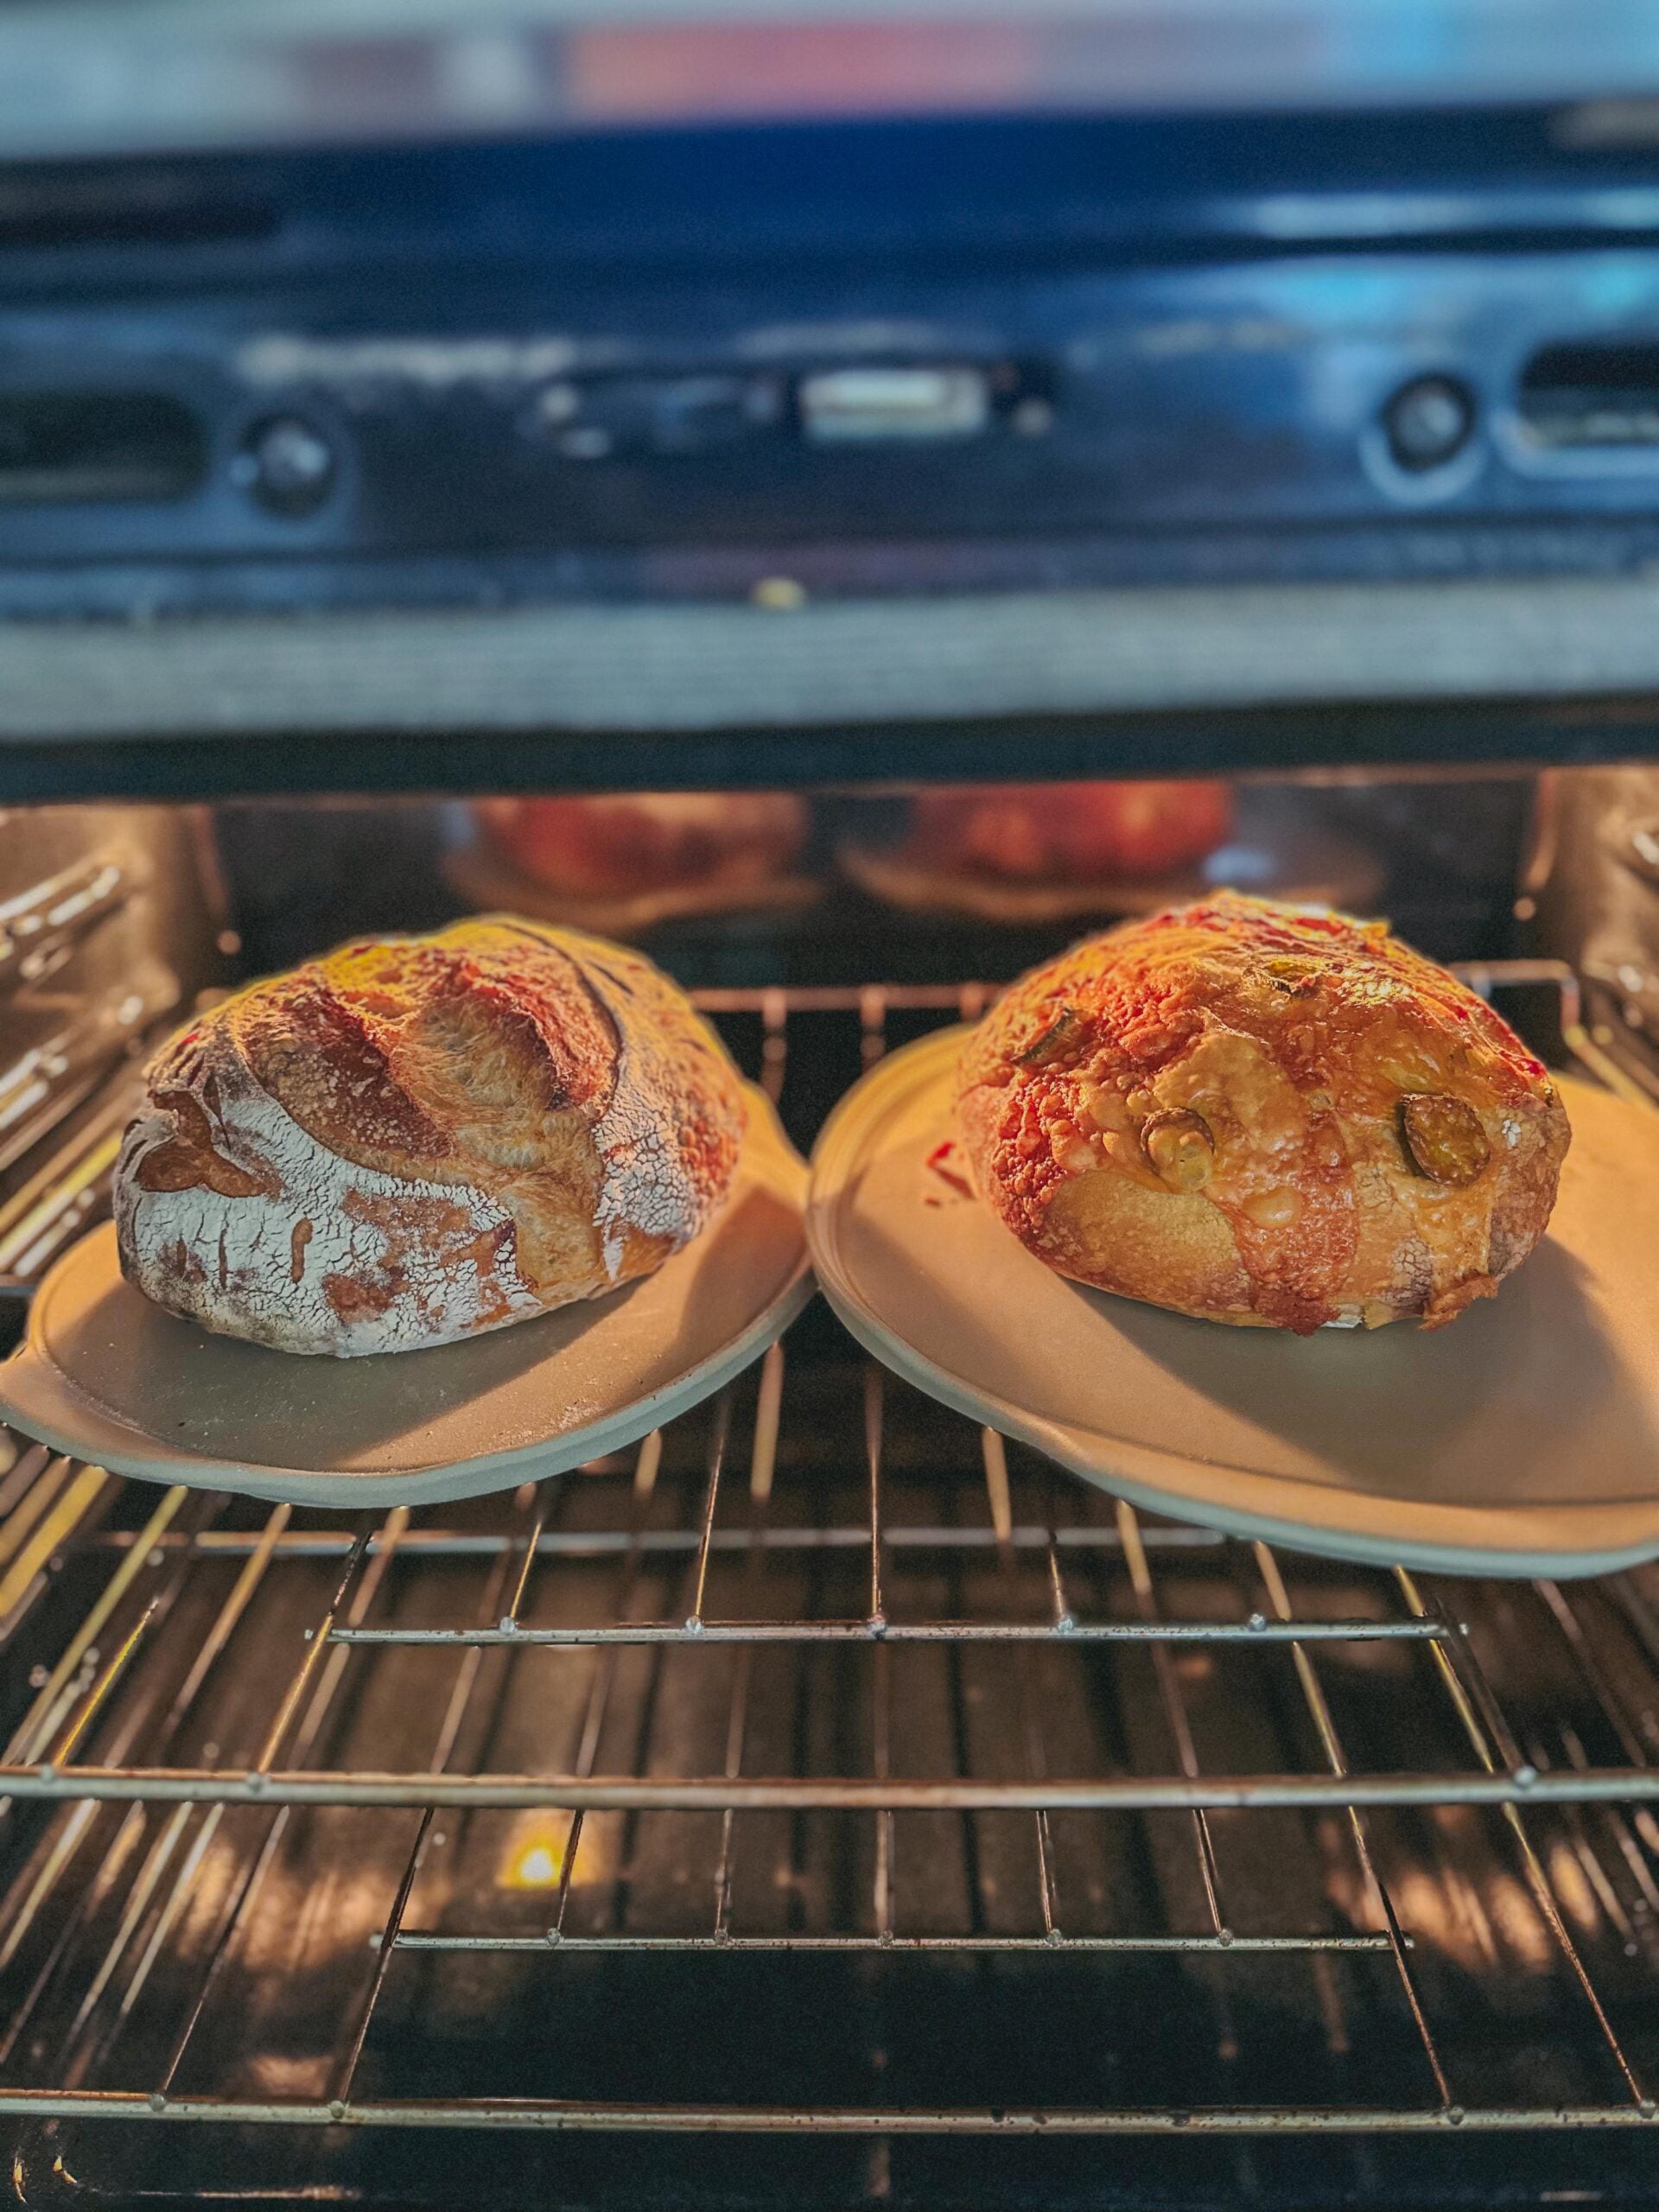
Bake for 50–55 minutes covered, then remove the lid and bake for approximately 10 additional minutes, watching the crust closely toward the end.
If you’ve struggled with the bottom of your sourdough burning, see my tip below for using uncooked rice in the Dutch oven.
7:00 AM — Cool
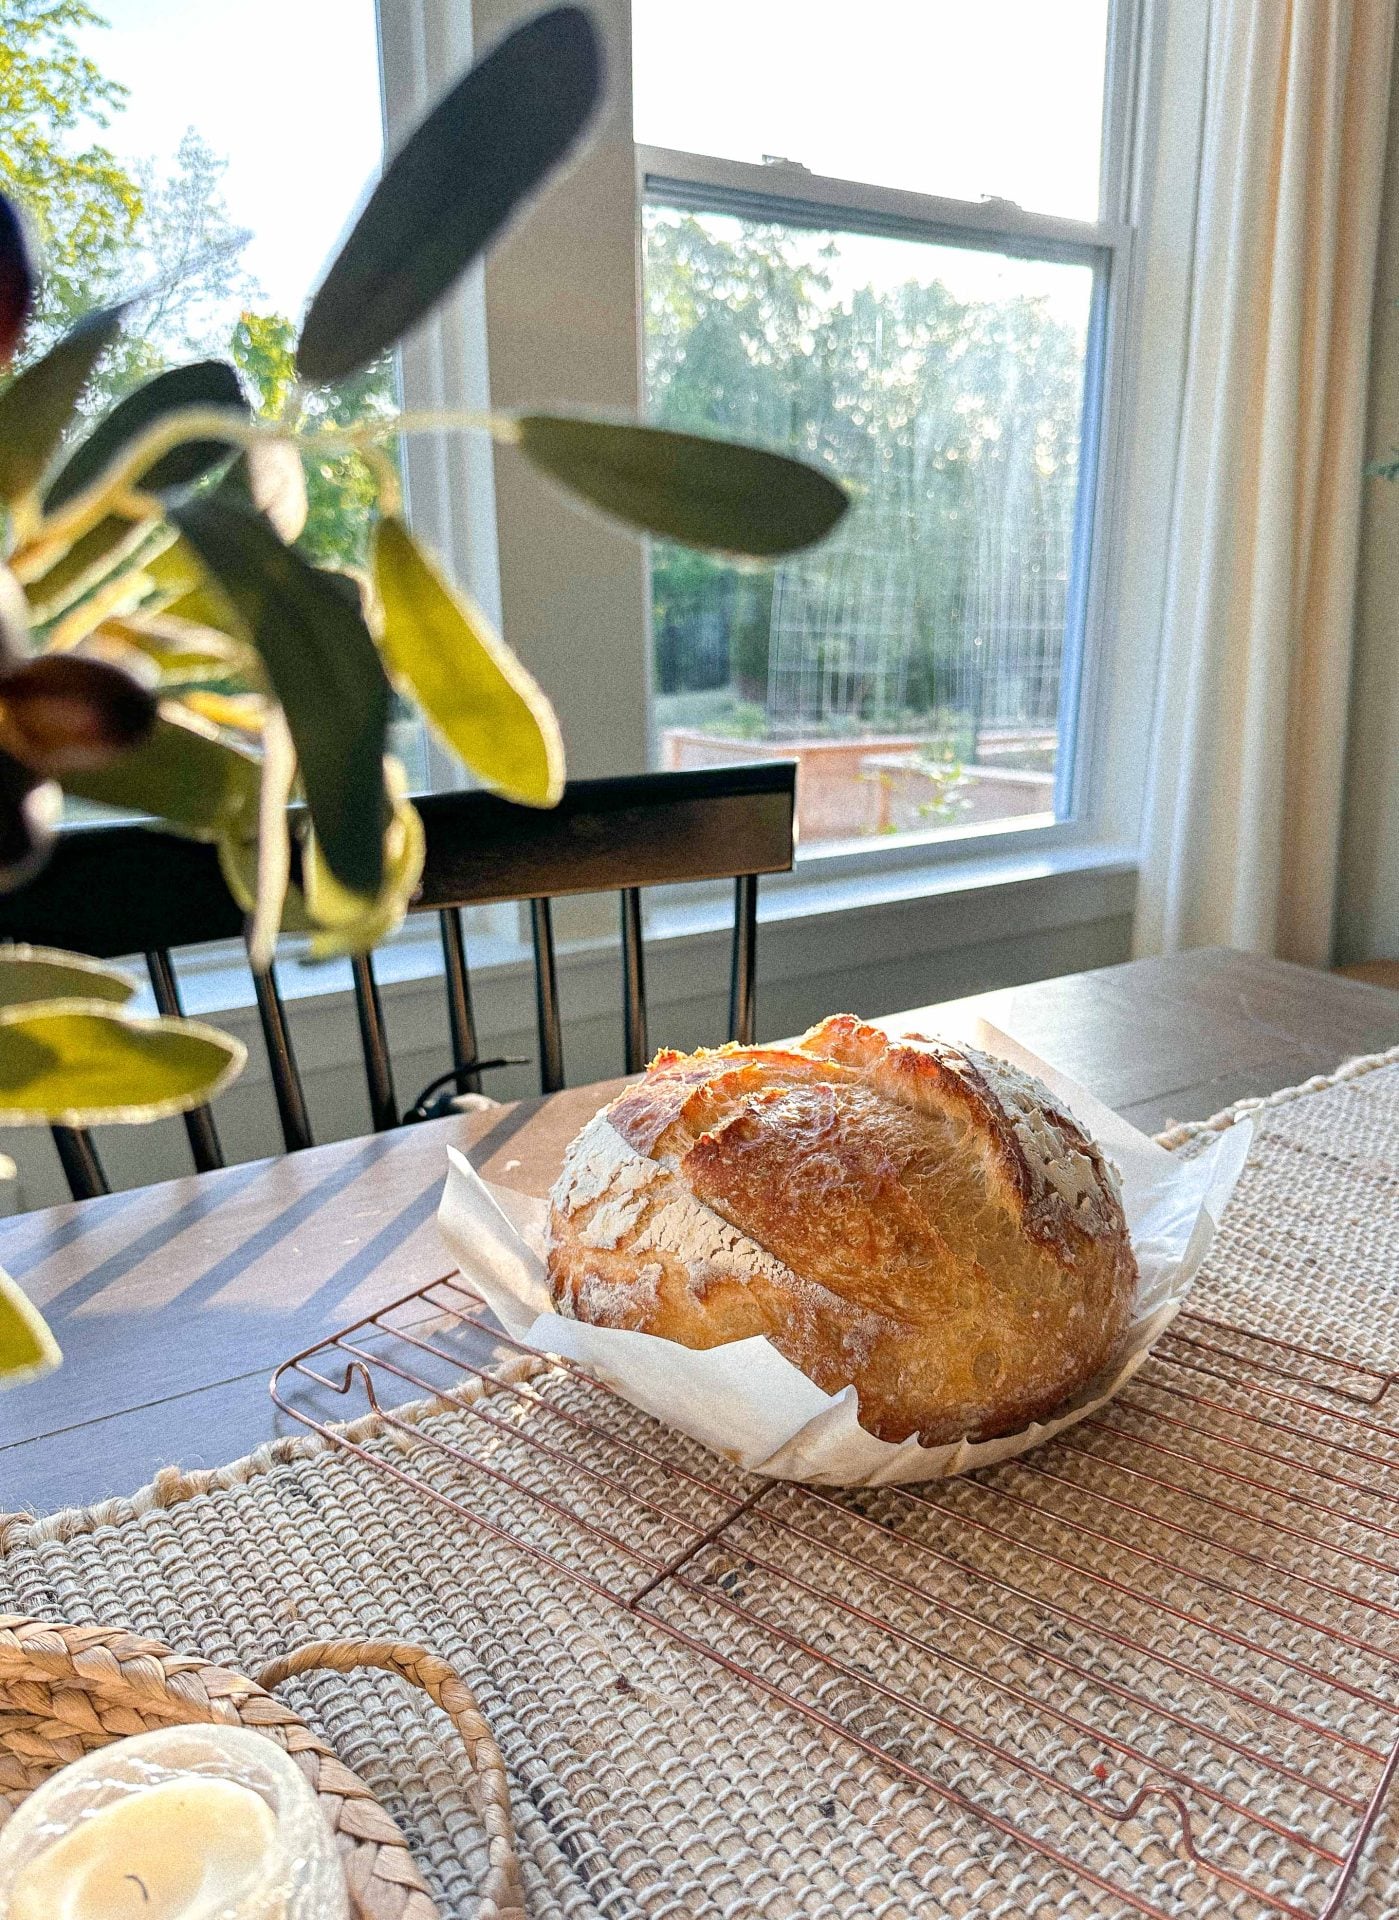
Transfer the bread to a cooling rack and let it cool for approximately 2 hours before slicing.

When Should I Add Mix-Ins to Sourdough Bread?
Once you master a plain sourdough loaf, adding different flavors is when the fun really begins!
For herbs and dry seasonings, like rosemary, thyme, basil, cinnamon, or lavender, I like to add them during one of the earlier stretch-and-folds.
For cheese, fresh produce, honey, sugar, olive oil, and other heavier or stickier additions, I typically wait until the final stretch and fold before shaping.
When adding ingredients that can burn (especially cheese or honey) try to keep them folded inside the dough rather than exposed on the outside of the loaf.
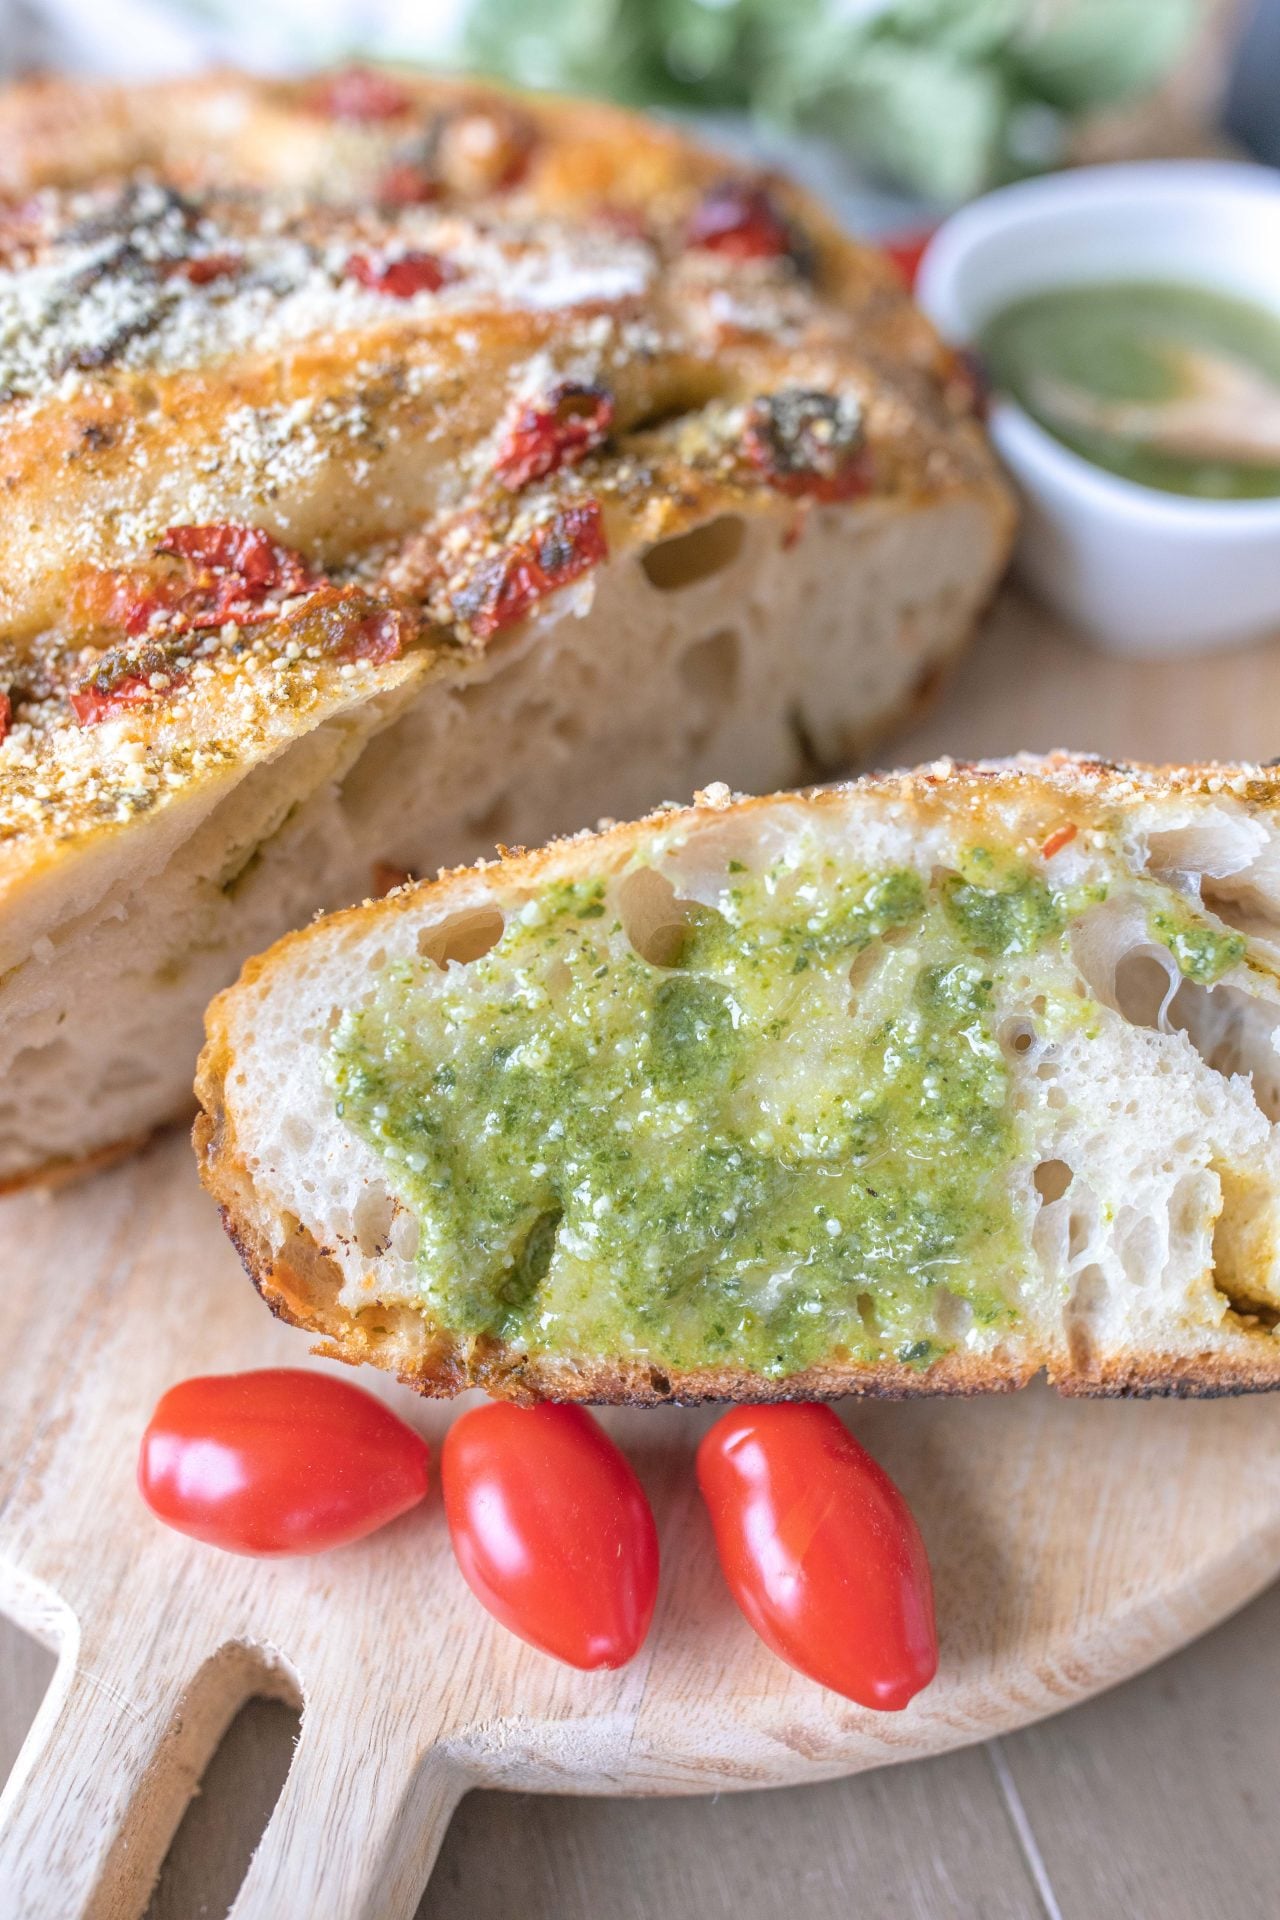
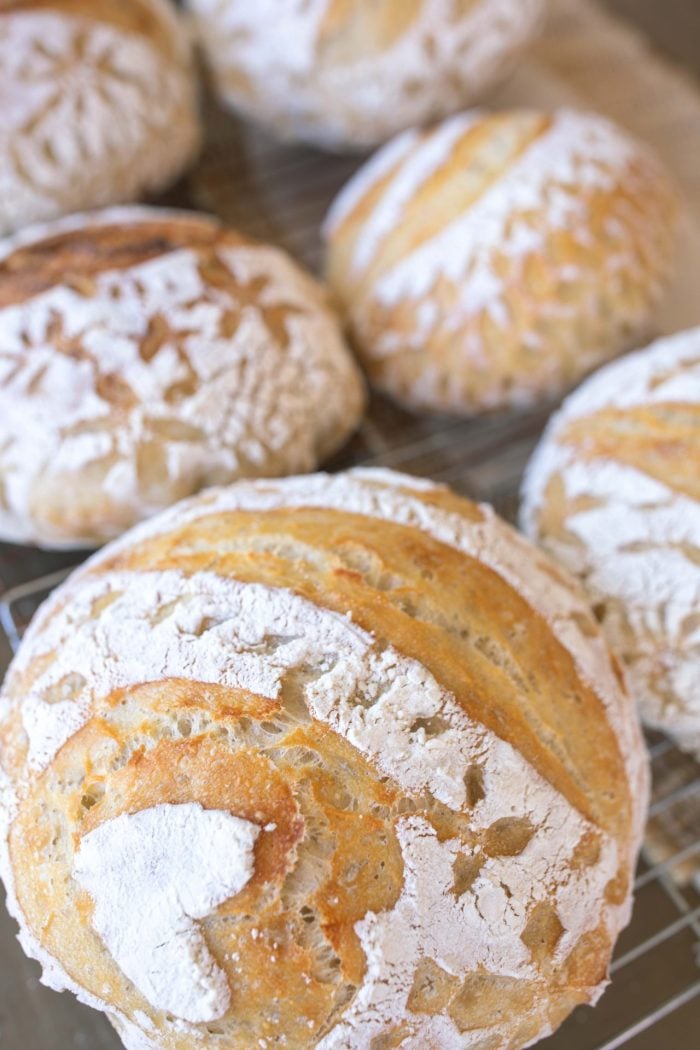
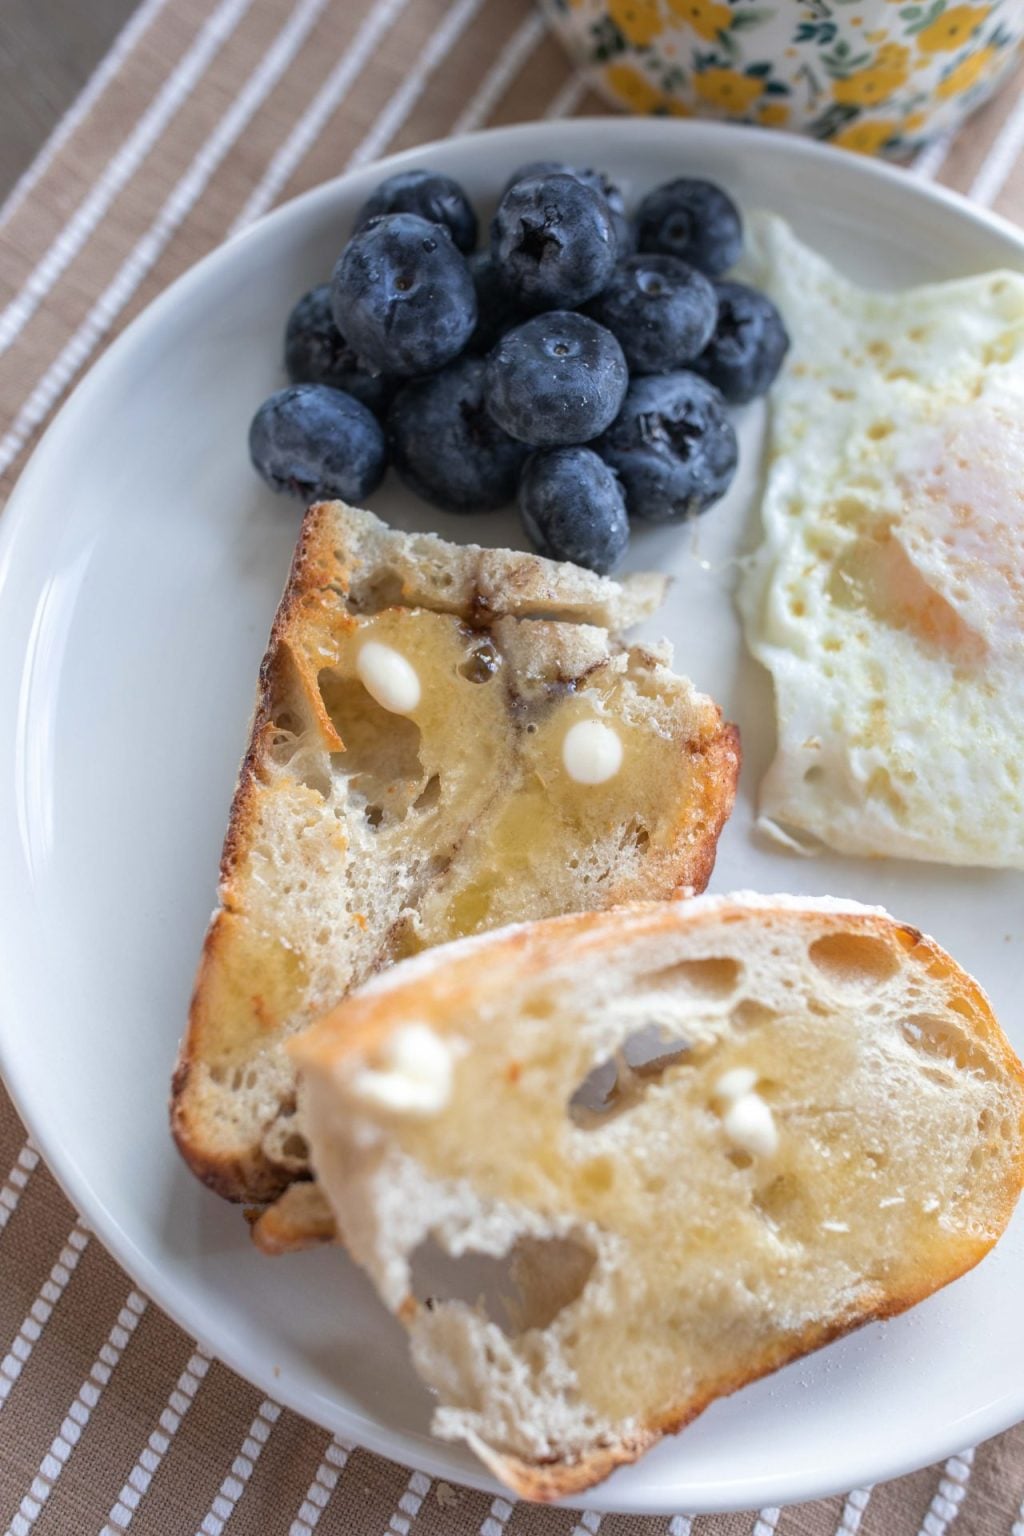








Fun Sourdough Bread Flavor Ideas
Once you’ve mastered a classic loaf, try one of my favorite sourdough flavor combinations:
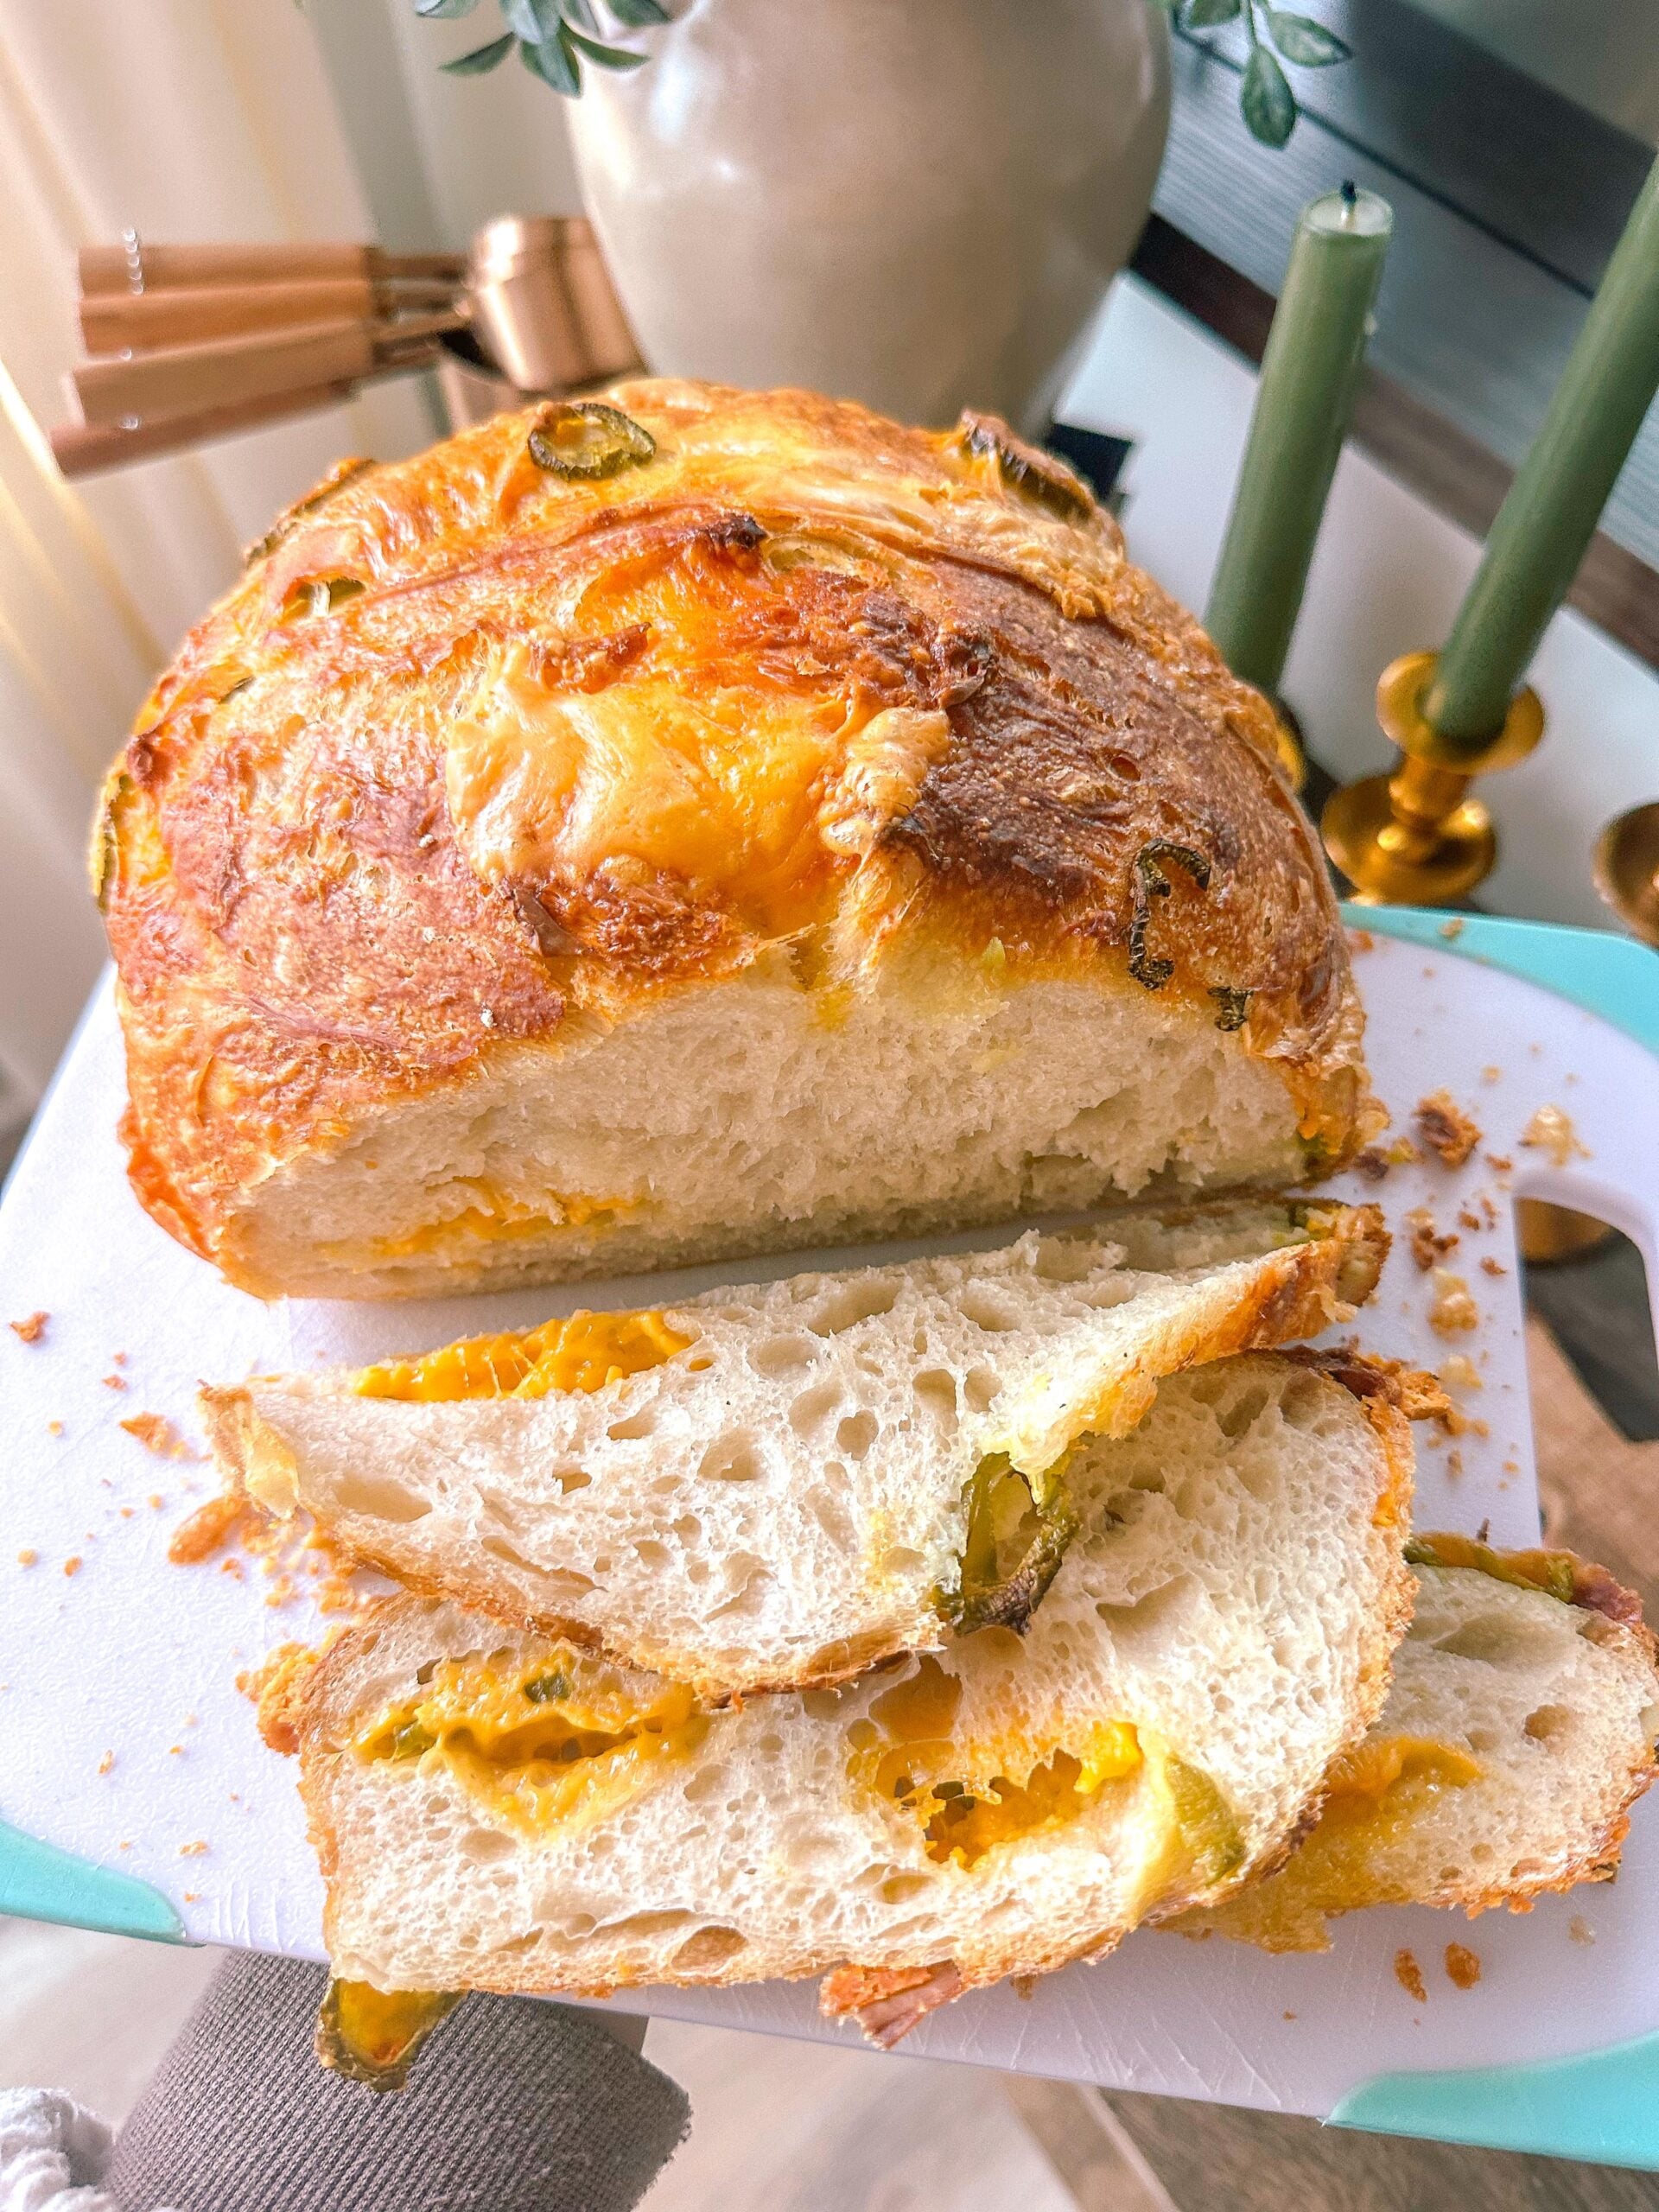
Jalapeño Pepper Jack & Cheddar Sourdough
Fold diced pepper jack, sharp cheddar, and jalapeños into the dough during the final stretch and fold. Before baking, I like to add a little extra cheese and jalapeño along the score lines for a beautiful cheesy crust.
Cinnamon Honey Sourdough
Drizzle honey and sprinkle cinnamon between the layers of dough during your final stretch and fold. Try to keep the honey tucked inside the dough since exposed honey can burn quickly during baking. You can also use brown sugar in place of honey.
Pumpkin Spice Sourdough
For a cozy fall version, try my Pumpkin Spice Sourdough Bread Recipe
Garlic Parmesan Sourdough
Fold roasted garlic cloves, dried basil, a drizzle of olive oil, and Parmesan into the dough during the final stretch and fold. After baking, sprinkle additional Parmesan and basil over the warm loaf. I wait until the bread is baked to add the Parmesan on top so it doesn’t burn.
Everything Bagel Sourdough
Add everything bagel seasoning during an earlier stretch and fold. After scoring the loaf, drizzle a little olive oil into the score lines and sprinkle with additional seasoning before baking.
Honey Oat Sourdough
Add the oats during an earlier stretch and fold, then carefully add the honey during the final stretch and fold. Try to keep most of the honey tucked inside the dough so it doesn’t burn.
Tools for Making Sourdough Bread
You don’t need a kitchen full of special equipment to make sourdough bread! You can use things you probably already have, like a sharp knife for scoring and a regular bowl lined with a floured tea towel for proofing.
That said, I’ve slowly collected a few sourdough tools that make the process easier and I admittedly get way too excited about a new baking gadget! You can find my favorite sourdough baking supplies in my Amazon Storefront.
Kitchen scale
Large mixing bowl
Proofing basket (banneton)
Flour sack or tea towel
Bread lame/scoring tool
Dutch oven
Parchment paper or silicone bread mat
Bread bags for storage

How to Make Sourdough Bread With a 9-to-5 Schedule
I get this question all the time: “What if I work 9 to 5 but still want to make fresh sourdough?”
You absolutely can! One of my favorite things about sourdough is how flexible the process can be. This is the schedule I use when I’m away from home for most of the day, and you can adjust the times slightly to fit your routine.

My 9-to-5 Sourdough Timeline
- 9:30 AM: Feed your sourdough starter.
- 4:00 PM: Make the dough and cover.
- 4:45 PM: First stretch and fold. Cover and rest.
- 5:45 PM: Second stretch and fold. Cover and rest.
- 8:00 PM: Final stretch and fold. Cover and allow the dough to bulk ferment overnight.
- 6:30 AM the next day: Stretch and fold the dough. Cover and rest.
- 8:00 AM: Shape the dough, place it in a floured proofing basket, and refrigerate for the cold proof.
- 4:00 PM: Preheat the oven to 475°F and score the cold dough.
- 4:15 PM: Place the loaf in your Dutch oven, cover, and bake.
- 5:00 PM: Remove the lid and continue baking for approximately 10 minutes.
- 5:15 PM: Transfer to a cooling rack and allow the bread to cool before slicing.
Easy Sourdough Bread Recipe for Beginners
Equipment
- 1 Dutch Oven
- 1 Digital Kitchen Scale
Ingredients
- 95 Grams Active Sourdough Starter
- 390 Grams room-temperature water Filtered
- 530 Grams bread flour
- 2 Teaspoons Fine Sea Salt
Instructions
- Feed the StarterFeed your sourdough starter with ¼ cup starter, ¼ cup room-temperature purified water, and ¼ cup all-purpose flour. Mark the starting level with a piece of tape or rubber band and place the starter in a warm area. Allow it to become active and bubbly before making your dough.
- Make the DoughAdd 95g active sourdough starter and 390g room-temperature water to a large mixing bowl and stir to combine.Add 530g bread flour and mix until combined. You may need to use your hands as the dough comes together.Add 2 teaspoons fine sea salt last and continue mixing. The dough will be sticky and won't form a smooth ball yet!Cover the bowl with a damp towel and let the dough rest for 30 minutes.
- First Stretch & FoldPerform your first stretch and fold directly in the bowl. Cover the dough and let it rest for approximately 30 minutes.
- Second Stretch & FoldPerform another stretch and fold, working your way around the dough. Cover again and rest for another 30–60 minutes.
- Final Stretch & Fold + Bulk FermentPerform one final stretch and fold. Cover the bowl and allow the dough to bulk ferment for approximately 3–5 hours.Look for the dough to noticeably rise and become lighter and airier. Fermentation time can vary depending on the temperature of your kitchen and the activity of your starter.
- Shape the DoughTurn the dough onto a lightly floured surface and shape it into a tight ball. Flour a banneton or line a bowl with a floured tea towel. Place the shaped dough smooth-side down into the prepared basket.Cold ProofCover the dough and place it in the refrigerator overnight. If you're adding cheese, cinnamon, herbs, or other mix-ins, add them during your final stretch and fold before shaping.
- Preheat & ScoreThe next day, preheat your oven to 475°F.Remove the dough from the refrigerator and turn it onto parchment paper or a silicone bread mat, smooth-side up.Lightly dust the top with flour. Score the loaf with a bread lame or sharp knife, making one deeper expansion score to allow the loaf to open as it bakes.
- BakeTransfer the loaf to a Dutch oven and cover with the lid.Bake for 50–55 minutes covered. Remove the lid and bake for approximately 10 additional minutes, watching the crust closely toward the end.Transfer to wired rack for cooling.
Notes
- Timing: Sourdough timing can vary depending on the temperature of your kitchen and how active your starter is. Use the times as a guide and pay attention to how your dough looks and feels.
- Cold proof: I get my best results when I cold proof the shaped dough overnight before baking.
- Preventing a burnt bottom: If your sourdough tends to get too dark on the bottom, add a layer of uncooked rice to the bottom of your Dutch oven beneath your parchment paper or silicone bread mat.
- Mix-ins: Add herbs and dry seasonings during an earlier stretch and fold. Add cheese, honey, and other heavier or sticky mix-ins during the final stretch and fold before shaping.
- Cooling: For the best texture, allow the loaf to cool for approximately 2 hours before slicing.
- Making two loaves: Double the ingredients and divide the dough into two equal portions before shaping.
Helpful Sourdough Terms for Beginners
Bulk Fermentation: The longer rise after your stretch and folds when the dough ferments and develops structure and flavor.
Stretch and Fold: A technique where you gently stretch one side of the dough upward and fold it over itself. This helps strengthen the dough without traditional kneading.
Cold Proof: Refrigerating the shaped dough before baking. I prefer an overnight cold proof for this recipe.
Scoring: Cutting the surface of the dough just before baking so the bread has room to expand in the oven.
Banneton: A proofing basket used to hold and shape your dough during its final proof.
More Sourdough Recipes You’ll Love:
Burrata & Fig Sourdough Pizza with Prosciutto, Arugula, & a Balsamic Glaze
Pull Apart Sourdough Dinner Rolls: Easiest Overnight
The Best Sourdough Cinnamon Rolls: Easy Overnight
Homemade Sourdough Pizza Crust Recipe: Easy and Delicious
Easy Sourdough Bagel Recipe (Soft & Chewy)
Sourdough Garlic Knots: Soft and Chewy + Easy to Make!
Jalapeño Pepperjack Sourdough Bread with Hot Jalapeño Honey Dip

Sourdough Bread FAQs
Can I use a metal bowl or spoon when making sourdough?
Yes! I use metal bowls and spoons when making sourdough and haven’t had any issues. There’s a lot of debate about this in the sourdough world, but in my experience, my bread turns out beautifully whether I mix or proof it in metal, glass, or another food-safe bowl.
Why is my sourdough bread burning on the bottom?
This used to happen to me all the time! What works for me is adding a layer of uncooked rice to the bottom of my Dutch oven, then placing my fitted silicone bread mat and dough on top. The rice creates an extra barrier between the heat and the bottom of the loaf.
Do I have to cold proof sourdough overnight?
I get my best results when I cold proof my sourdough. It also makes the recipe much easier to fit into my schedule because I can shape the dough, refrigerate it, and bake it the following day.
How do I know when my sourdough starter is ready to bake with?
Your starter should be active, bubbly, and noticeably risen after feeding. I like to place a piece of tape or rubber band around my jar immediately after feeding so I can easily see how much it has grown.
Why isn’t my sourdough dough rising?
Temperature can make a big difference in fermentation time. If your kitchen is cooler, your dough may simply need more time. I like to keep mine in a comfortably warm area of the house and look at the dough itself rather than relying only on the clock.
Can I add cheese, herbs, or other mix-ins?
Absolutely! Once you master the basic loaf, experimenting with flavors is one of the best parts. I add herbs and dry seasonings during an earlier stretch and fold and usually add cheese, honey, and other heavier or stickier ingredients during the final stretch and fold before shaping.
How long should sourdough bread cool before slicing?
I let my sourdough cool on a rack for approximately 2 hours before slicing. As tempting as warm bread is, giving it time to cool allows the interior of the loaf to finish setting.
Can I make sourdough bread if I work a 9-to-5?
Yes! Sourdough is surprisingly flexible. I included my 9-to-5 sourdough schedule above so you can fit the stretch-and-folds, bulk fermentation, cold proof, and baking around a typical workday.


Taralynn, this post makes my heart so happy!! I’m still intimidated to try this, but your bread always looks phenomenal and it would be so neat to have my very own bread here instead of having to buy it at the store (like you said, they’re often on shelves for a long time and aren’t the best). Love how detailed everything is here, I made sure to pin it!
Hope you have an amazing weekend, friend! 🙂
Make Life Marvelous
Hi, Ashley!
DO NOT be intimidated by sourdough! You will do great & sooooo much better than store-bought bread.
Let me know if you end up making a loaf!
Do you preheat your Dutch oven? My bread is getting a bit dark. Maybe I should adjust cooking time?
Hi, Michele!
I do not preheat the dutch oven. All ovens cook differently, so if it’s getting dark, place cornmeal under your parchment paper at the bottom of your bread next time, and you can keep the lid on longer while cooking.
I’ve made this recipe a few times now, always delicious. My question is: can I make 1/2 the dough into bagels? or do I need a separate recipe?
I was very intimidated by sourdough, and now I am baking something new every weekend. I love making sourdough!
today I am making this recipe, we shall see how it comes out tomorrow. 🙂
I accidentally mixed up this recipe using AP flour. Immediately mixed up another batch with bread flour. Should I continue with the first batch as well, or is it going to be a total flop?
It will still work, but that first loaf of bread will most likely be super dense. One thing you could do is continue the recipe, and then slice the bread into squares, season, bake, and make amazing sourdough croutons!
yum
Yum! Got your recipe from FB page!
Taralynn, I had a sourdough started I have been feeding for over a year. My first sourdough last year did not come out so well. But this time perfection. I followed your steps with the exception of adding rice at the bottom of the Dutch oven. I placed a pizza bowl on the bottom rack just below the Dutch oven (saw it on a YouTube video) and it came out perfectly browned. No burned bottom. Cannot wait to make another and try you other recipes. Especially the pizza recipe! Thank you 🙂
Ahhh so glad you had a successful loaf! 🙂 UMM genius on the pizza stone idea! going to try that!
I love this post! I’ve been very intimidated by starters and feeding them but I just ordered my first starter on Amazon.
I think the bowl debate is a little funny. But I had an idea for you! Growing up my mom had a giant bowl she called her bread bowl. She always made homemade bread in that bowl and the smell of her bread is ingrained in my memories. When I bought my first house my mom gave me said bowl and it’s so special to me. I’m sure your little boys memories will be full of fresh baked bread from mamas kitchen! A custom special “bread bowl” could be such a fun thing to pass down to him one day!
I can’t wait to start baking. Thanks for the inspiration!!
Hi, Carly!
I’m so proud of you! Once you make bread, it becomes addicting! My first loaf was TERRIBLE, lol so don’t give up if you don’t get it right the first time. You learn more and more as you go!
OMG hahaha my green bowl is my “bread bowl” lol that’s too funny!
I can’t wait to try your recipe, Taralynn! I’ve been baking sourdough for maybe a month now and I’m still trying to get the hang of it but your loaves always look so delicious. Thanks for sharing!
I can’t wait for you to try it! Please come back and let me know what you think!
Have you tried doing this gluten-free?
I tried to make sourdough starter during the pandemic and failed miserably. I don’t think it was warm enough at the time so I never got a rise. All of these flavors look delish and I’m going to buy some starter and try again!
Hi, Laura!
Making your own sourdough starter is so frustrating. It took me so much troubleshooting! That’s why I always tell people just to get an established starter somewhere! Save the troubles lol
King Arthur sells the starter and also anything else you might need… it comes in a small jar and is very small. That where I have my Gallon jug of discard from. lol
Thanks for the post! I have been waiting for this ever since you posted your first beautiful loaf! I have been using farmhouse on boone’s recipe and the first time I made it, my loaf was amazing. Sadly, every loaf since has been a failure. Have you made any with some whole wheat flour? Do you only stretch and fold for one session? Her recipe calls for 6 rounds of stretch and folds 15-30 minutes apart. You mention a video but I don’t see it on your blog?
Hi, Leah!
I don’t find it necessary to do all of the folding and stretching, and it makes it inconvienet. I love a low-maintentance bread! I’ve made it both ways, and folding it less made it turn out way more fluffier!
The video is embedded under “Ingredients for Two Loaves of Sourdough Bread” 🙂 I also have it on my TikTok!
I’ve done wheat bread!:) I’ll be posting that soon!
Oh man I’ve been missing out! I always thought those videos were just ads haha. So excited to try again using your recipe!
haha! they are my embedded vidoes, but they do contain an ad, which helps this blog stay running! 🙂
This is the only sourdough recipe that has worked out for me! Where do you get the cute sourdough starter jars?
YAY!!!! 🙂
They are from Hobby Lobby! Highly recommend getting them when they have their jars on sale!
Yaaay, thank you! I can’t wait to get started! Yes girl, I’m like you, I like to find out what the true must-do’s are and just get in there and see what happens. Much more fun that way! 😉 So many delicious accidents to discover!
Awww thanks, Andrea! I can’t wait to hear about your loaves!!
Can’t wait to try this! What size dutch oven do you typically use?
I use a 6 QT. But if yours is bigger, it works too!
Hi Taralynn,
I actually am making your sourdough bread recipe as we speak. I just wanted to know if you heated your Dutch oven first before baking your bread? Most recipes call for heating it first, but my crust always gets very brown. Nothing like yours. Thanks so much for your blog!
I do not heat it first 🙂
Cant wait to try this!! I’ve tried over 6+ recipes and haven’t found one that really fits my lifestyle…ya know? lol This one sounds pretty dang good!!! Curious though, why can’t we use bread flour in the levain? I feed my starter religiously with only bread flour…is there a specific reason?
Hi, Molly!
You can use bread-flour! I stick with all-purpose because it’s inexpensive, and does the same trick! I like to make sure to save all the bread flour for the actual bread. Where I live bread flour is $5 more than the actual all-purpose flour.
This looks amazing, especially the jalapeño and cheddar idea! Have you considered trying to make sour dough pretzels? We love snacking on those, to make them from scratch would be fun to try! 🙂
I need to try!
Love to read your sourdough journey! Before I was pregnant I was on a big sourdough kick. Unfortunately Breadford (my sourdough starter) died during pregnancy as I was too nauseated to even think of baking bread. I am just about ready to start back now that my little man is 2 months!
Where did you find the glass jars you are using for the starter? Love those!
Oh noooo, not breadford! I couldn’t imagine doing sourdough starter while pregnant! I was soooo sick.
I got them at Hobby Lobby! 🙂
Thank you so much for sharing this with us. I’m definitely going to give this a try. I hope I can make beautiful loaves like you do.
do you bake both loaves at the same time?
I do since i have two dutch ovens, but you do not have to.
also, can I cut this in half to make just one loaf?
You can! Absolutely.
When you cut the recipe in half, are you still using 1/4 of starter, water and flour? Or cutting that in half as well.
New sourdough maker here!
I always wanted to do sourdough so I saw the recipe and tried it. It is not perfect but with all the tips it is so much easier. Definitely will keep working at it. Thanks for the recipe and especially the video. I will be trying some of the variations once I get the basic better
Hi!
I just made your sourdough recipe and this is the best one I have found! I feel like I have been struggling with flat bread for a while and this one turned out amazing! Thank you for sharing your recipe. I will definitely be continuing to use this one.
Hi, Chelsea! This just made my day 🙂 I’m so happy it worked out for you! YAY!
Thank you so much for posting your recipe! Can I ask do you preheat your Dutch oven, or place the loaf in while it’s cold?
Hi, Hannah!
I place it in the dutch oven while it’s cold. If I’m making more than two loaves that day, then I place it into the hot dutch oven that was previously used for the first loaf. Both loaves turn out the same!
What is the baking time if the oven and pot is already hot? (second loaf)
It’s the same.
I was really interested in sourdough bread making and I am really glad you made this post!
It was really helpful to have things defined and explained for a beginner like me to understand. I made your recipe and just had a slice this morning for breakfast and it was delicious! My son loved it too! I am going to try a cheddar jalapeno flavor next. Thank you for sharing your recipe!
Hi, Charlotte!
This just made my day! Thank you for the sweet review. I’m so happy the recipe turned out for you, and I think you’re going to love the jalapeño cheddar!!
I just started baking sourdough and tried your recipe, it’s the best loaf I’ve made so far!!
I made this loaf for Easter and it is the best recipe I’ve tried!
Hi friend! I am obsessed with this recipe and I haven’t stopped baking these since I started. Thank you thank you a million times thank you. You are the only one who broke this process down where I understood.
For some reason this is the only recipe that I had complete success with! I’m new to sourdough and have tried a few other recipes and now have made this 4x. It always turns out perfect! I also tried making the loaves smaller and reduced the time in the Dutch oven with lid by about 15 min and uncovered in the oven to 5 minutes. It has been working perfect!
This review just made my day! I spent MONTHS creating this process, and it’s been fool proof for me, and I’m so so so happy you’ve had success with it!!!
I dont have a dutch oven yet, can i just do parchment/foil for now?
The only recipe I’ll make for sourdough from here on out.
Hi Taralynn.
Thanks for the recipe and clear instructions. I tried to make this loaf today but my dough seems to stay really wet.. This led to me not being able to shape it in the end.
I used the same measurements as the recipe. Do you know what could have happened?
Hi! If your house is too warm, it can cause the dough to become sticky and wet. Just add in some extra flour to help with that!
I make this once a week and it’s amazing. Thank you!
I am a sourdough newbie. All measurements for every recipe I have seen are in grams. I noticed you use 1/4 cup measurement to feed your starter. Why is that? Thank you. Super excited to get Started!!
Love the recipe! My first one is headed in the oven now. I do have a question… mine didn’t “poof” in the refrigerator, they rise like normal but the last proofing overnight unfortunately didn’t. Do you have any suggestions why?
Hi! I don’t see anywhere that you’re doing stretch and fold between autolyse and bulk proofing stage? Am I missing something?
Your journey in perfecting your golden sourdough bread recipe is truly inspiring! It’s evident that your dedication and hard work have paid off, as you’ve created a recipe that’s not only delicious but also beginner-friendly. Your preference for a light and crusty texture, along with the versatility of your bread in various dishes, showcases its remarkable qualities. The detailed instructions and benefits of sourdough bread, from its simple ingredients to its health advantages and customizable flavours, make this recipe a must-try. Your commitment to sharing more about starters, techniques, and flavours adds an exciting dimension to your blog. Your passion for baking and crafting a superior sourdough experience shines through in every word!
Hi Taralynn,
Do you have any idea as to why my sourdough is very sticky after I let it rise for the 4-5 hours? It’s very hard to stretch and shape because of the stickiness.
All you have to do in this case is add more flour. Sometimes home temps can change the stickiness/moisture in bread.
I love the recipe. Your bread is beautiful. It seems you do only one set of stretch and fold until the dough is formed into a ball. May I assume it’s a whole lot of S& F?
I can’t wait to try this! First I need to make a starter. Any idea when you will do the blog for making a sourdough starter?
My daughter and I chose this recipe for our maiden voyage with our new starter. It turned out perfectly! Thank you for sharing your wisdom and recipes with the world. PD, currently have our next batch rising now.
Thank you so much for an accessible sourdough recipe. I work full time with two little kids and the cold rise in the fridge makes sourdough baking possible in our busy schedule 🙂
This is my go to recipe! I share this one with everyone I gift my starter to and they’ve done great with it — some even better than me!
Hi! I absolutely love your sourdough bread recipe. I bake loaves constantly and sell them. I have noticed that my bread isn’t getting a good spring rise in the oven. I have been using discard instead of active starter could this be the reason? I am not sure how to get enough active starter to bake 30 loaves at a time which is why I use discard for everything.
Definitely only use an active starter. You’ll want to get a LARGE jar or multiple jars of starter going. You can always add more water and more flour and less starter if you feel like you don’t have equal parts.
Hi! Would it hurt for the bread to cold proof in the fridge for 48 hours instead of 36?
48 hours is the maximum i’d proof! It may taste more on the outside.
I’m in the process of my FIRST EVER sourdough loaf, using your recipe. Currently it’s in its first rise. I followed your amounts precisely (with a digital scale, and all halved as I only want one loaf) but the dough I’ve put to rise is very moist, even after the stretching and folding. I’m hoping that addition of a bit more flour will help? And should I add that flour tonight, before its rest in the fridge, or tomorrow when I get the loaf ready for baking?
Also, the temperature of 475F seems very high; I’ve never baked at that temperature before. Is this a sourdough thing?
Thanks so much!
475 if actually pretty low for most sourdough loaves.
If your dough is too water when you first start, mix in flour then! 🙂
This is my favorite recipe. It always works. This time I lost track of time and tossed it in the fridge at 8 pm before it had proofed enough. I kept it in overnight till 2 pm next day. It’s the first time I was able to easily slash it and boy did it bake up beautifully. There’s something to be learned from every loaf of bread I make.
Hi, I noticed your recipe did not stipulate whether to warm the Dutch oven or not when warming the oven. Please advise! Would love to try out your recipe. Thank you in advance
I do not preheat the dutch oven.
This is the greatest recipe explanation I have come across. I’m new to this process. I wonder if you do any videos we can watch for the whole process?
TikTok:) I have a bunch.
This is the only sourdough bread recipe that has ever worked for me!
Hi!
Thank you for the extremely valuable info. I just made my first 2 successful loaves thanks to you. 2Quick questions… if I have a huge amount of starter that I only want to feed once a week do I have to feed it 1.1.1? That would be an awful lot and second question… when I divided my dough the first loaf was sticky to deal with and by the time I got to stretching and shaping the second loaf that one was not sticky. Any thoughts on why? Maybe if sticky I should have let it rest? Thank you!
Love love love this recipe. Curious if we know what the macros are or how to calculate ??
Hi! Could I proof these in the fridge for 48 hours or is that too long?
You can!
I have been baking bread for a very long time, and recently decided to dust off my old Bread Alone cookbook from the 1990s and tackle sourdough. Many hours and a lot of effort later, I had a not so great loaf of heavy bread. Not so with your recipe! You definitely have hit the nail on the head with this technique! I had 2 gorgeous and tasty loaves of sourdough with much less effort than the fancy pants cookbook version! Thank you!
My best bake yet! Thank u for sharing the easiest, no-fuss sourdough recipe!
I want to try your recipe. I am confused about “two” loaves. You explained to divide the dough into two equal parts. Don’t put them
in separate banatins in the frig? Do
you bake separately in two dutch ovens, or bake only one at a time?
Thank you,
Caroline
Mine turned out so golden and crispy.
Meant to say do you put them in two separate banatins to rise in frig?
Hey! Is there a sourdough website you found helpful to get you started? I’m just starting out and I love it but it’s still confusing. I love you’re still loving it!
Hi Taralynn,
Thank you so much for sharing your sourdough process and recipes. I am a complete newbie to the process and am trying to trouble shoot.
I used your recipe and baked my very first loaf of bread. I found the bottom was almost burnt, the outside was a bit too crispy, and the inside was very soft— almost wet in comparison to the extremely crispy outside—- but fully cooked. I’m wondering ( bc ovens are all very different) if you had any ideas on how to balance this all out for future loaves?
Hi, Carolyn!
I use a silicone liner in the bottom of my dutch oven when baking now to help with the bottom burning.
So far this recipe is turning out better then others!! Do you think I could skip the overnight cold proofing? Or well, shorten it so it’s about 5
-6 hours? I kinda need it done by tomorrow and don’t think I’ll be able to bake it in the morning and have time to let it cool off.
I love this recipe, I’ve used it countless times. I notice my load doesn’t rise as nicely and rounded or get a very good ear. It’s a little flat. My house is very warm 73 f so I think I may have over proofed it a little. I reduced the time on the counter to just max 3 hours (it’s nicely doubled). And right into shaping and the fridge. The next day when I go to score the ball is pretty flat and spreads out on the parchment.
I don’t think i could still be over proofing with just under 3 hours on the counter. Im wondering if it might be the hydration? My dough seems to be a lot sticker than yours. I usually have issues when I go to laminate with it sticking to the counter and my hands.
Any suggestions? I live in Ontario Canada which is pretty cold right now maybe different humidity is the issue ? Do you think reducing the water would help?
Thanks so much!
Also sun-dried tomato and Parmesan is by far our households and friends favourite inclusions. (:
Just amazing
hi,
great. log here!
is there a way you can, in parentheses perhaps, include standard American measurements in your recipes so I don’t have to Google conversions from grams? thanks!
I have been doing sourdough wrong all along. I used to dread spending hours a day focussing on the loaves, but this recipe is so much better for my timeline and my work schedule! I send it to all my friends who ask me about sourdough!
This was the recipe I used for my first loaf ever and I’ve tried others and am always disappointed. I should’t deviate. Thank you for taking the time to write this up.
I absolutely love this bread! The texture and taste are amazing! The only thing I don’t understand is my dough is always soooooo sticky and doesn’t hold a great shape. It always turns out to taste so amazing but the dough doesn’t act right beforehand!
do ihave yo use a Dutch oven or can j use any othet dish in the oven and at what temperature
For this recipe, I would stick to a Dutch oven. Some people use baking sheets, which you can try, but I have not tried.
I found this recipe on TikTok, and it is my first time making a loaf! My family and I loved it and will be making it again. I want to try the cheese bread next.
Love your detailed explanation on sourdough. Do you ever add steam while baking in the oven??
No but you absolutely can!
Great Article Thanks For Sharing Information…
I made the two loaves. I had some established
starter ready to go. The first loaf got a little burnt on the bottom. I used a Dutch oven. Set at 475.
But for the second I had it at 475 for 30 minutes and then lowered it to 450. Ended up being okay.
I did use some ice cubes for steam.
Found your video from tiktok and its the only one ill ever use now
Good directions
Nice
I want to make this recipe again with the cinnamon next
Thank you so much for the recipe!
I live at high altitude… 6,500′. Do you have any suggestions for high altitude?
Everytime i make my sourdough, it is always so “loose” or “wet”. I try adding more flour but then my loaf is dense. I follow your recipe exactly and my loaf will not hold shape.. basically melts into a blob and wont rise when baking.
Please help!
Help! I don’t know what I’m doing wrong. Everything looks good until I do the final fold before putting in the fridge. It is to soft, to the point of wanting to run off the counter.
Great it worked for me finally
Hi Taralynn!
I just baked my very first ever sourdough loaf and followed all of your instructions… it turned out amazing! And I am so proud of myself! Thank you so much for such a thorough post! I can’t wait to bake another one with the add-ins next time!
Awww yay!!!!!!
The bread was very good. I want to try the bagel recipe very soon.
I am in Jamaica
Just made my first ever sourdough loaf with this recipe and it came out near perfect! The bottom was a little dark. Beautiful crunchy crust with chewy soft inside. My husband wants it more sour so we may let it cold proof for 24 hours next time! We did about 15 hours this time.
I love hearing that! If you want, add cornmeal underneath or sourdough mat/or parchment paper in the dutch oven! it helps it not burn at the bottom 🙂
Hello. I was wonderingif you could help me or offer information.
I’m just starting my sourdough adventure and your instructions seem so easy…..thank you for simplifying it.
My question is could I use a insta pot to bake the bread in? Or use something smaller than a Dutch oven? If so. how would I go about it?
Reason I’m asking is we live in a RV, (which means everything is on a smaller scale including oven). I don’t believe a Dutch oven would fit in oven.
Thanks for all your help.
The recipe was so easy to follow and it seems to have turned out well. A couple questions. Where in the oven should the rack be, center or lower part of the oven? Also, does the Dutch oven need to cool down before you bake the 2nd loaf? Thanks so much.
Sorry, a couple more questions. The bottom of my loaf was pretty hard. Any idea what I may have done incorrectly? Lastly, is there a way to make this recipe but for only 1 loaf? Thanks so much!
Yes! you can half this recipe.
Try putting cornmeal under your parchment paper!
Thanks for the response. So would I just cut the whole recipe in 1/2? Also, would the cornmeal go between the bread and parchment paper? Your recipe was so easy to follow and so thorough.
The cornmeal would go underneath the parchment paper on the bottom of the dutch oven. It helps add a barrier so the bread doesn’t burn or get too hard.
Thankful for your tutorial. Both loaves were brilliant and tasty. If I want to make more sour, I have read less starter in the recipe? Do you have a gram amount to recommend? Thanks again for putting your tried and true protocol out for us “newbies”;)
Hi, Robin!
If you want it less sour, I’d make the starter a different ratio! 1 cup of flour, 1 cup of water, and 1/4 cup of starter! It’ll take a bit longer to activate, but that helps it become less sour. You can also “clean up” your starter by making a new jar of 3 tablespoons of starter, 1 cup of flour, and 1 cup of starter.
new to sourdough baking. your recipe makes 2 loaves….what do you do with the second one while baking the first?
I still have that one in my refrigerator until it’s time to bake. You can use a spatula to remove the first bread from the Dutch oven and then transfer the second loaf as soon as the first is done baking (if you don’t have more than one dutch oven).
I will only make this recipe from now on
Great beginner recipe
after years of regular bread baking…. Finally a proper sourdough recipe, it’s wonderful.
perhaps the info about cornmeal buffer under the parchment paper and that Dutch oven does not require preheat should be in your recipe. I final proof in my Dutch oven on parchment paper in refrigerator overnight spritz it with water, cover and place it all in preheated oven to bake. it’s wonderful!
I’ll be embarking on my first sourdough journey this weekend, starting from scratch by making my own starter. I am excited to try this and kind of afraid, that I’ll never be able to go back to store bought bread, haha.
I baked mine in loaf pans, came out perfect !
Best recipe for sourdough bread ive tried in a long time. Thank you for making it easy!
this sourdough recipe is the best I have every tried. the crumb was perfect. I can’t wait until i get to take this bread to church. thanks for getting the moister so perfect.
Hi, I have made this recipe a few times and it’s great. I rewatched your video and it looks like you do two stretches/rests, before the longer one for five hours. However, the recipe has one stretch in the bowl, then the last stretch before putting in the fridge. Which should I do? Thanks
Clarification: the recipe has 2 sets of stretches, but it looks like you do 3 in the video. Do you recommend the 3?
Two sets are all that are needed for this recipe! If I have extra time, I’ll throw in some extras.
Hi! I use this recipe and it works perfectly for me everytime!
This sourdough recipe is the best and easiest one I’ve seen and I’ve watched a lot. Other recipes are so tedious that for a beginner it can be intimidating. But yours is amazing and ive tried it 3 times already! And my family loves it everytime. So easy!
ahhh thank you for the feedback!!!
Thank you so much for sharing your recipe. I started making sourdough bread in August 2024, after a friend gave me some of her starter. After much searching, reading and looking at YouTube, I came across your recipe on Pinterest, and I must say it’s a keeper! The first loaf was gone in an hour.
Thank you!
Dee
After a year of trying different sourdough recipes, this one is my favorite by far! It is thorough and a much easier process with perfect results. I always wondered why the process has to be so complicated and time consuming and what the heck did pioneers used to do; they probably did something close to your recipe. No complications. Thank you so much!
Thank you so much for that feedback, Michele!!
Just starting on my sourdough journey, and this turned out perfect the very first time.
Yay! welcome to the world of sourdough! 🙂
Best bread I’ve ever made or tasted! I followed your 9 to 5 timeline since I’m a teacher and it was perfect.
Best bread recipe to try yet. I found your recipe on Sourdough Geek Facebook Group.
I followed the recipe exactly. My dough turned out sticky throughout the whole process. What did I do wrong? I have it in the fridge for the cold proofing right now. I’m afraid it won’t hold its shape. I could never get it to hold together in a tight ball.
Hi, Julie!
The stickiness could be because of the flour you are using, underproofed, or if your scale was off and too much water was added. You can always add in more flour to help shape. Let me know how it turns out after baking. Sometimes, even with a sticky dough, the bread turns out just fine!
Best bread recipe ive tried
I am new to sourdough bread baking, I have tried a few recipes that were meh or ended up in the trash. I made 2 loaves from your recipe and my husband told me to stick with this one. I will be making another round today & hope to learn a few tricks each time until perfection! Thanks so much, you restored faith in my ability to pull a great sourdough off! <3
Stephanie! This just made my day!:) Thank you so much!!!!
made for thanksgiving best bread ever ever ever ever
Tried this recipe twice. I’m disappointed that my pants wont fit because it was so good!
HAHA! This made me laugh!
The best bread recipe ever.
wow
Best sourdough recipe on the Internet by far. flavor is great
Insane flavors, great bounce, easy to follow
Can you freeze the dough of the second one instead of baking it?
Hi, Linda
I have actually never tried freezing sourdough bread dough yet.
This is the only bread recipe I’ll ever make again! I quit sourdough so many times before finding your recipe on a sourdough facebook forum. I was so discouraged with the amount of time and technique. Thank you for helping us newbies! We are going to try the jalapeño cheddar bread flavor tomorrow. My husband said its the best bread he has ever had and you’re right about having it toasted. I look forward to trying out the pizza recipe next because I have been eyeballing it. I don’t have Instagram so I followed you on Facebook!
I am glad I found this recipe, thank you for sharing it! I have been on the “journey” and have tried this one twice after attempting a couple others with meh results. I did the weekend process this time and it has been the best effort yet. I got a great oven spring, the crust texture is perfect, and the taste is perfect. However, the holes in my crumb are pretty small and it’s not as open as I might like. It’s soft, not dense, and not compacted toward the top or bottom. Any ideas what might be the problem and how to get it to open up just a bit more? Would oven temp cause this? My dutch oven and parchment aren’t rated for 475, so I used directions from another recipe to bake at 450. I love this recipe and want to keep tweaking it!
Beautiful bread was baked this morning. Thank you for sharing this recipe with the world.
I have tried my attempt at sourdough bread for years and this is the only recipe to ever work for me
A great recipe. I had not made bread from my starter for a couple of years, but this recipe got me started again. (excuse the pun) Easy to follow, timing is forgiving, and the finished product is terrific.
Excellent. I’m going to reduce bake time to 30 min with lid and 15 to 20 off. Reduce bake temp to 425 with lid off.
First loaf ever was a success!
kids loved it
Excellent. I’m going to reduce bake time to 30 min with lid and 15 to 20 off. Reduce bake temp to 425 with lid off.
Great recipe! I’ve made this many times. The key is always a good active starter. I cut the recipe in half a lot to make only one loaf. I have a loaf in the oven now. Thank you!
The absolutely HANDS DOWN best sourdough I’ve ever eaten!
I added leeks , Calabrian peppers and parmezan. Delish😋
love this recipe! I’ve been too intimidated to make an actual loaf… I’ve had a starter for about a year and just make discard recipes, I saw your post and decided to give it a try. first loaf came out ok, I think it’s on my part and didn’t stretch and fold correctly or rolled the dough too tight I’m not sure, but it tasted great, today I am trying again and giving it a second stretch and fold… can you make a loaf from start to finish in one day? like if I feed my starter late at night and it’s ready in the morning?
Hi, Nyssa!
Yes! make your starter before bed, make the dough as soon as you wake up, do a few stretches and fold, let it bulk rise for 5 hours, place it in the fridge for 4 hours, and then bake that evening!
Hi, I have been doing sourdough recipes for maybe 3 or 4 months now, I have been looking for a decent bread recipe that isn’t so dense and heavy you need a crane to lift it. I have tried a lot of recipes that really looked promising but turned-out bread that was fit for the garbage can and really nothing else. I must say I was very much pleasantly surprised with this recipe. I have made a single loaf 2 times now. I even screwed up the first one by not forming the ball prior to refrigeration and it still turned out great. My only suggestion is that I also halved to salt down two grams for the first loaf, and it definitely need more. I upped it for the second loaf, and I haven’t cut into it yet, but it looks fantastic and I’m sure it will be. I also dialed my oven down for the second loaf to 425 (as you say oven temps can vary) and it is a great looking loaf of bread. I couldn’t be happier with this recipe, Thank You So Much!
Amazing to hear that, Jim!!!
15 years ago I use to make sourdough bread and then I took a long break. I have started up again about a month ago and have been using one recipe which I haven’t been able to get a consistent loaf and crumb.
I looked around and found this recipe and I tried it yesterday. All I can say is this is AMAZING, great rise and crumb and not to crunchy which is what I was looking for. I did wrap loaves in damp cloth to ensure a thinner and softer crunch and its just perfect.
Tastes great, doesn’t have a strong sour tang to it which is fine.
This is a great recipe, easy to follow and really is fail proof, I highly recommend this and I look forward to trying some of the other recipes on this site,
Thanks for the recipe!!!
Joann
Thank you!!
If you want a stronger sour taste, use more sourdough starter in your activation process 🙂
I made it and it came out wonderful it was my second attempt on baking with sourdough and the bread was as perfect as those you see on social media. My family loved it, they couldn’t stop eating it, yI made two loves this morning and they are both gone now. Thank you
Sounds like you need to make some more for your family! 🙂 Thanks for the review! Happy baking!!
I have tried to make sourdough bread for months and this is the first recipe that worked for me!
I’ve struggled with every other recipe.. but this one is perfection!
My loaf actually looks like I know what I’m doing.
The rice at the bottom of the Dutch oven was the key. I’ve had issues with the bottom crust being exceedingly hard. I also rubbed the bottom with bacon grease. Everything worked out perfect
This is the easiest way to make a loaf. Thank you so much!!
My first attempt was a success thank you!!
Freshly baked sourdough is true comfort food
great results on my bread
amazing bread turnout
After reviewing many sourdough recipes, this is now my staple and bookmark on my iPad.
Thank you your ‘detailed’ efforts in creating this recipe. I make sourdough several times a month and always enjoy. I slice the loaf in quarters and freeze immediately after cooling. One trick I found is to use a pizza stone one rack under my bread rack for a perfect bottom crust. Thanks again!
Thank you, Denny!!!
ONLY RECIPE THAT HAS WORKED FOR ME
five stars
So much information that was so helpful for getting the basics down and now I am on to more fun. Thank you!!!!
Down the sourdough rabbit hole I go, wheeeee😄
You must try the cinnamon rolls next!!:)
Great recipe! Have you ever tried adding butter?
I have never tried sourdough until reading your blog and I cannot believe I made a loaf! I want to try the jalapeno one next.
Decided to give it a try. 5STAR
I can’t thank you enough for posting your tutorial. I did your 9-5 instructions and it worked great! Questions about the jalapeno flavor you make with the cheese tho! Do you measure the amount of peppers and cheese you add?
Love hearing that!!
Nope I just kind of fold it in and add as much as my bread can fit.
Made your recipe in my oven at a little higher temp and it was a hit
Best bread recipe yet
THnak you!!
That golden crust looks dreamy, can not wait to try it.
Great
I half the recipe for my weekly loaf. A great fool proof recipe indeed for this old lady!
I have been using wheat flour mixed with bread flour with your recipe you should give it a shot
Perfect each time
My family could not believe that this was my first attempt at sourdough bread! This recipe makes a perfect loaf and I can’t wait to experiment with a new flavor.
I’m in shock that I just made a loaf! Great recipe thank you!
MAKE A COOKBOOK ASAP
I can’t believe I mades sourdough bread! My family devoured it and I’m already letting my sourdough starter rise so I can make more tonight. Thank you for this recipe and giving me the courage to start. Love Lilliana
Oh this makes me smile 🙂 Glad you did it!
A ten for me dog
I cackled!
This bread is going to hollywood! I bet Taylor swift makes it.
I failed the first attempt but that is because my starter was not ready for baking and I was impatient. My second attempt was so delicious and I immediately made more starter to try it again. I’m trying to feed my kids better and this recipe is going to really help. Thanks bunches!
All I can say is wow wow wow! A great bread recipe for bad bakers like myself!
This was a great recipe and very easy to follow. I will be trying your other flavors next weekend. Can I use real jalapenos? I guess I mean fresh and not from the jar?
Hi, Isla!
Thank you! & yes you absolutely can! Be careful with the fresh seeds because they can be extra spicy compared to the ones out of the jar.
Unbelievable recipe! My house smells like my grandmothers used to.